In the Niko Home Control programming software, you can configure the following controls as a thermostat:
-
a push button with LED and comfort sensors
-
a Niko Rocker
-
a Niko Toggle
-
a thermostat (550-13053)
-
a MOTIV Sense3
-
a virtual HVAC thermostat
-
You can also configure the thermostat settings via the Niko Home app.
-
You cannot configure the thermostat settings of a (display) thermostat or a (display) HVAC thermostat in the Niko Home Control programming software.
The available thermostat settings differ depending on the control used.
Starting point
-
You have created the desired Heating/cooling per circuit routines and/or Electrical heating routines with one of the thermostats listed above.
-
You have uploaded the configuration file to your installation at least once.
-
Your computer is connected to the installation.
-
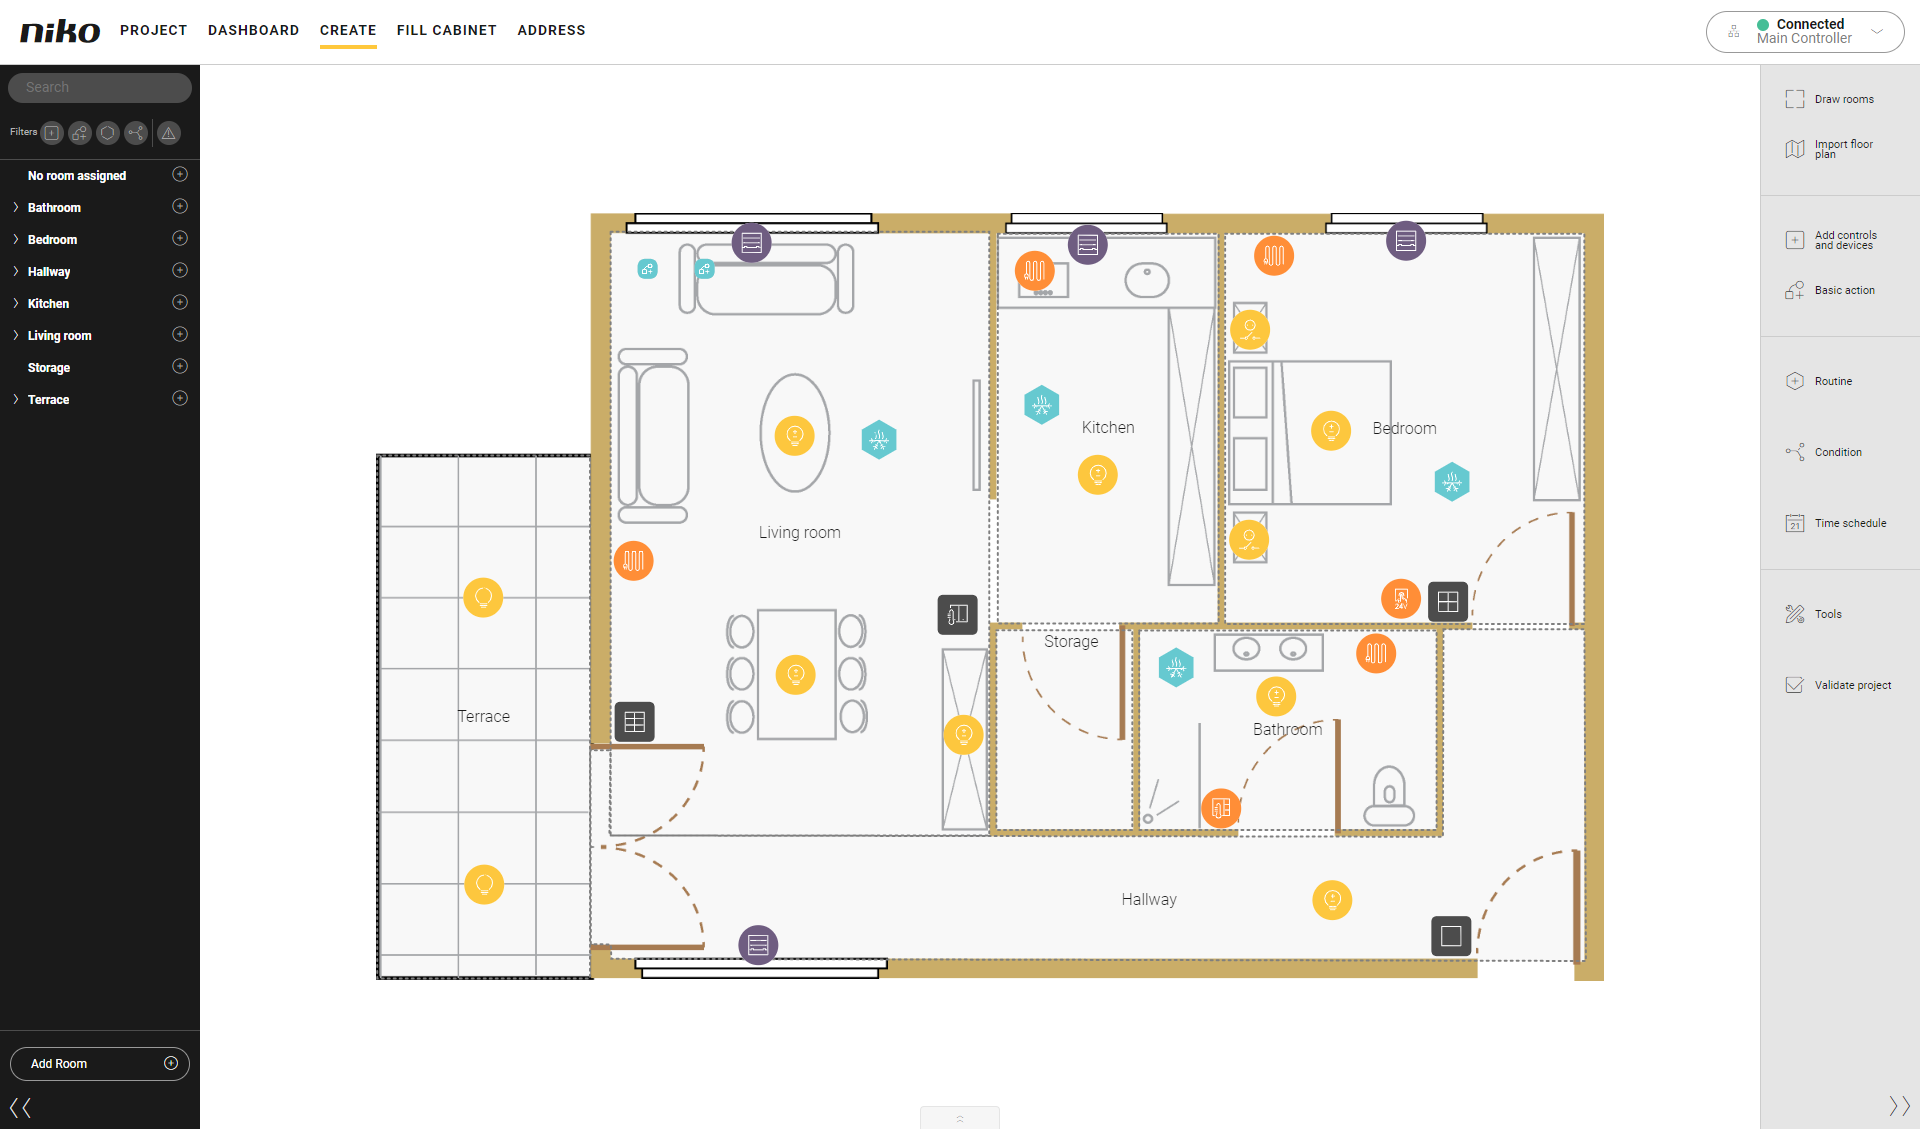
You are in the Create overview window.
Procedure
-
Select the desired thermostat on the floor plan.
Result: The settings pane of the thermostat appears.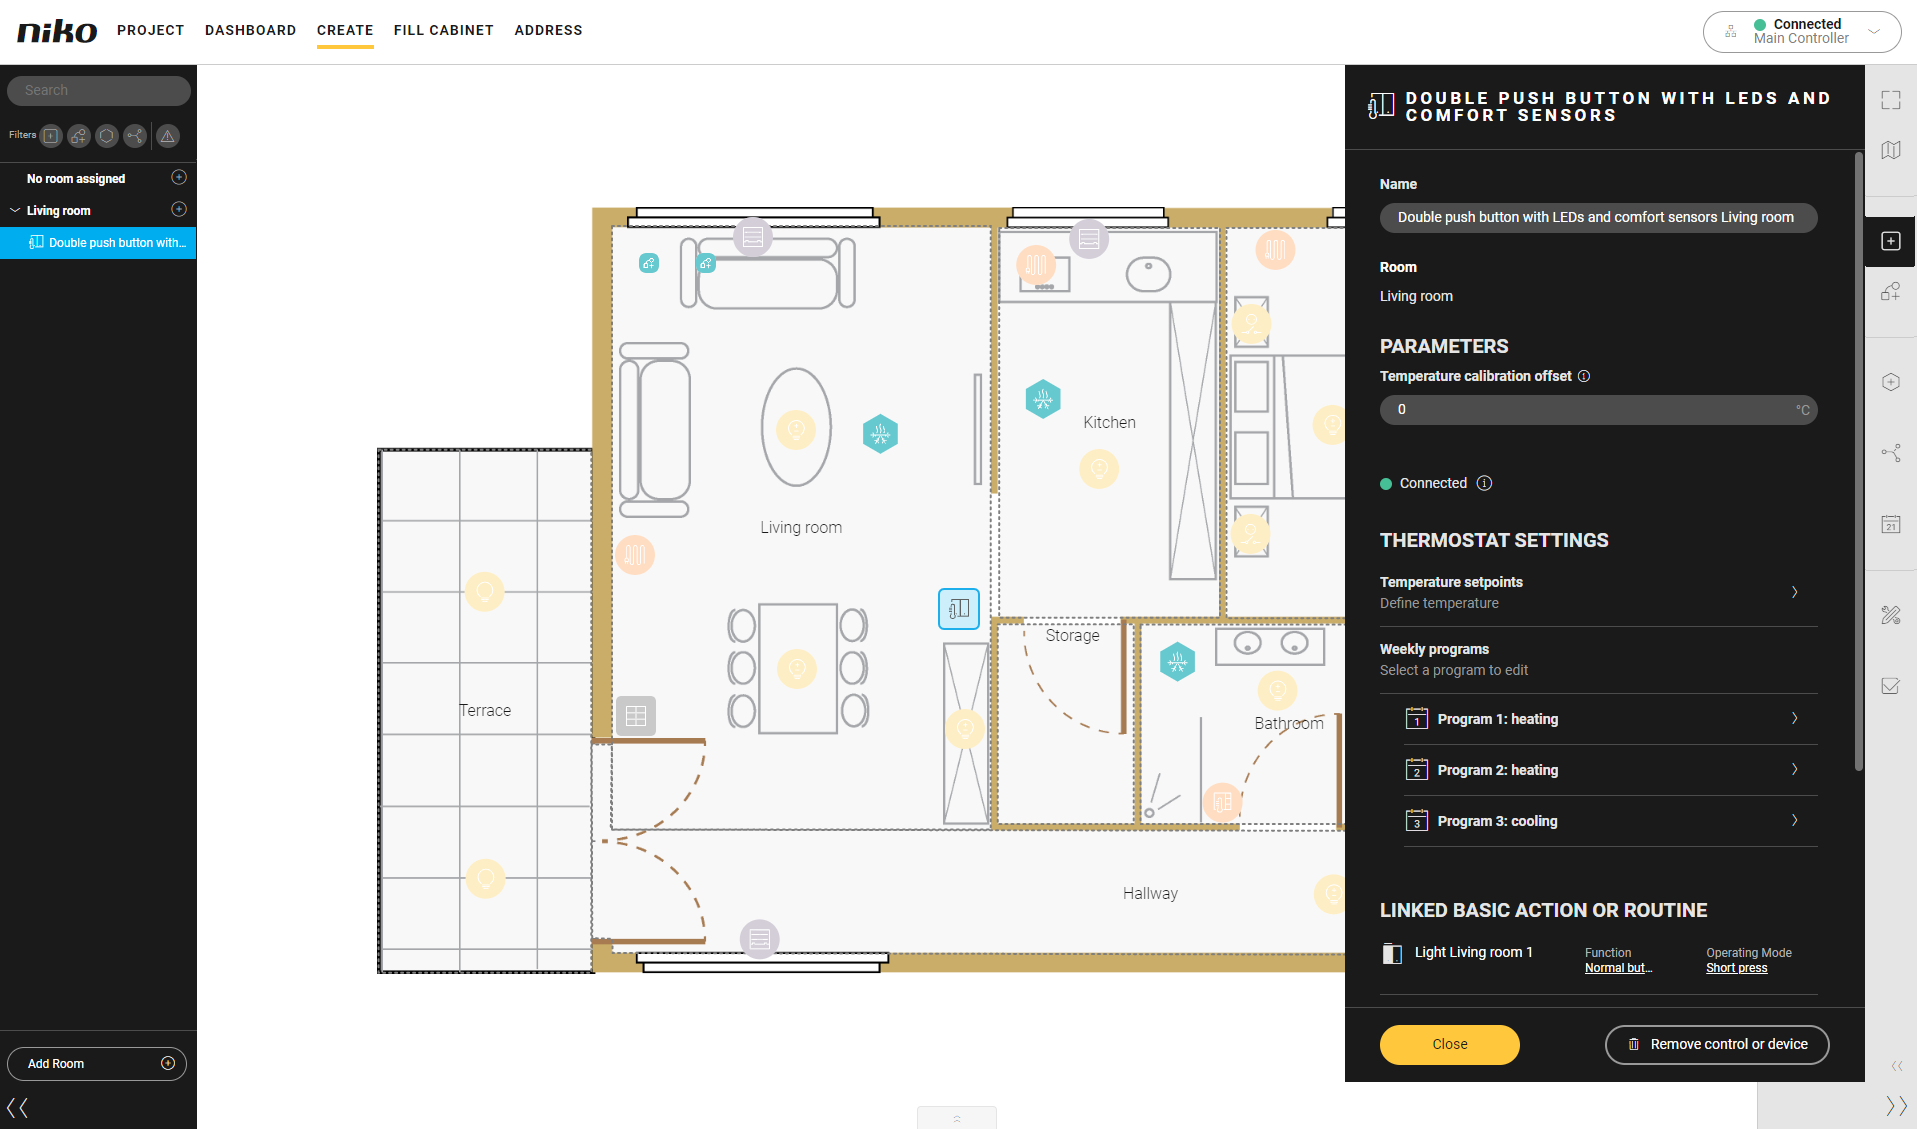
-
Configure the thermostat settings.
-
For Temperature setpoints, you can adjust the default temperature to your desired temperature level for each of the set points.
-
For Weekly programs, you can configure two heating programs and one cooling programs. Select a program to adjust the default provided time schedules to your needs.
-
Add, change and remove set points.
-
Change activation times per set point.
-
Copy a day program to the next day.
-
-
-
Click on the Close button to return to the Create pane.