Before you start
|
Required actions |
Instructions |
|---|---|
|
Download the Niko Home Control 1.x configuration file from your installation and save it on your computer. |
|
|
Register your new controller via the Niko Home app or the Niko Home Control 2.x programming software. |
Upgrade
After the installation is upgraded, the upgrade cannot be reversed.
Please note that upgrading to Niko Home Control 2.x has the following consequences:
-
The existing Niko Home Control 1.x programming file will be deleted from the controller.
-
You need to rebuild the programming entirely within the new software.
-
If your installation contains a touchscreen with a USB port (550-20101 or 550-20102), you need to upgrade its firmware.
-
Niko Home Control 1.x hardware that is not compatible with Niko Home Control 2.x will no longer work (more information about required replacements).
Step 1: Connect to your installation
Connect your computer to the same network as your connected controller.
Step 2: Upgrade the programming software
-
Install the Niko Home Control II programming software on your computer according to these instructions:
Install the latest version of Niko Home Control 2.x -
Perform the upgrade in the programming software if available. The programming software will automatically check for upgrades:
If an upgrade of the programming software is available, start the upgrade by clicking on "Download and upgrade".
Step 3: Upgrade the controller
If the programming software displays a pop-up prompting you to upgrade the controller, this upgrade is required. However, only confirm to upgrade the controller after you have downloaded the configuration file from the 1.x software.
When you upgrade the controller, the entire configuration will be removed.

Step 4: Upgrade the touchscreen
If your touchscreen does not have a USB port, this may be a first-generation touchscreen. This screen is not compatible with Niko Home Control 2.x, please check the required replacements.
-
Download the latest touchscreen upgrade software from our website.
-
Unzip the TouchOSBundle_2.X. zip file. (X = current version of the zip file/ programming software)
-
Copy the .zip files to a USB stick:

-
Plug the USB stick into the touchscreen. There is a USB port at the bottom of the touchscreen
The upgrade will start automatically. During the upgrade, the USB stick must remain in the touchscreen and the touchscreen must not be restarted via a power interruption.
Step 5: Rebuild the configuration
In the programming software, rebuild the configuration that you had programmed in the Niko Home Control 1.x software.
If you need help, contact Niko customer services (support@niko.eu) and consider together how you can upgrade the installation to Niko Home Control 2.x in the most efficient manner.
Step 6: Address the external video unit (if applicable)
-
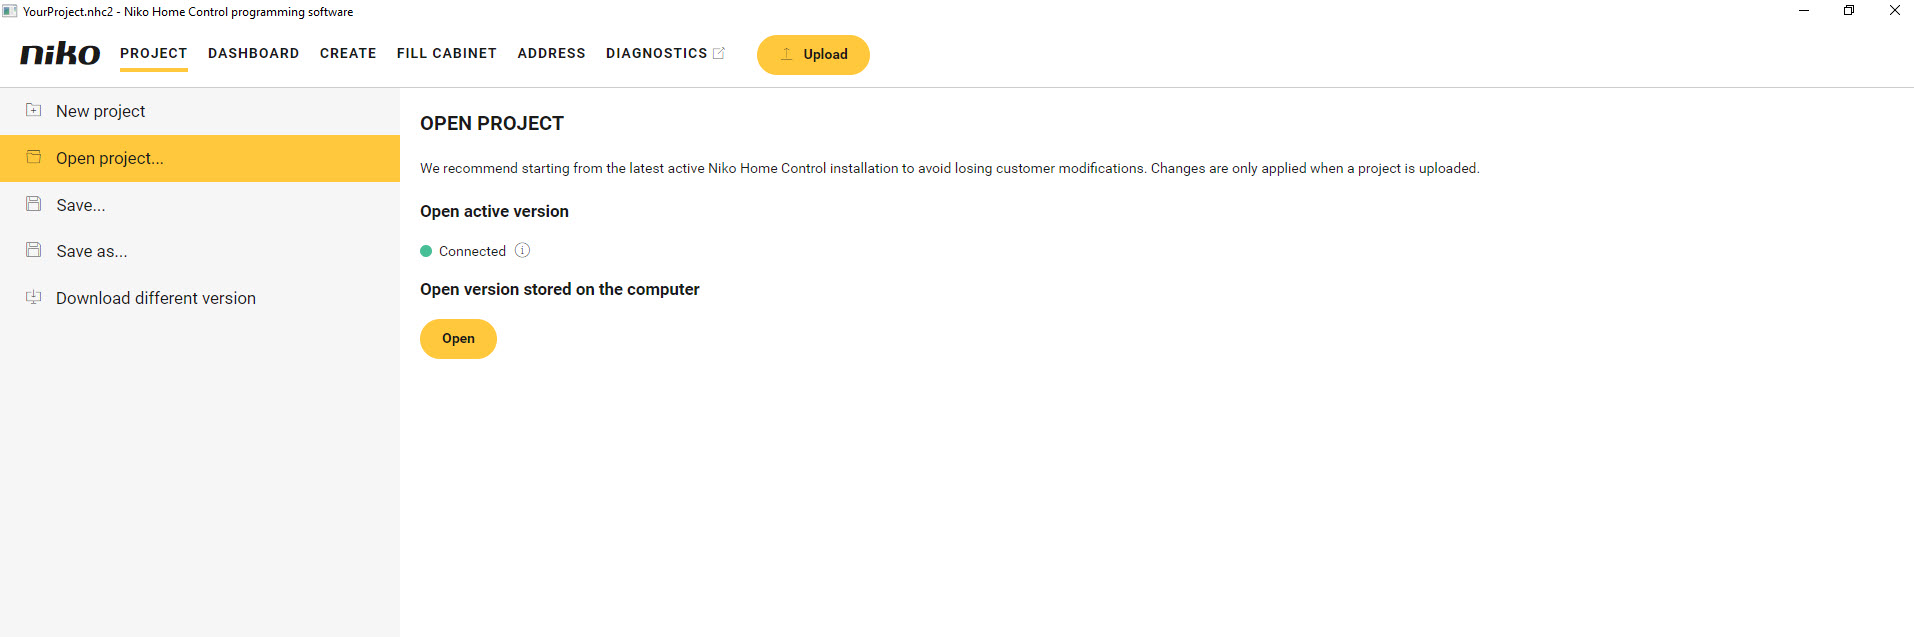
Click on ADDRESS in the top navigation bar.
-
In the right-hand button bar, click on the button External video unit.
The Link external video units pane appears and shows the external video units found in the installation, with the corresponding camera image.
In the drawing area the external video units are shown.
-
Click on the plus signs of the external video units to link them. Respect the order listed in the programming software.

-
Click the Close button to return to the Address overview window.
See an example here. Turn on the sound to watch the video.