Velux
What can you do with Niko Home Control?
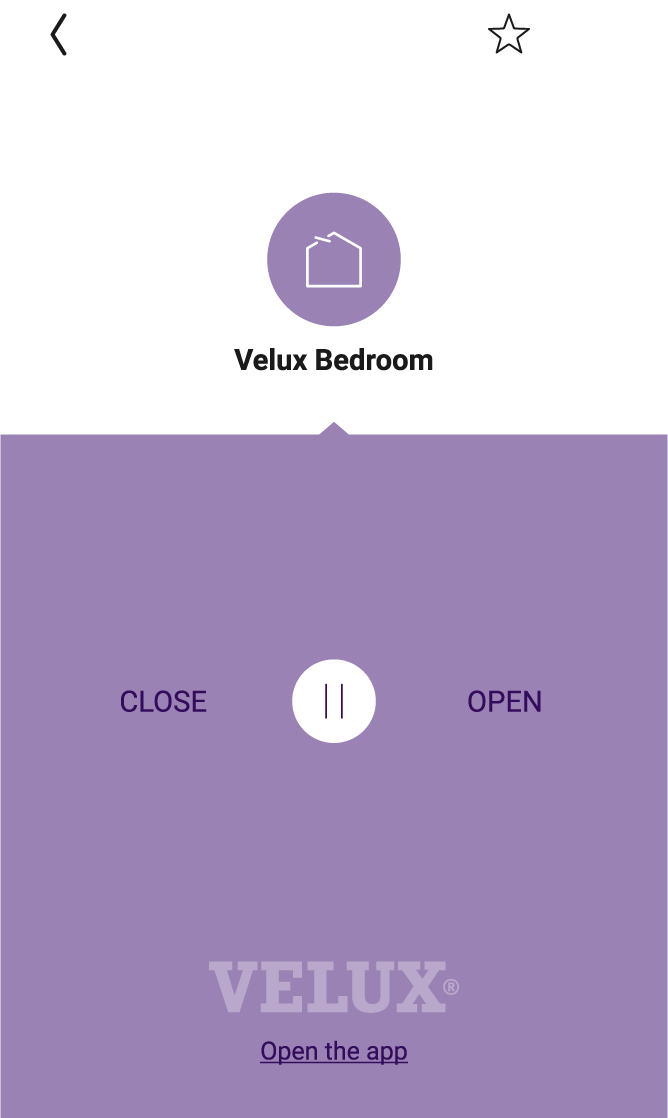
You can have the Velux controls directly available in your Niko Home app, Digital black or touchscreen The Velux functions can also be combined in routines and/ or conditions to control multiple devices simultaneously at the simple press of a button (e.g. turn off all the lights and close the Velux windows when pressing the leaving the house button).
By using Niko Home Control with your Velux system, you can do the following:
Open and close windows, sunblinds and shutters
Stop opening or stop closing windows, sunblinds and shutters
The available functionality within Niko Home Control depends upon the specific installation features of the Velux system.
What do you need?
In short | Extra information | |
|---|---|---|
General | Specific electrial wiring is required. | To use all the channels of one Velux KLF 200 module, you need an SVV cable with a minimum of 12 conductors. If you want to determine a more specific use, keep in mind that you need two conductors per Velux product you want to control, plus at least one ground conductor. |
|
| Your Niko Home Control installation meets the following requirements:
| One of the following modules can be used:  |
|
| Your Velux installation meets the following requirements:
| The KLF 200 module:
|
How do you activate the link between your Niko Home Control and your Velux system?
Check if you have everything you need (see above).
Add a device Velux skylight to the floor plan (*).
Optional, add a motor control (**).
Create a basic action with the Velux skylight. The skylight is controlled with the app, a touchscreen or a Digital black, or the motor control.
Add the Velux skylight to the desired routines and/or conditions.
Assign the Velux skylight to a switching module in the cabinet (***).
Address the switching module used for the Velux product.
Repeat the steps above for every Velux product.
Upload the configuration file to your installation.
(*) Whether you have a Velux, window, skylight, sunblind or shutter in your installation, in the software always use the device Velux skylight.
(**) There is no added value using a motor control with LEDs. There is no feedback if the Velux product is open or closed.
(***) Create the cabinet and add the swithing module if they are not present yet.
You can watch the tutorial here.
How do you deactivate the link between your Niko Home Control and your Velux system?
Remove the Velux skylight(s) from the floor plan.
Upload the configuration file to your installation.
After deactivating the link, the following happens:
The Velux functions disappear from your Niko Home Control app, your touchscreens and Digital blacks.
When used in Niko Home Control actions, the Velux functions will not be executed anymore.