Starting point
-
Your installation is equipped with a connected controller.
-
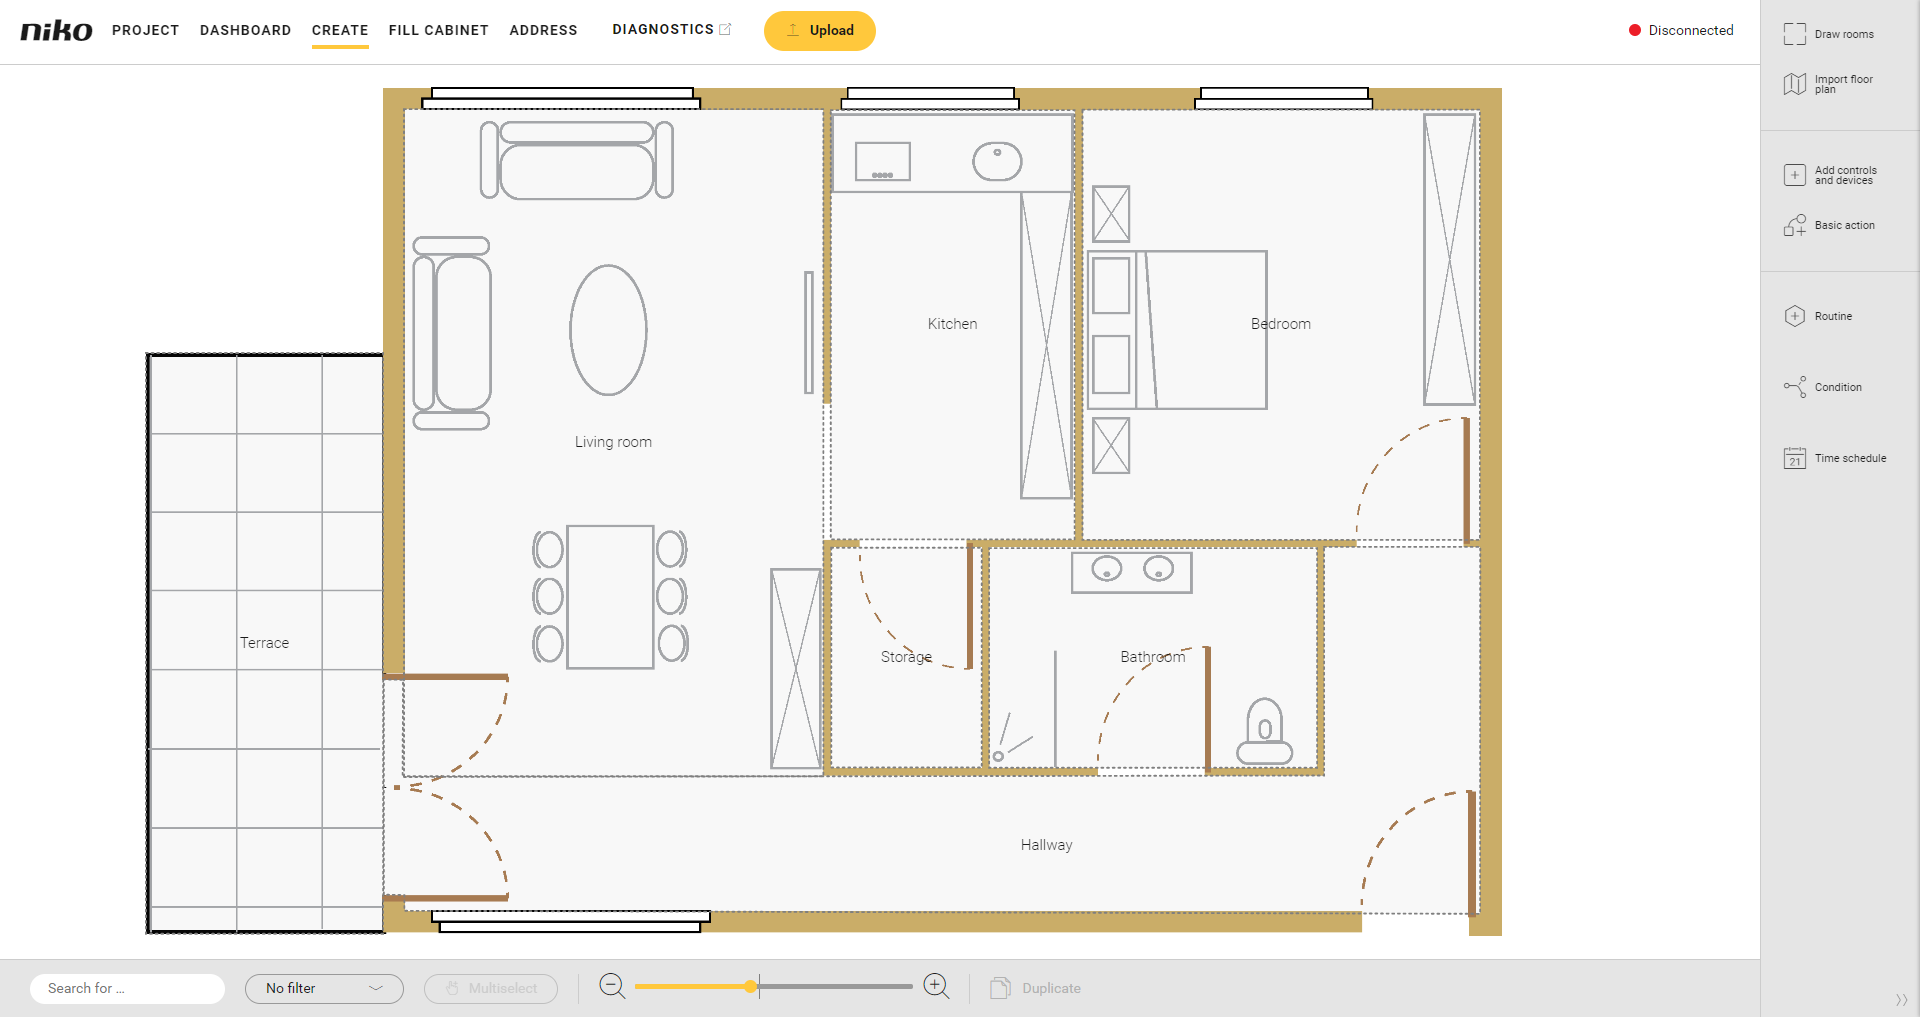
You are in the Create overview window.
Procedure
-
In the right-hand button bar, click on the Add controls and devices button.
Result:
The Add controls and devices pane appears and shows the categories into which the controls and devices are subdivided.
-
You now have the choice:
-
If you tick the selection box Skip detailed parameters for each control or device, you can quickly add several controls or devices by clicking on them. However, you will then need to enter the name and parameters for each control or device afterwards.
-
If you untick the selection box Skip detailed parameters for each control or device, you can set the name or parameters for the current control or device immediately.

-
-
Click on the arrow next to the category Detectors.

-
Select the desired room at the top of the pane or click inside the room where you want to place the electricity measuring module.
-
In the section Energy readings, select the desired electricity reading (electricity single-phase reading or electricity three-phase reading).
Result: The chosen control is placed in the selected room.
-
If you wish, you can modify the name of the control.
-
Set the parameters.
-
For the parameter Reading type, you can choose from:
-
global reading: measuring the consumption from the grid
-
sub-reading consumption: e.g. measuring the consumption of a specific device e.g. heat pump
-
inverter (production, battery): measuring a hybrid inverter. A hybrid inverter converts solar-generated electricity into usable power for your home (production). It also manages energy storage in batteries and can interact with the electrical grid (battery).
-
-
For the parameter Type of current clamp, you can choose from:
-
type 63a: included with the electricity measuring module
-
type 120a: not included with the electricity measuring module, to be ordered separately (550-00809).
-
-
For the parameter Clamp measurement direction, you can choose from:
-
Normal (default)
-
Inverted: Set the parameter to inverted when the Energy tab on the Diagnostics menu shows a negative value, and you can not physically change the clamps.
-
-
-
Drag the control to the correct location on the floor plan.
-
Click on the Close button to return to the Add controls and devices pane.
-
Click on the Close button to return to the Create pane.
If you drag a control or a device to a different room, the Room field in the pane will automatically be updated.
If the voltage at the power supply of the Niko Home Control installation is disrupted, no data will be logged, even if electricity is still being consumed or produced by the switching circuits measured.
You will lose all data of a channel if you do one of the following:
-
remove the channel.
-
change the reading type.