Replacing a blown fuse link
When the fuse link is blown, it is recommended to replace the whole fuse plug with a spare one to avoid touching the hot fuse link. Spare fuse plugs are readily available if you have installed a cassette with fuse plugs on the DIN rail.
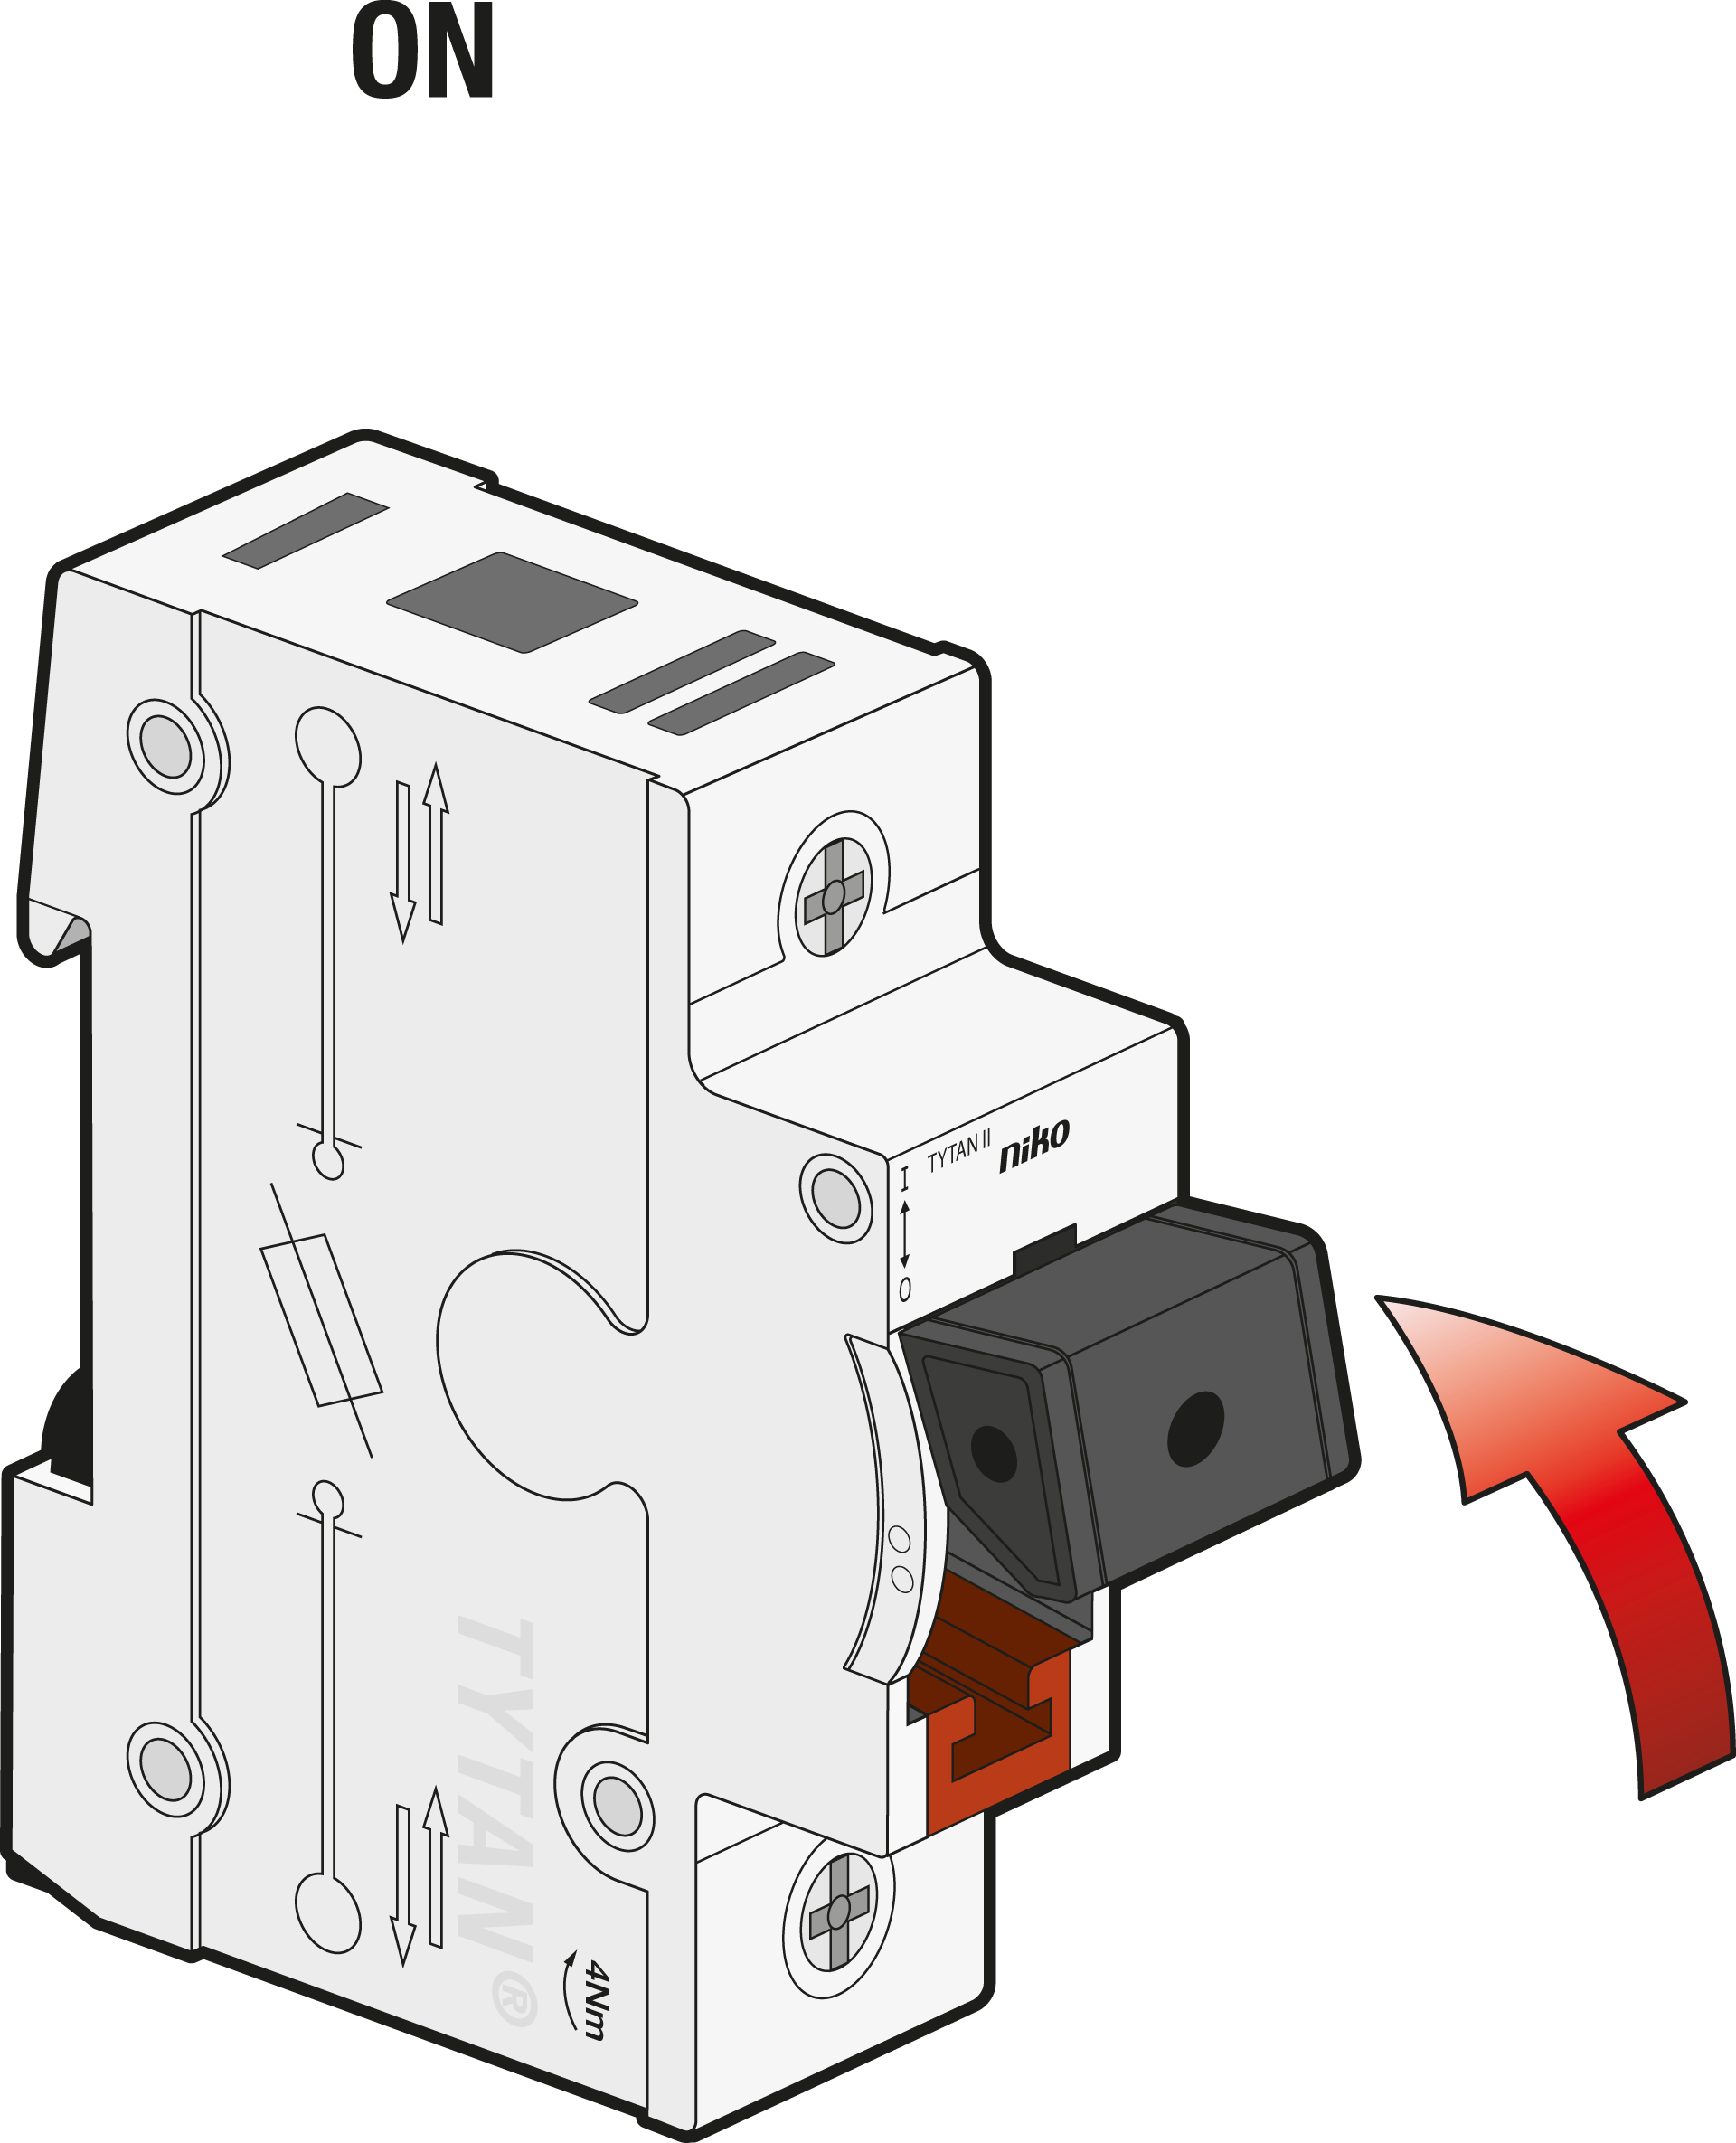
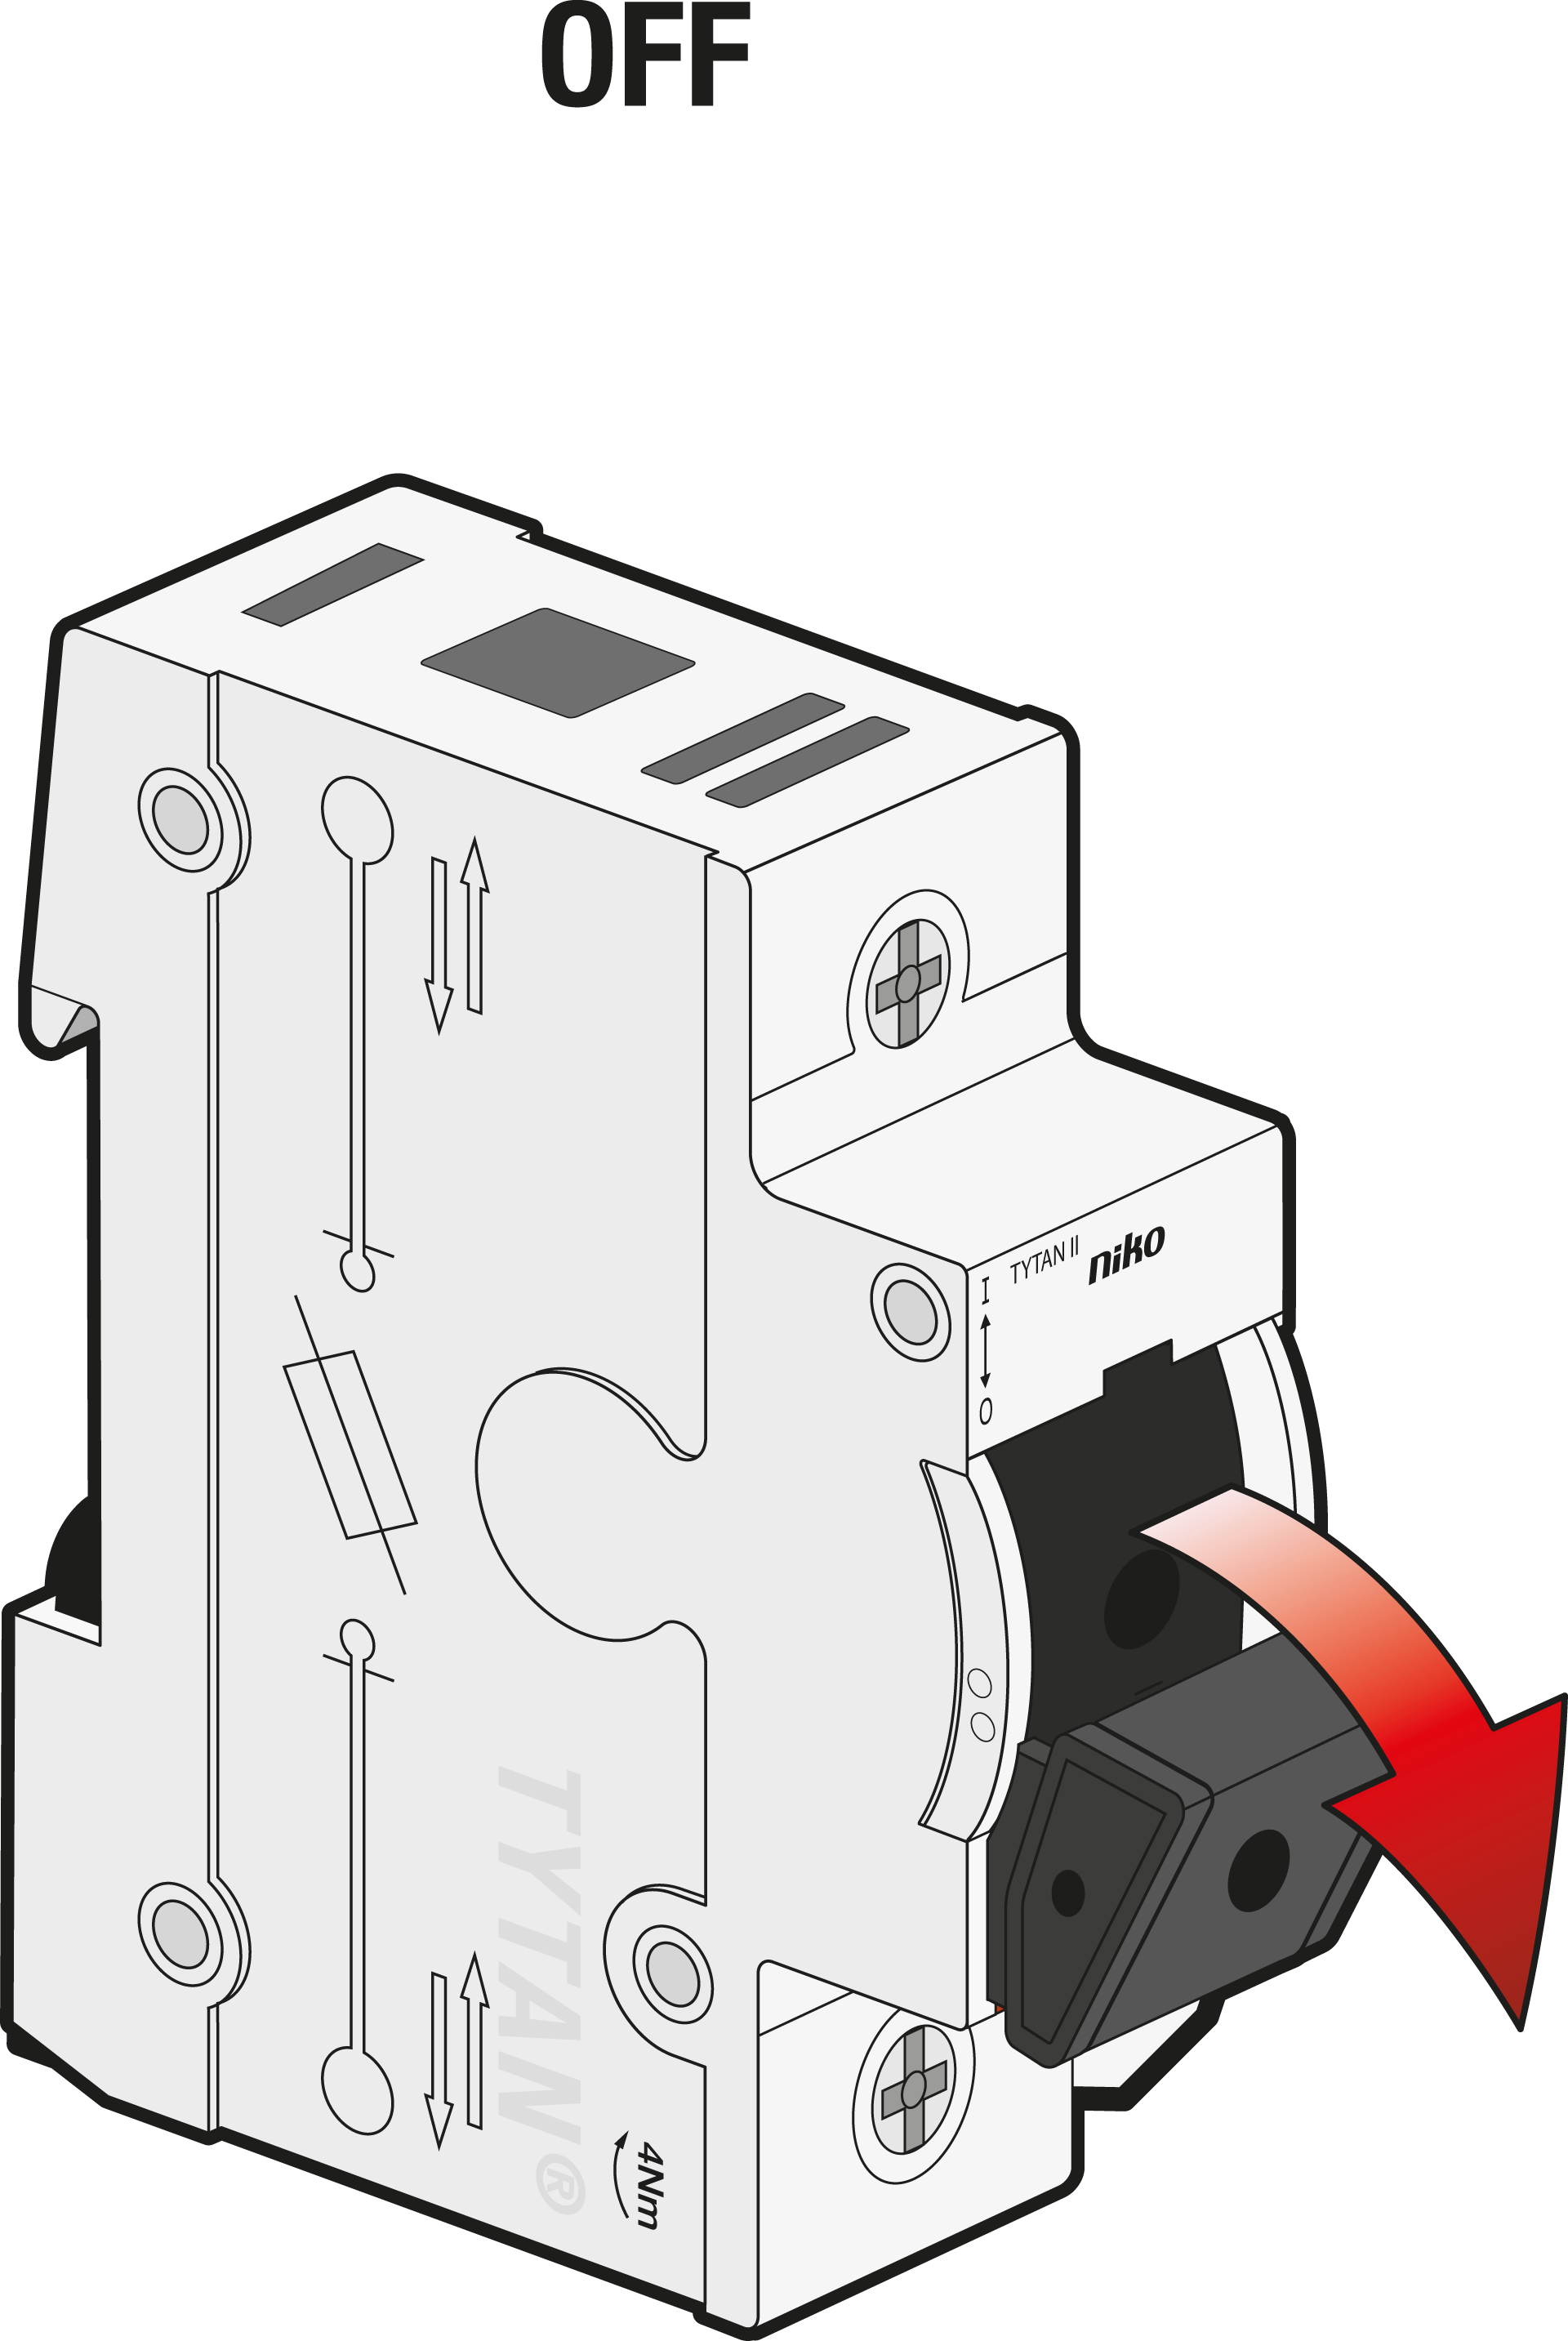
Step 1
Turn OFF.
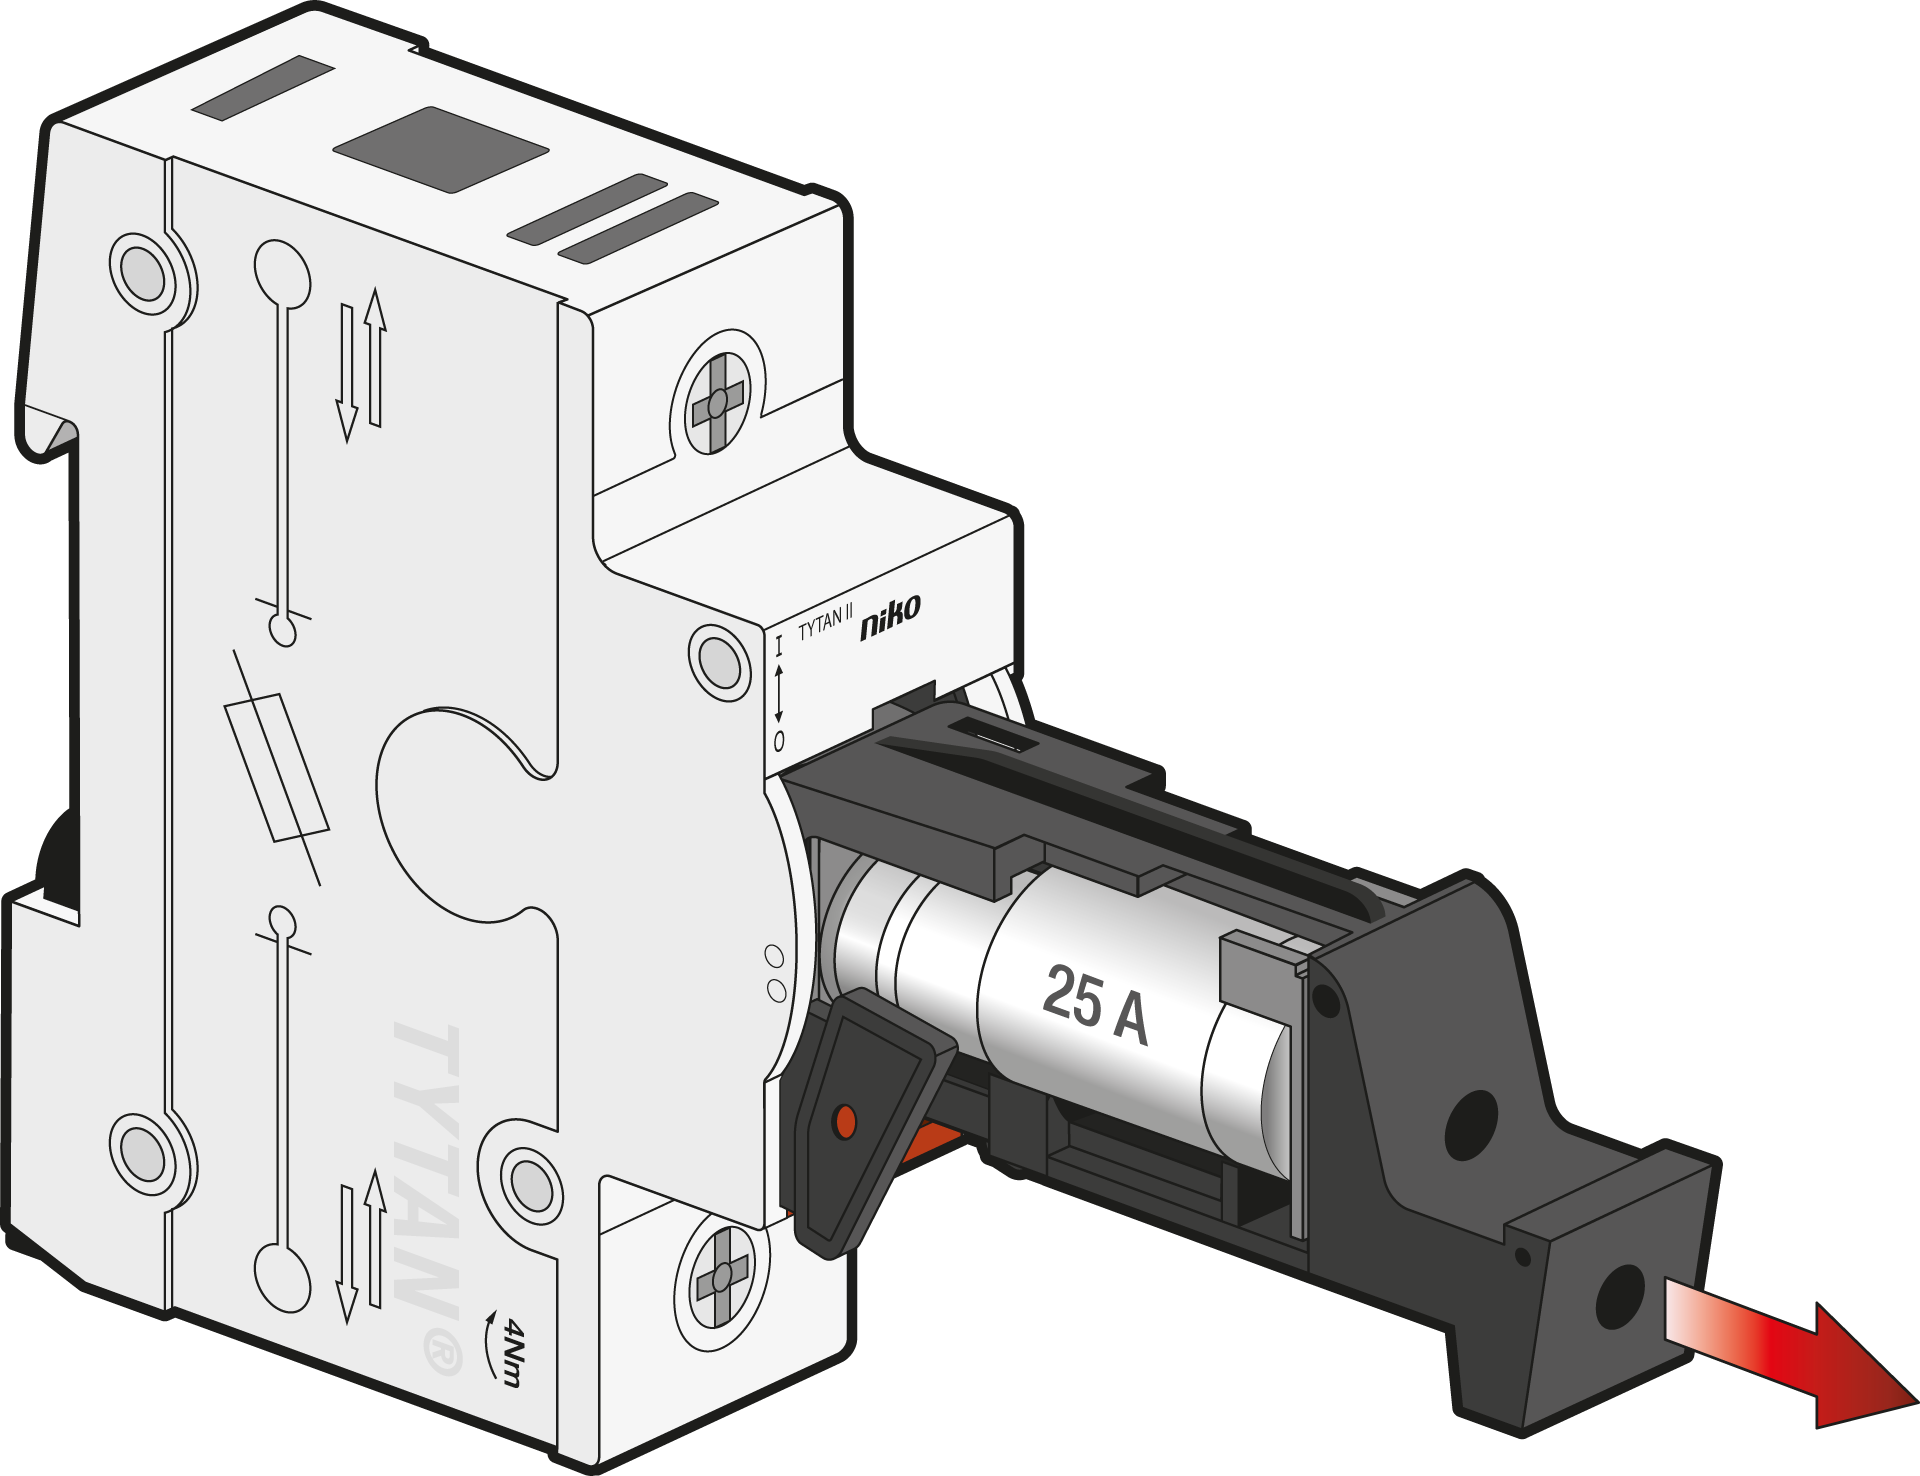
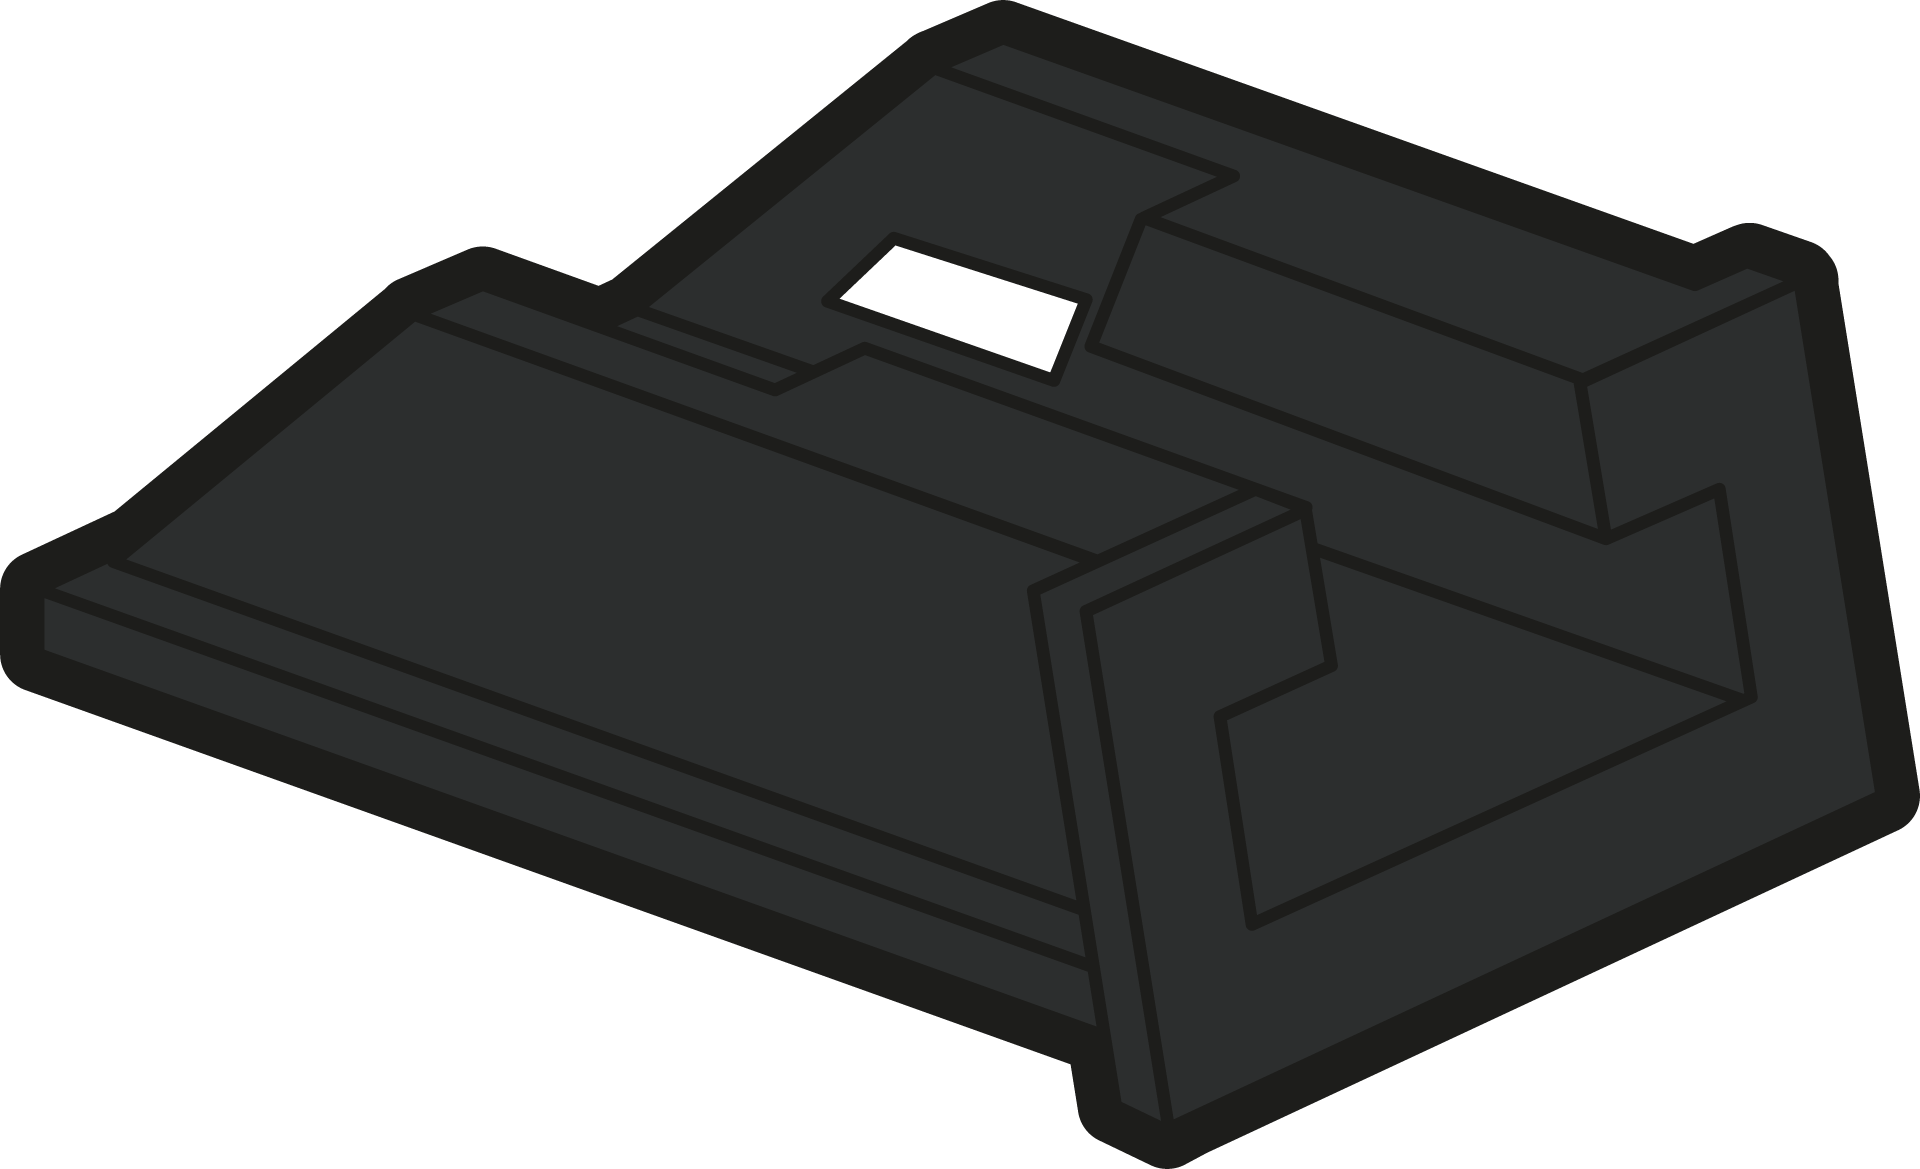
Step 2
Pull out the fuse plug.
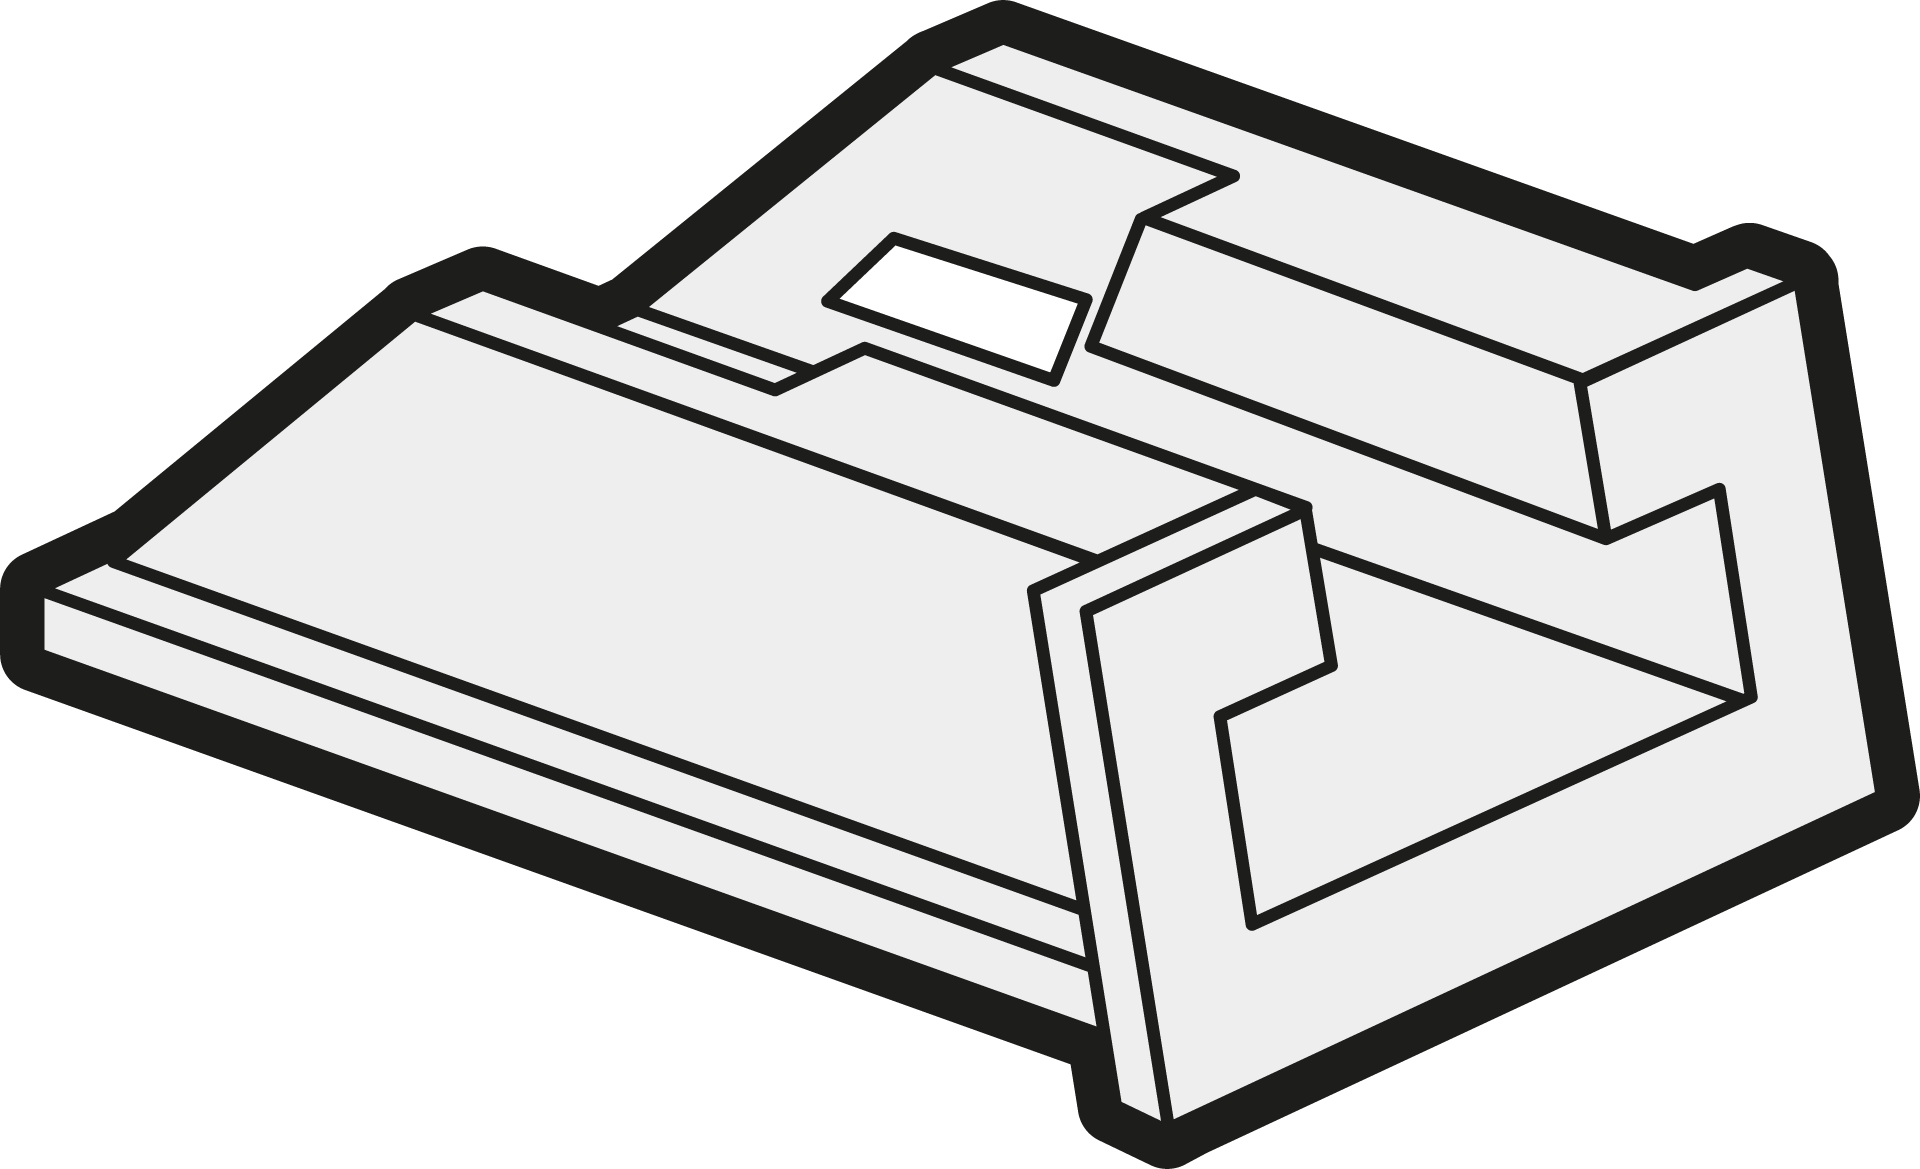
Step 3
Insert the new fuse plug.
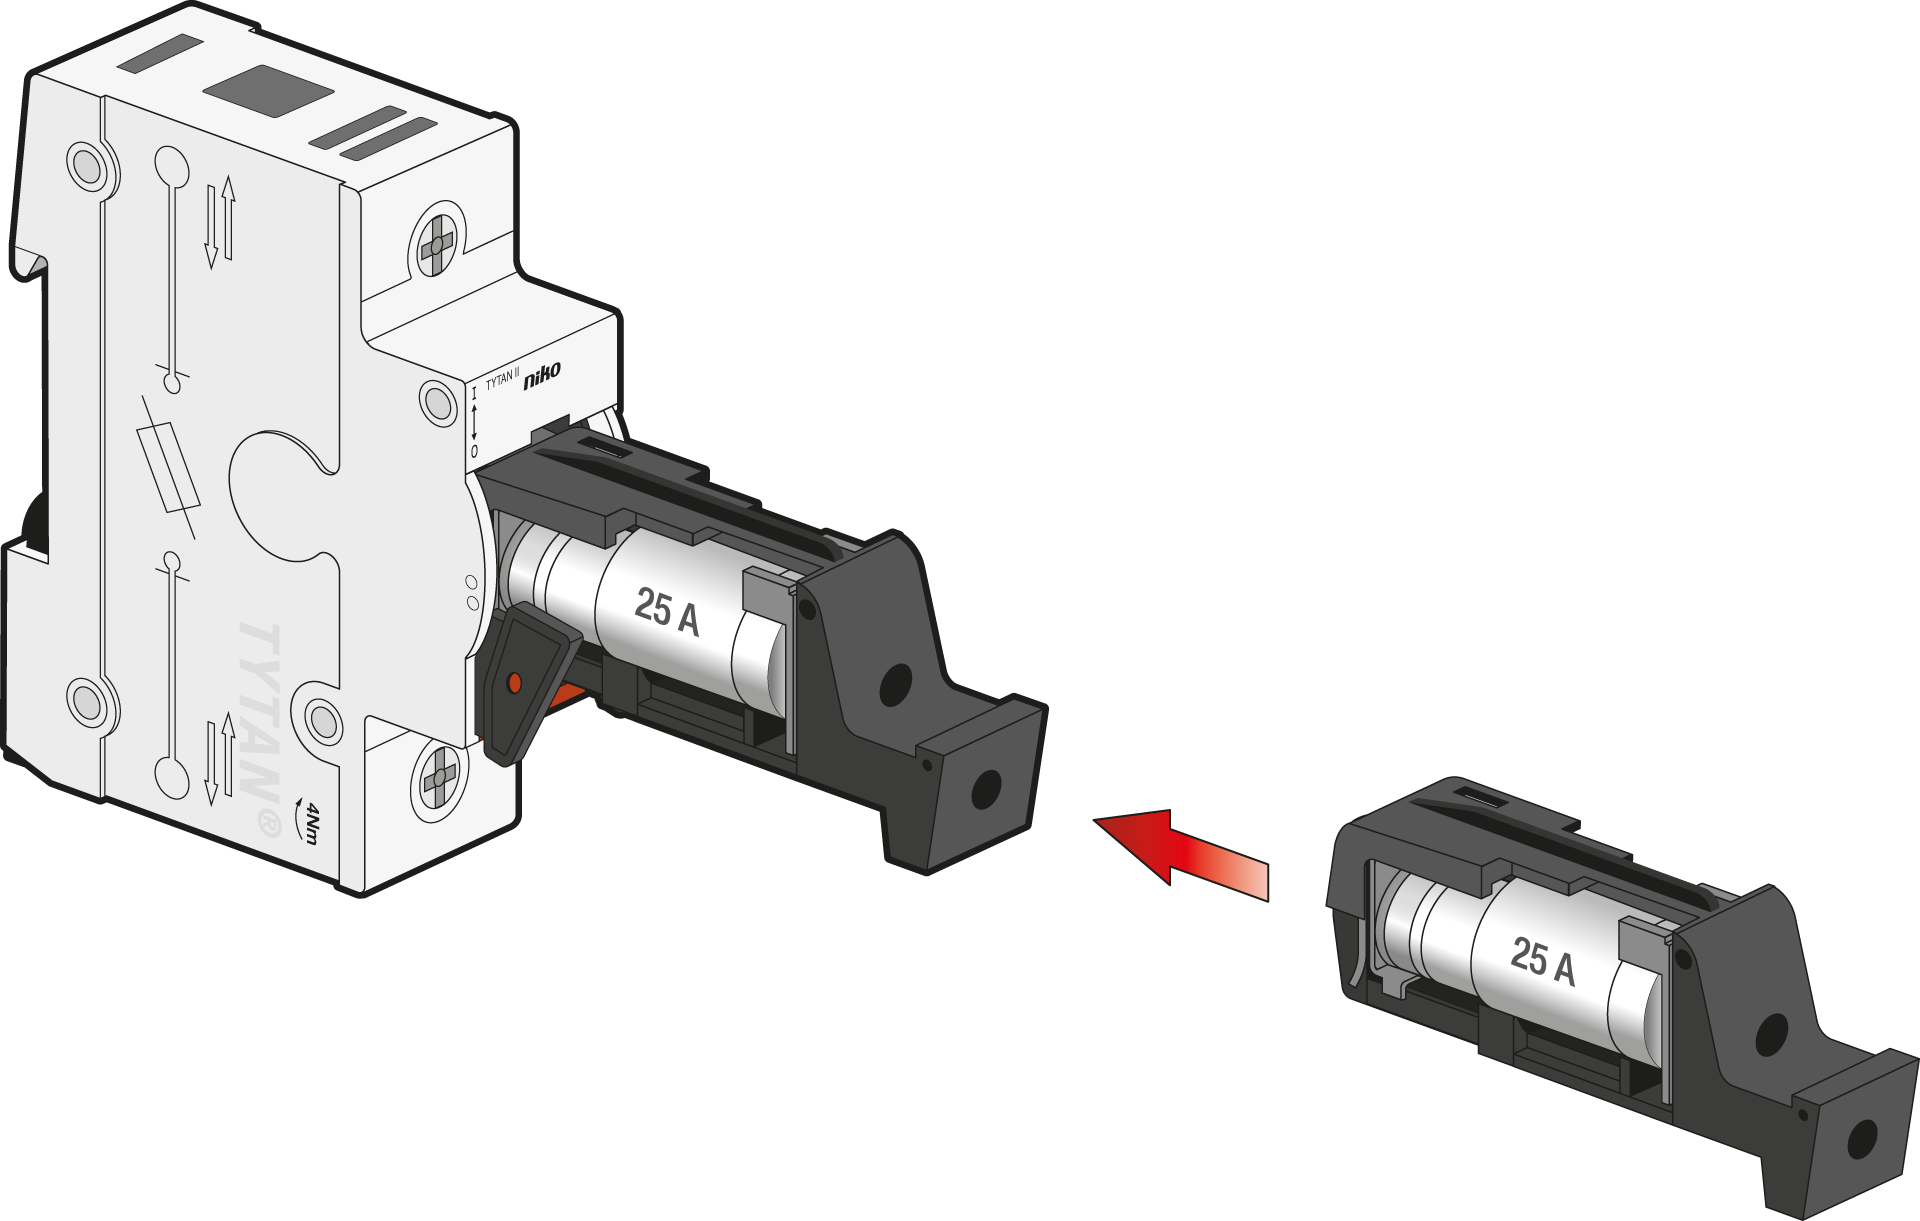
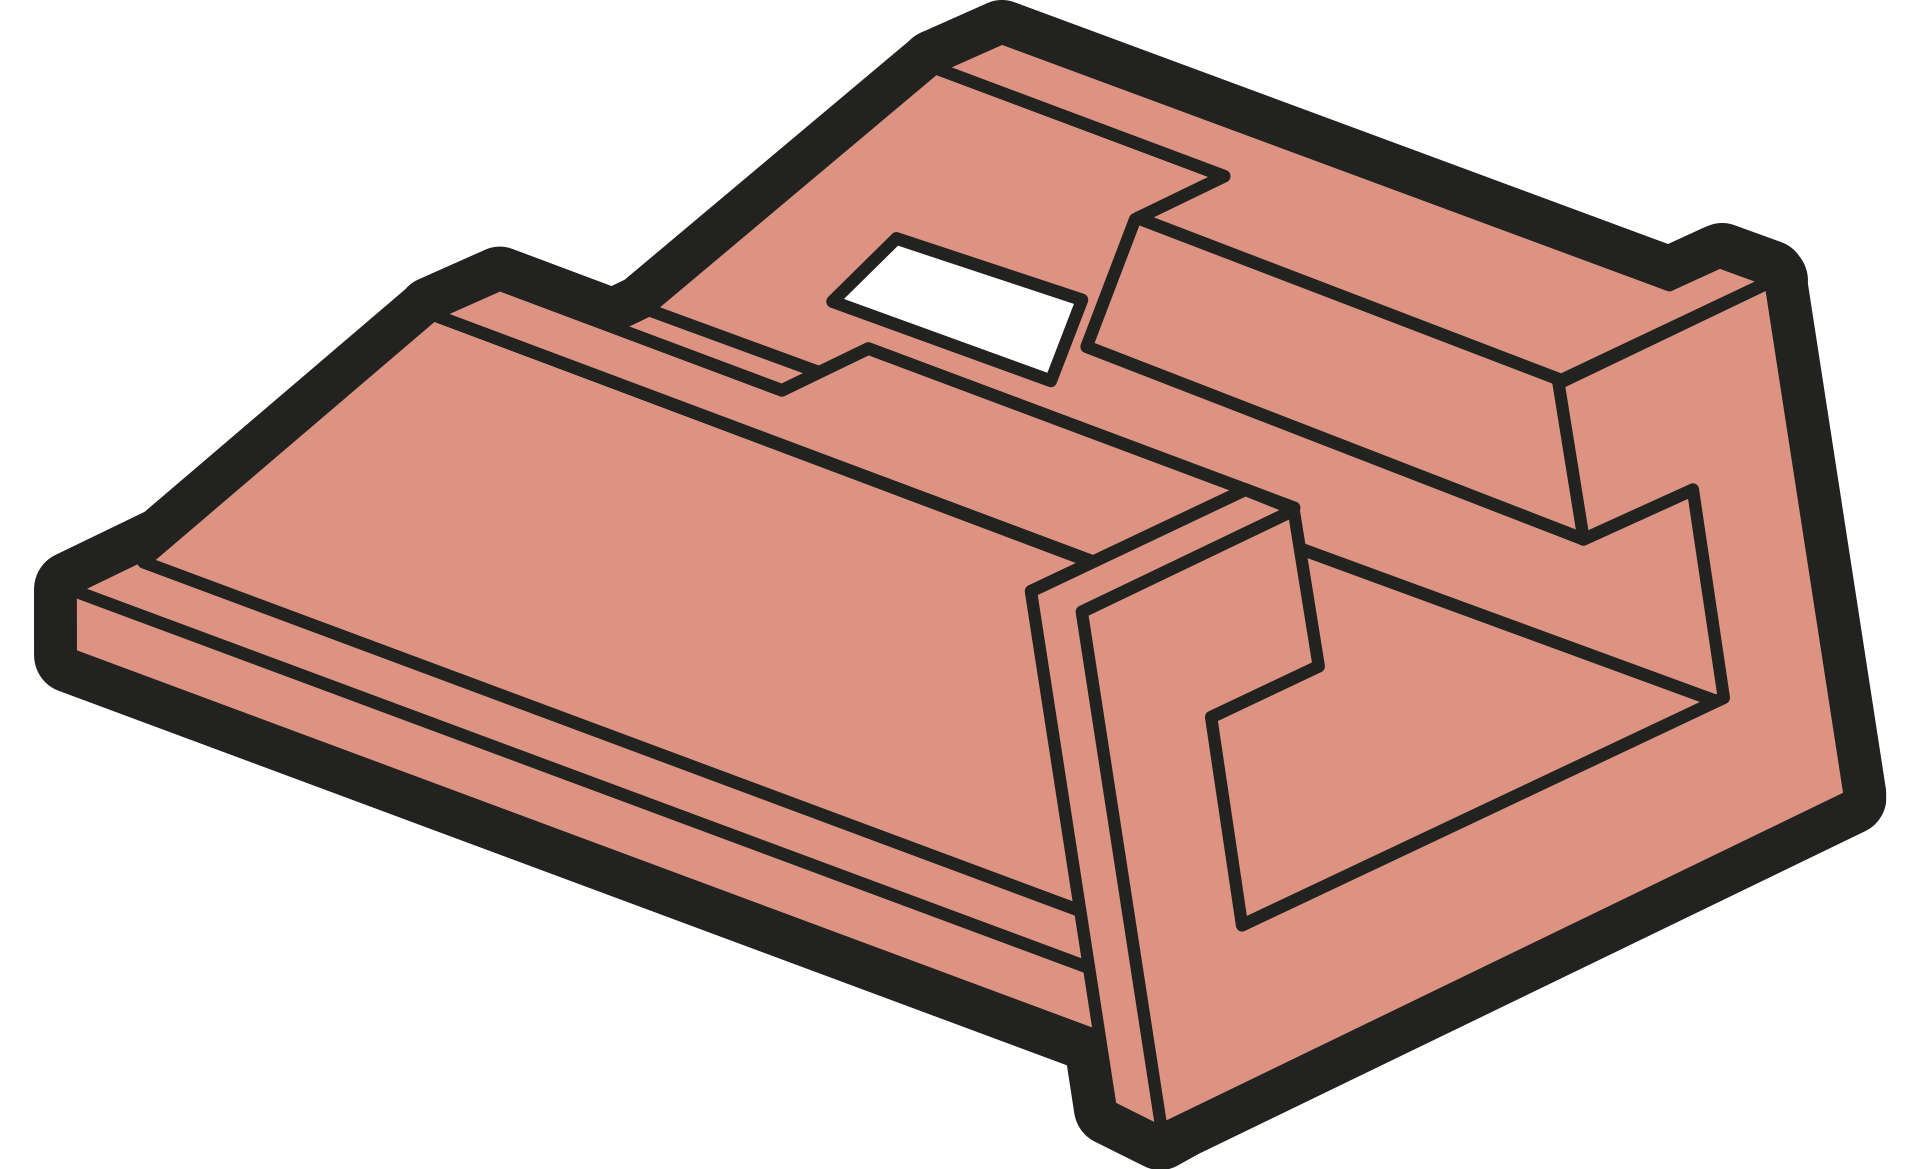
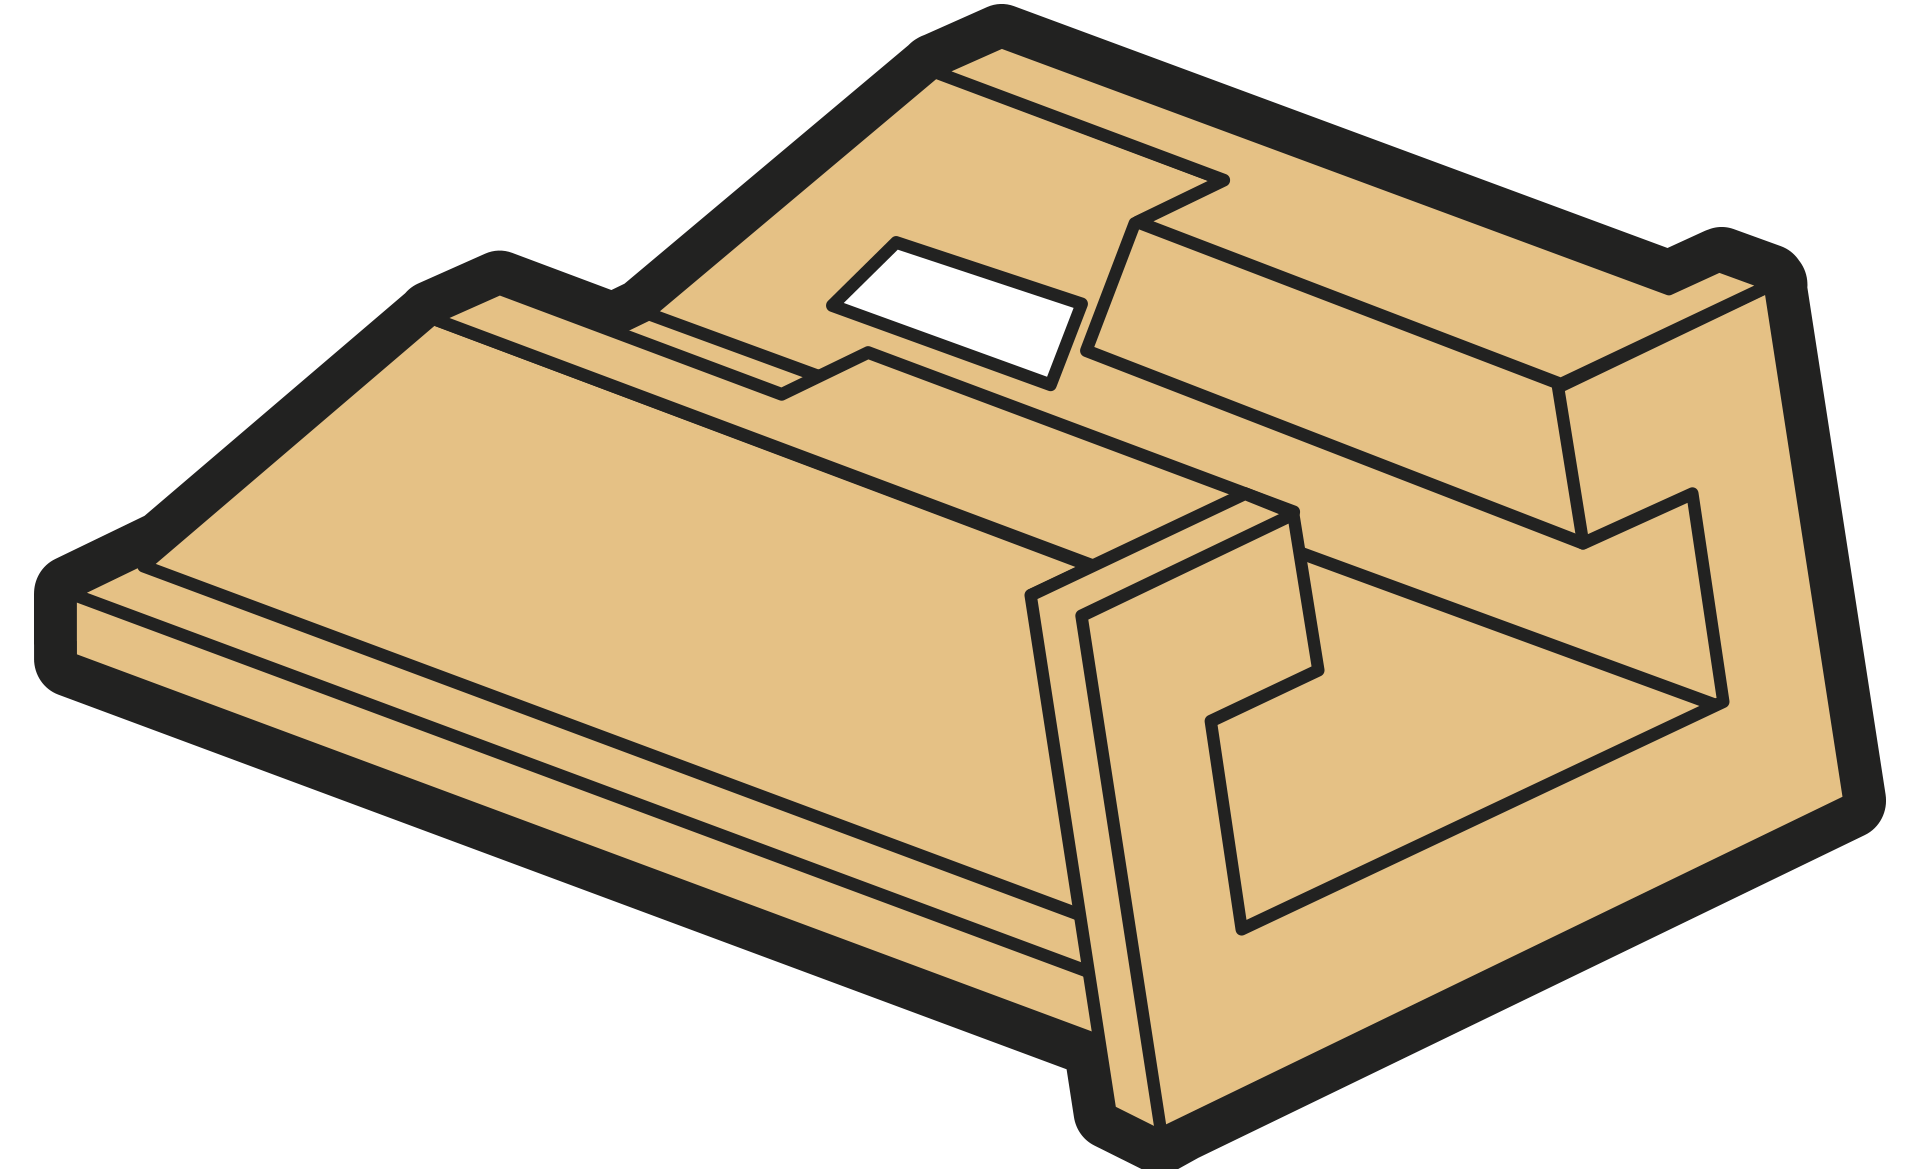
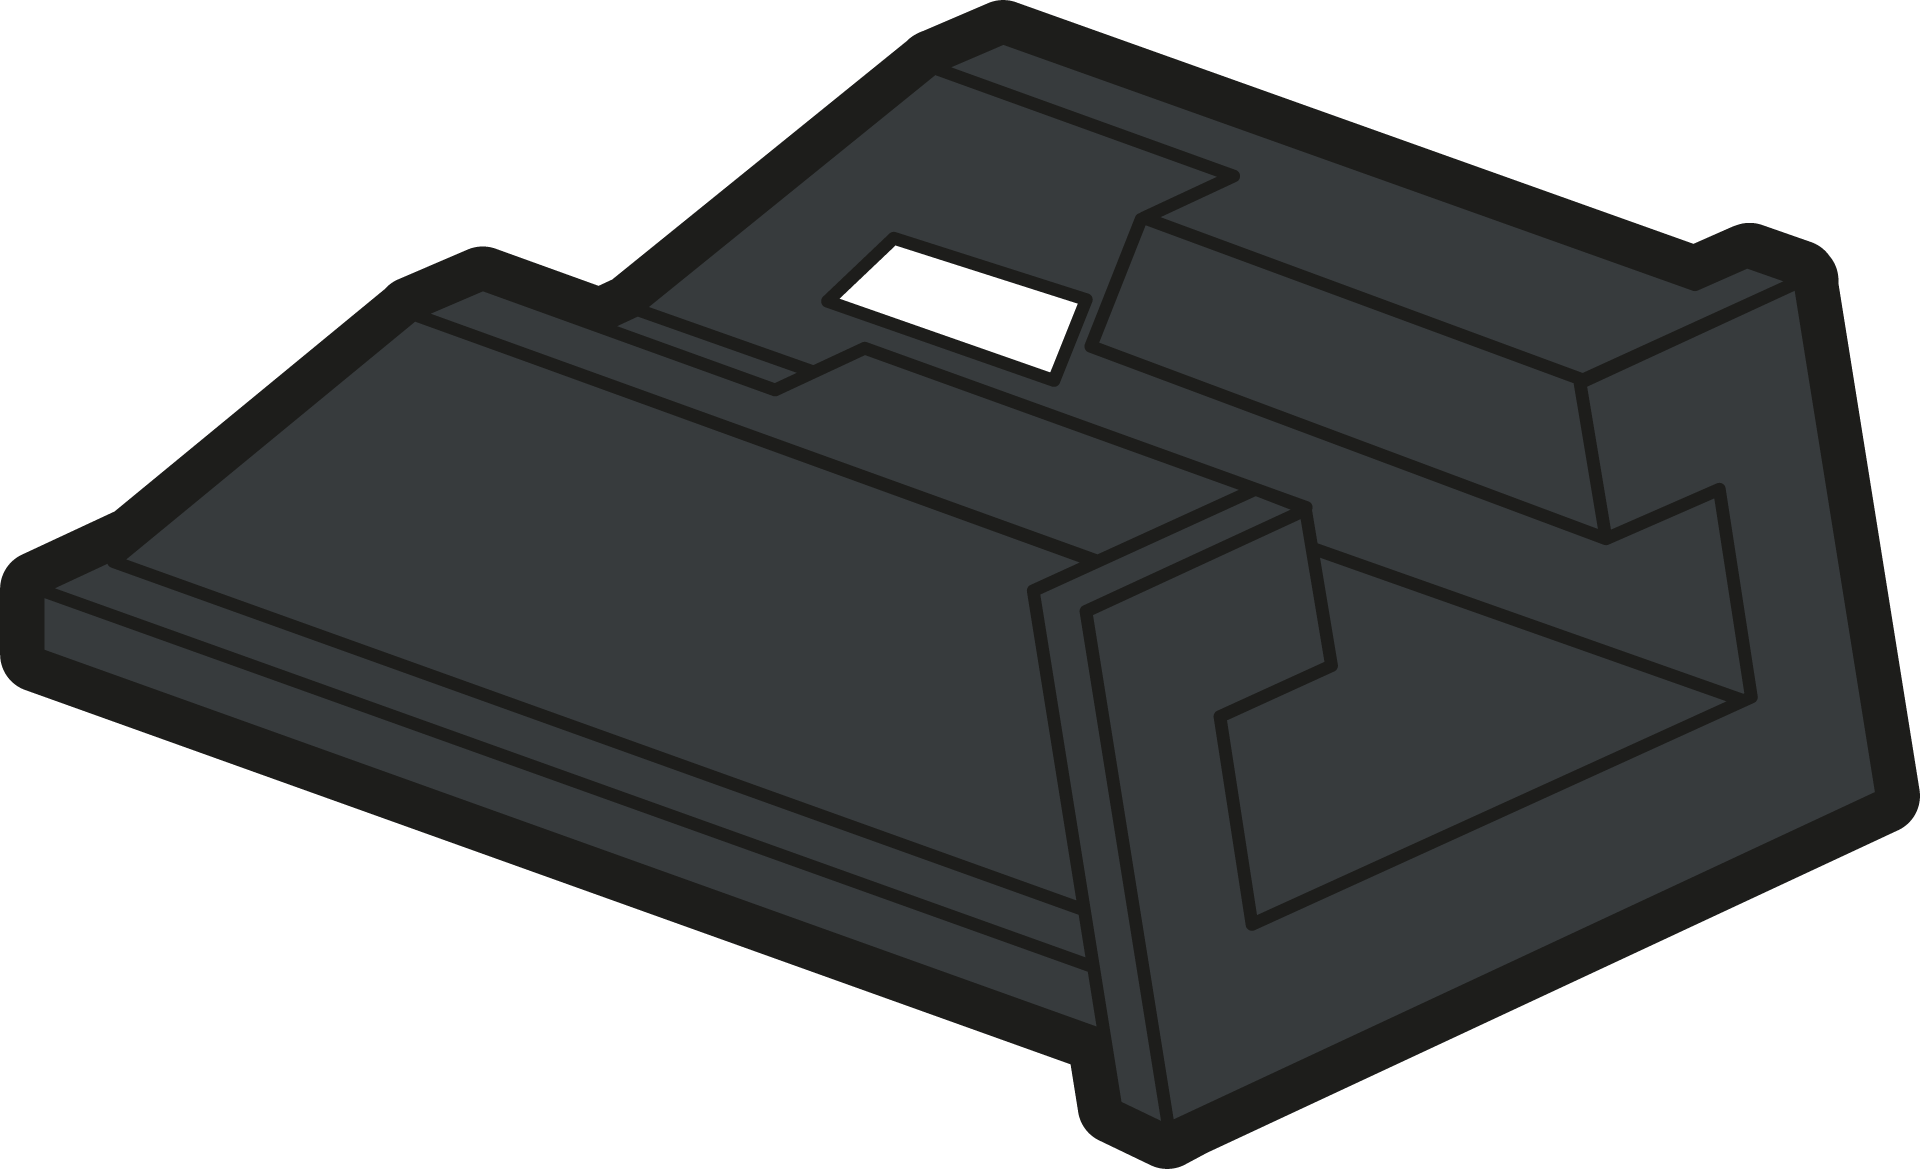
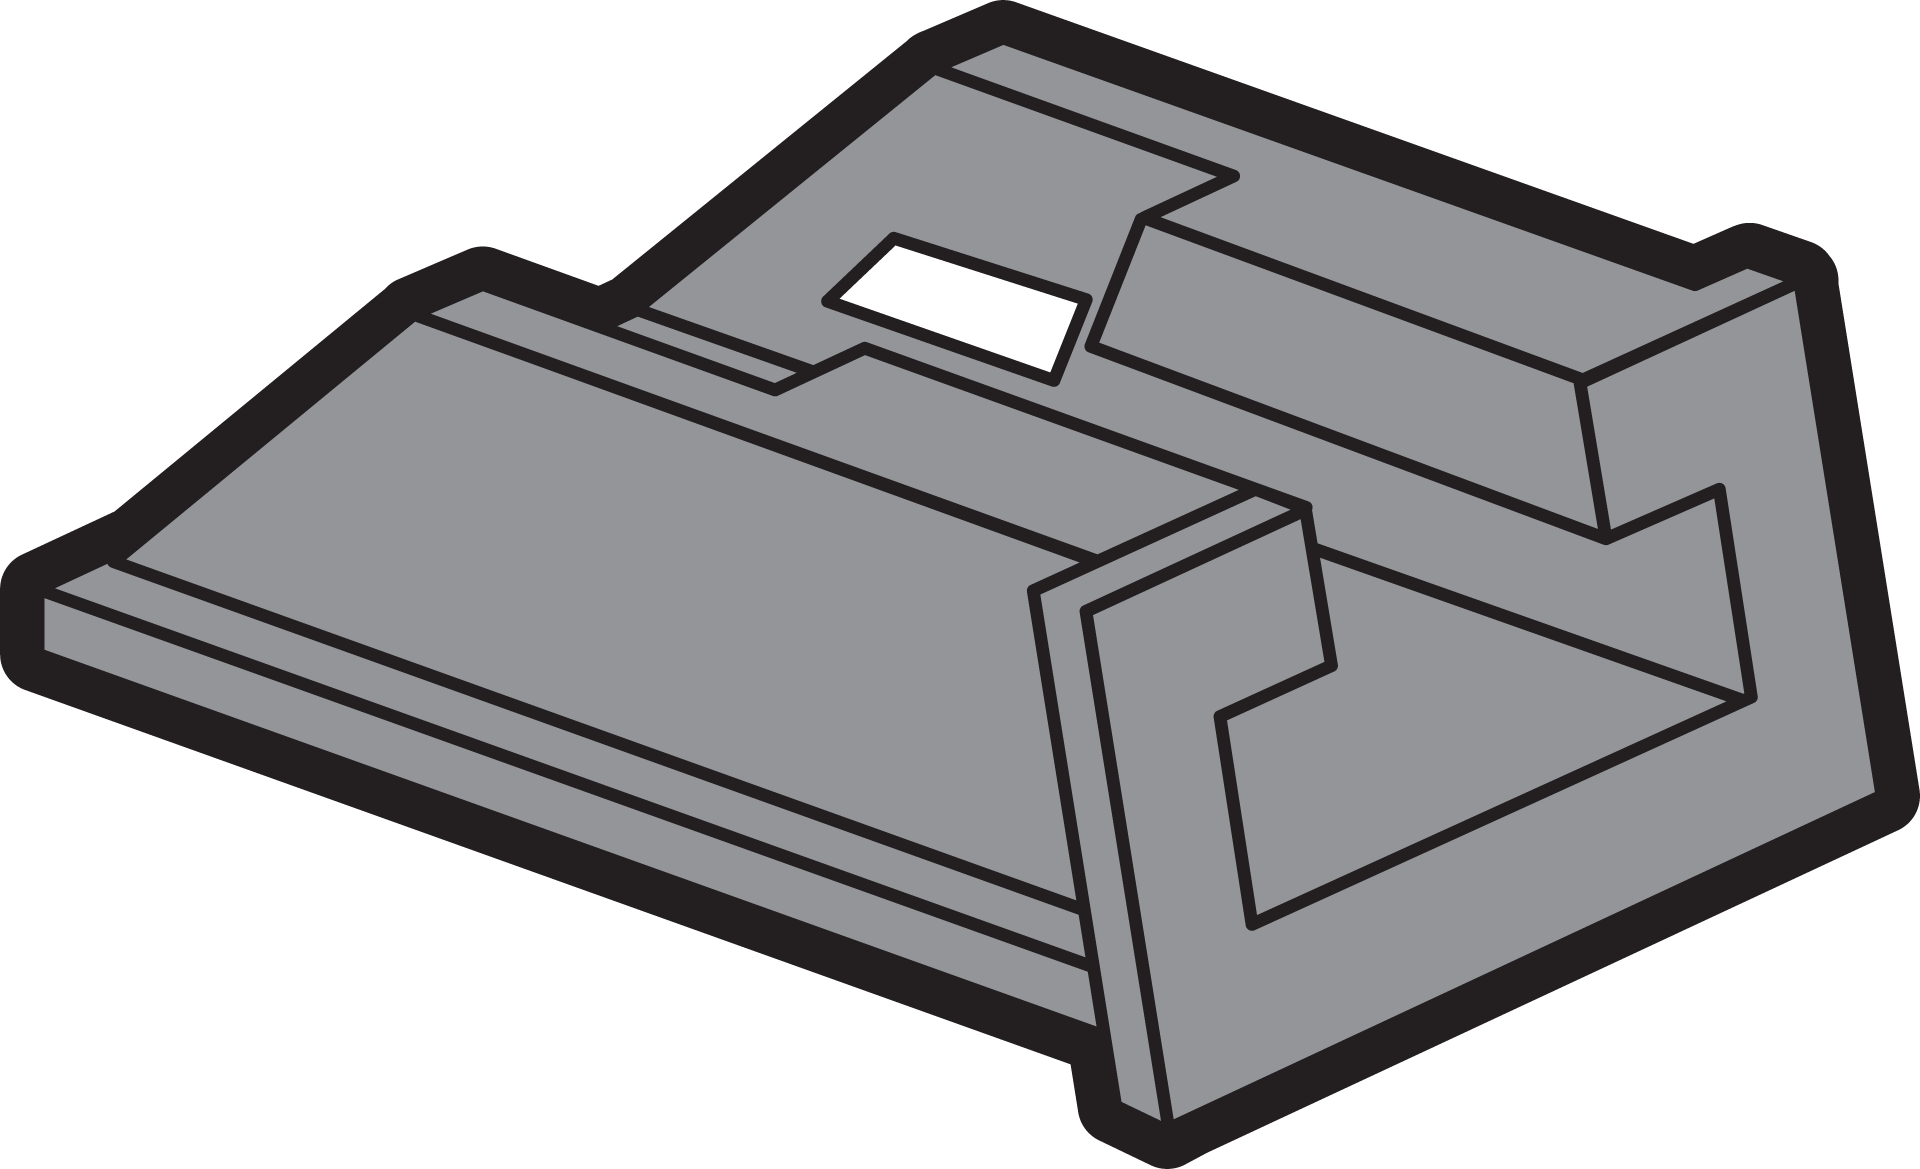
Check the colour of the indicator. Make sure that it matches to the correct fuse link.
|
Reference code |
Fuse link |
Colour coding |
|
|---|---|---|---|
|
2 A |
|
Pink |
|
|
4 A |
|
Brown |
|
|
6 A |

|
Green |
|
|
961-9130300 | TYTAN® II fuse plugs with LED indication 3x10A |
10 A |

|
Red |
|
961-9200300 | TYTAN® II fuse plugs with LED indication 3x13A |
13 A |
|
Black |
|
961-9140300 | TYTAN® II fuse plugs with LED indication 3x16A |
16 A |
|
Grey |
|
961-9150300 | TYTAN® II fuse plugs with LED indication 3x20A |
20 A |

|
Blue |
|
961-9160300 | TYTAN® II fuse plugs with LED indication 3x25A |
25 A |

|
Yellow |
|
961-9220300 | TYTAN® II fuse plugs with LED indication 3x32A |
32 A |

|
Violet |
|
961-9170300 | TYTAN® II fuse plugs with LED indication 3x35A |
35 A |
|
Black |
|
961-9230300 | TYTAN® II fuse plugs with LED indication 3x40A |
40 A |

|
Green |
|
961-9180300 | TYTAN® II fuse plugs with LED indication 3x50A |
50 A |
|
White |
|
961-9190300 | TYTAN® II fuse plugs with LED indication 3x63A |
63 A |

|
Copper |
Step 4
Switch ON.