3.3 Upload your Niko Home Control II programming file to your installation
Remark:
If you received an email with a programming file from Niko or you built one yourself via the Niko Home Control II programming software, you can proceed with the following steps.
If you do not have a converted programming file, do not continue! Your installation will no longer work!
The programming file will be named YourProject.nhc2 below.
STEP 1: Connect your computer to the same network as your connected controller. In most cases this is your local network. You can also use WiFi.
Remark: If this method of connection does not work, you still have the option of connecting directly to the Connected Controller using an Ethernet cable.
Connected controller
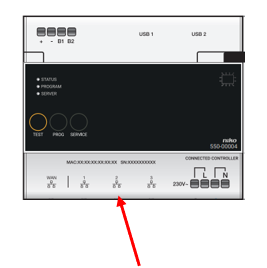
Ethernet cable

The network ports are located at the bottom on the Connected Controller. It is best to connect to one of the ports labeled 1, 2 or 3.
These ports are only accessible if you remove the protective plate from the electrical board. If necessary, turn off the power during the time the plate is removed.
Make sure the power is back on before proceeding to step 3.
STEP 2: Install the Niko Home Control II programming software on your computer
STEP 3: Open the file you received from Niko. In most cases this file can be found in your downloads folder. You can open the file by double clicking on the "MyProject.nhc2" file.
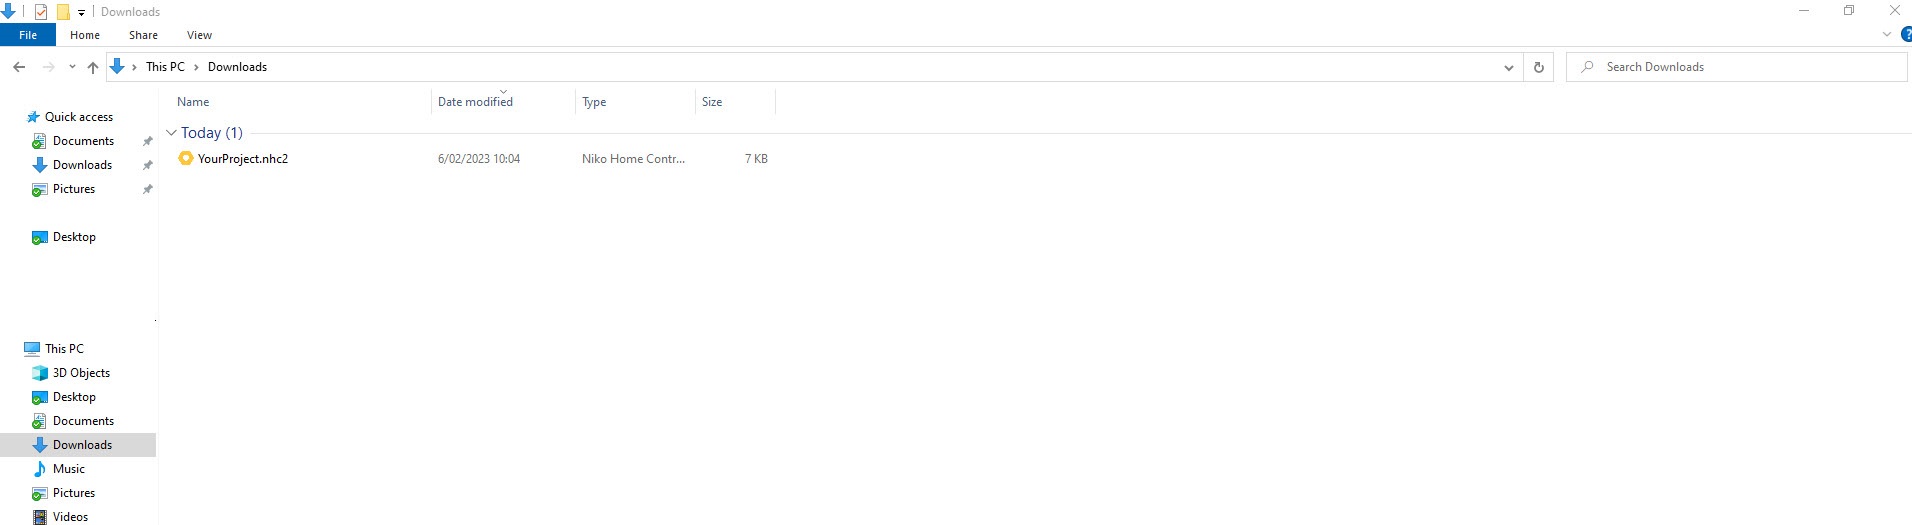
Remark: Should you see an error message check the additional information at the bottom.
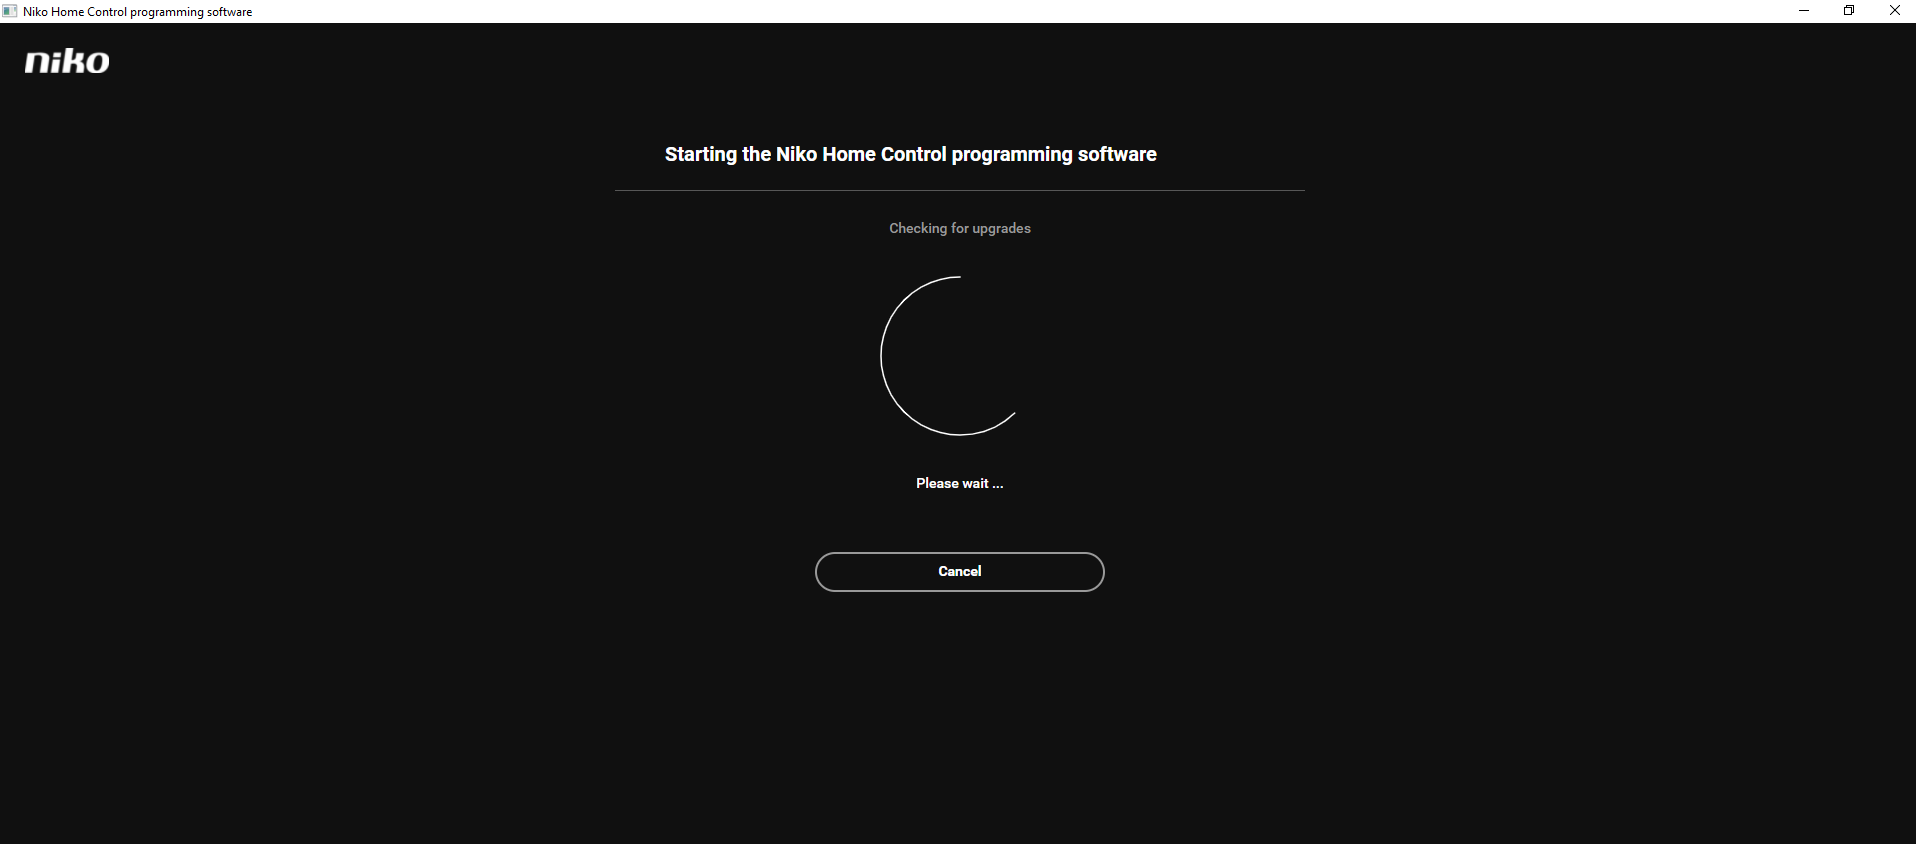
STEP 4: Perform the upgrade of the programming software if available.
The programming software will automatically check for upgrades:
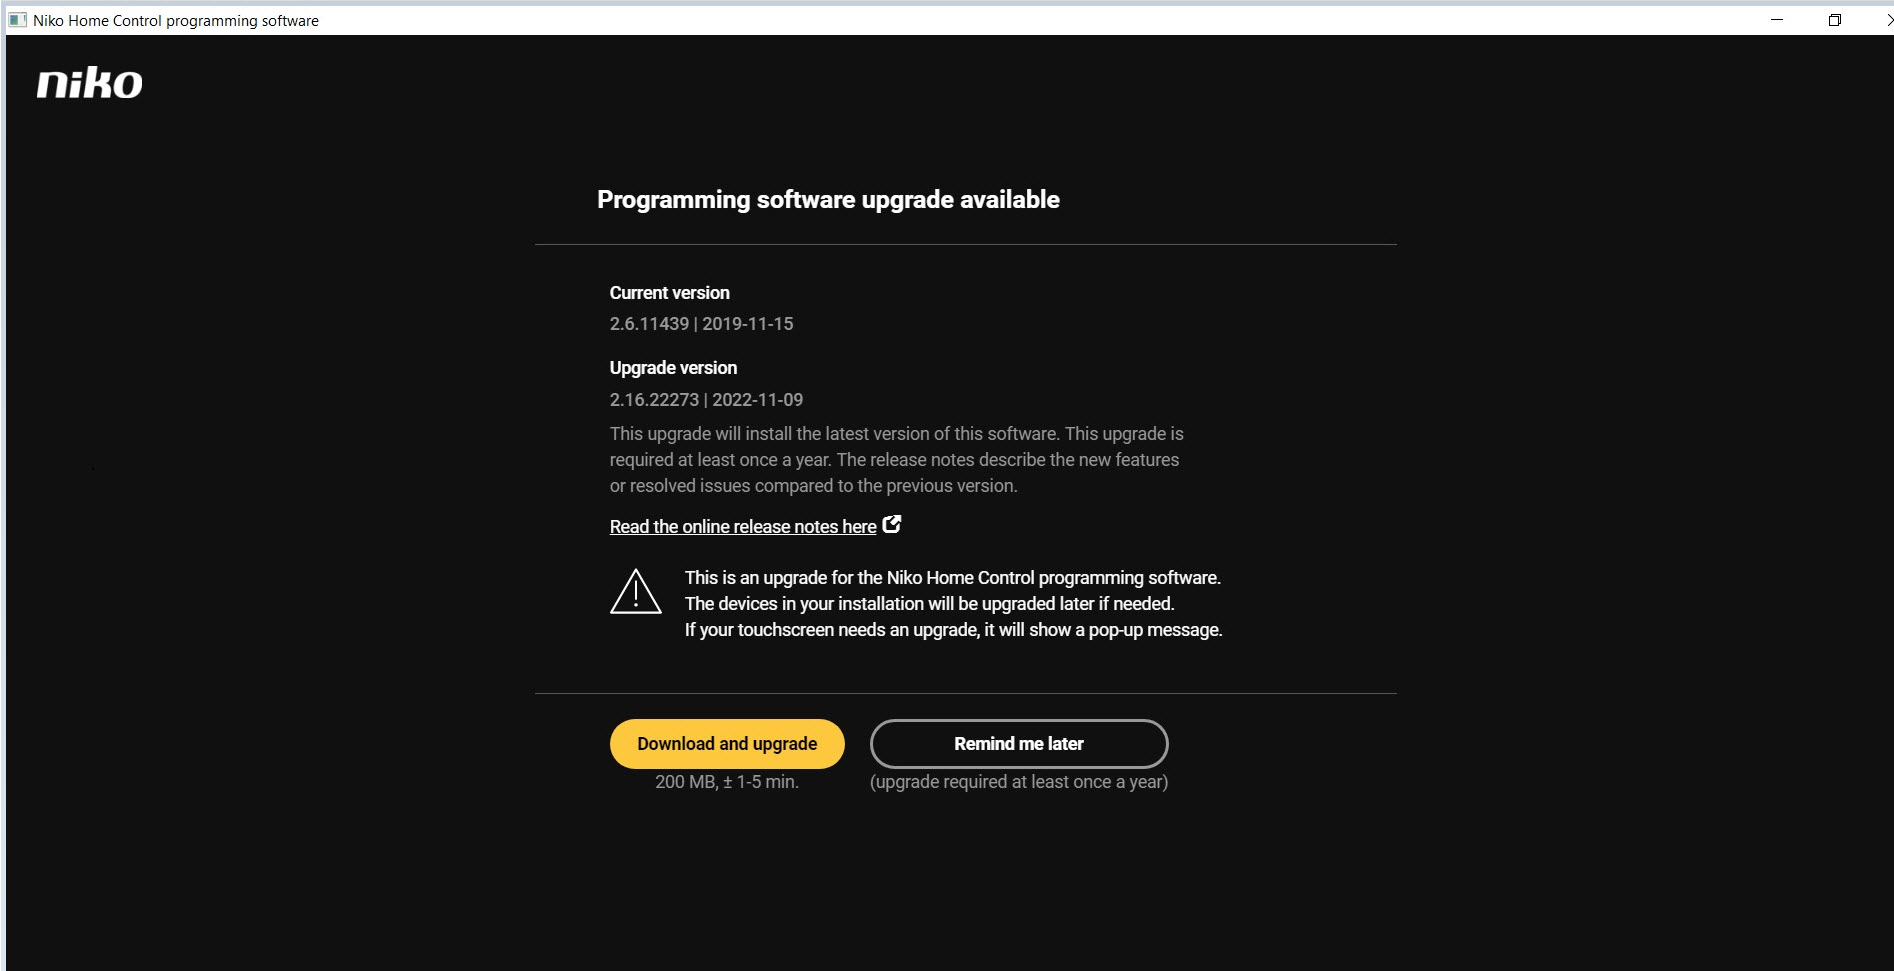
If an upgrade of the programming software is available, following screen is shown.
Start the upgrade by clicking on "Download and upgrade". Wait for the upgrade to complete and then proceed to the next step.
STEP 5: Upgrade Controller. If you don't get the upgrade popup proceed to STEP 6.
Your installation was equipped with a connected controller before the upgrade
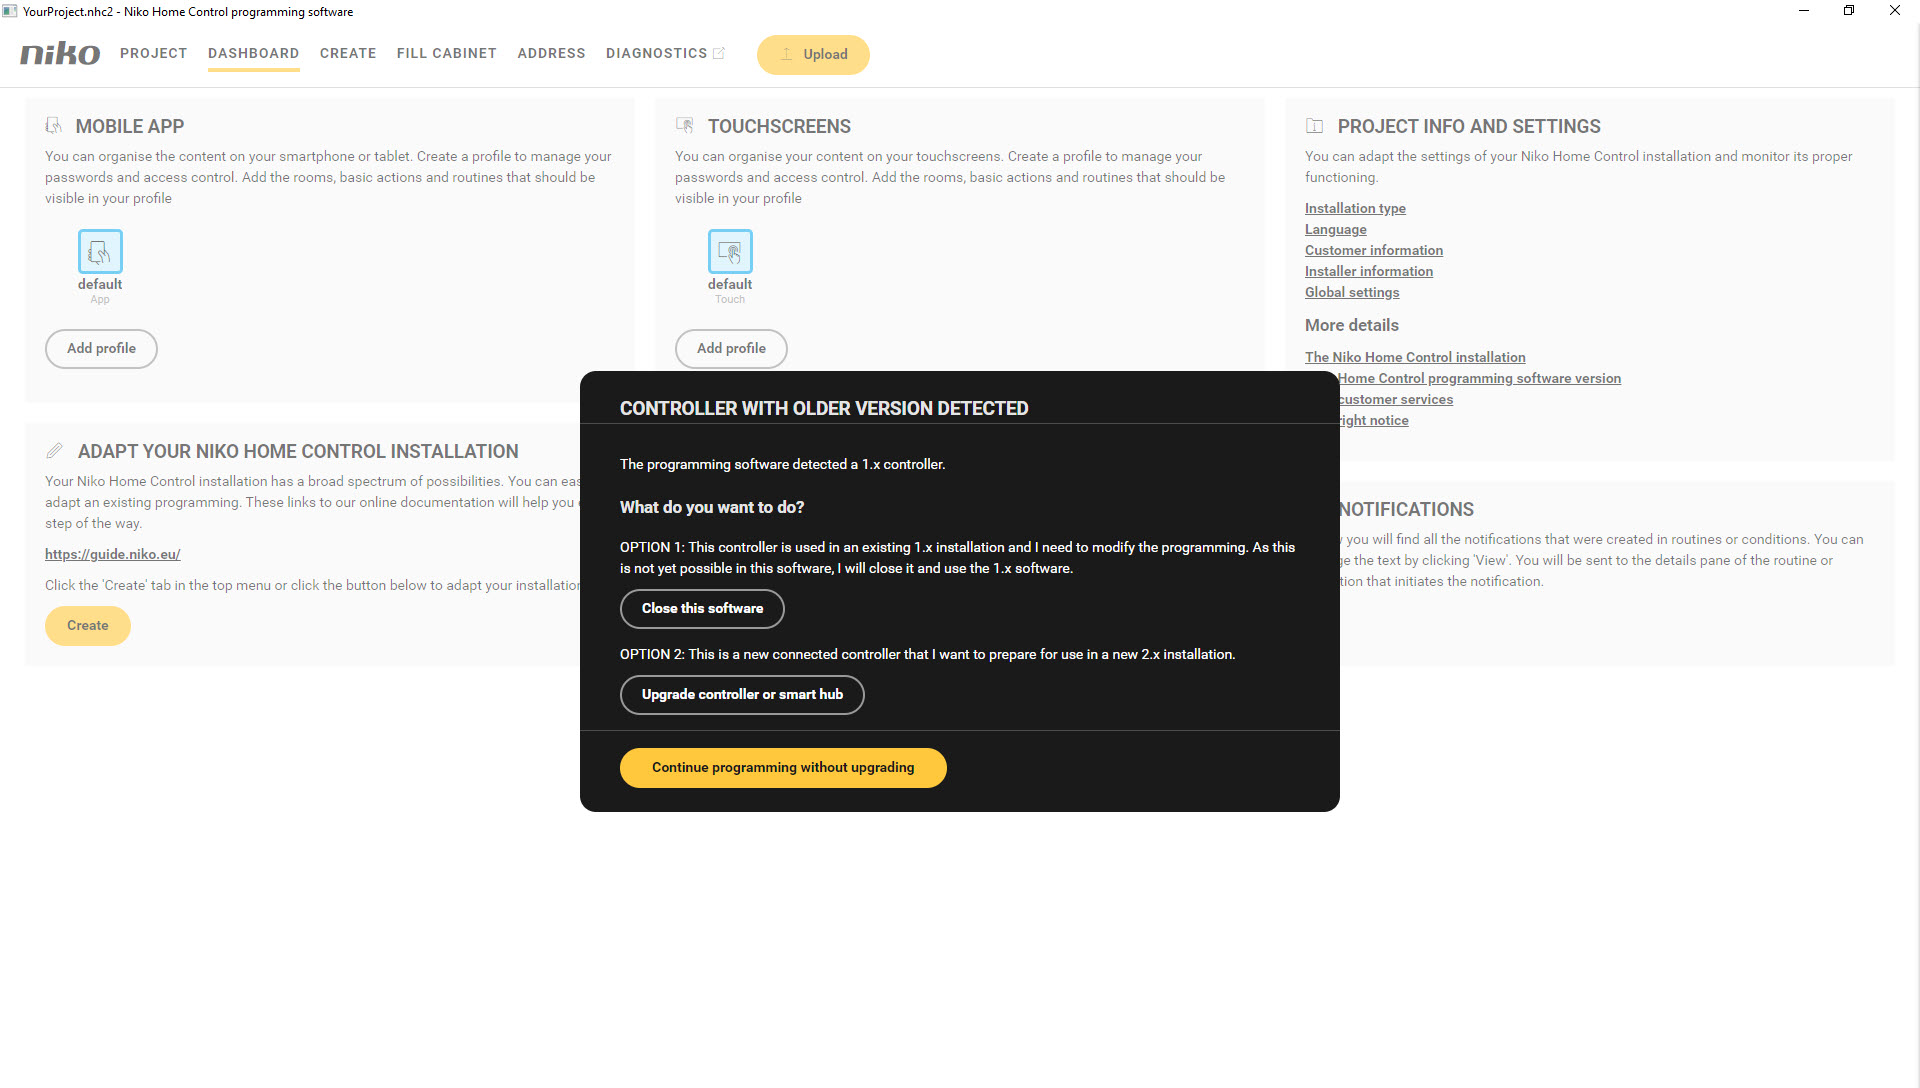
Click on "Upgrade controller or smart hub".
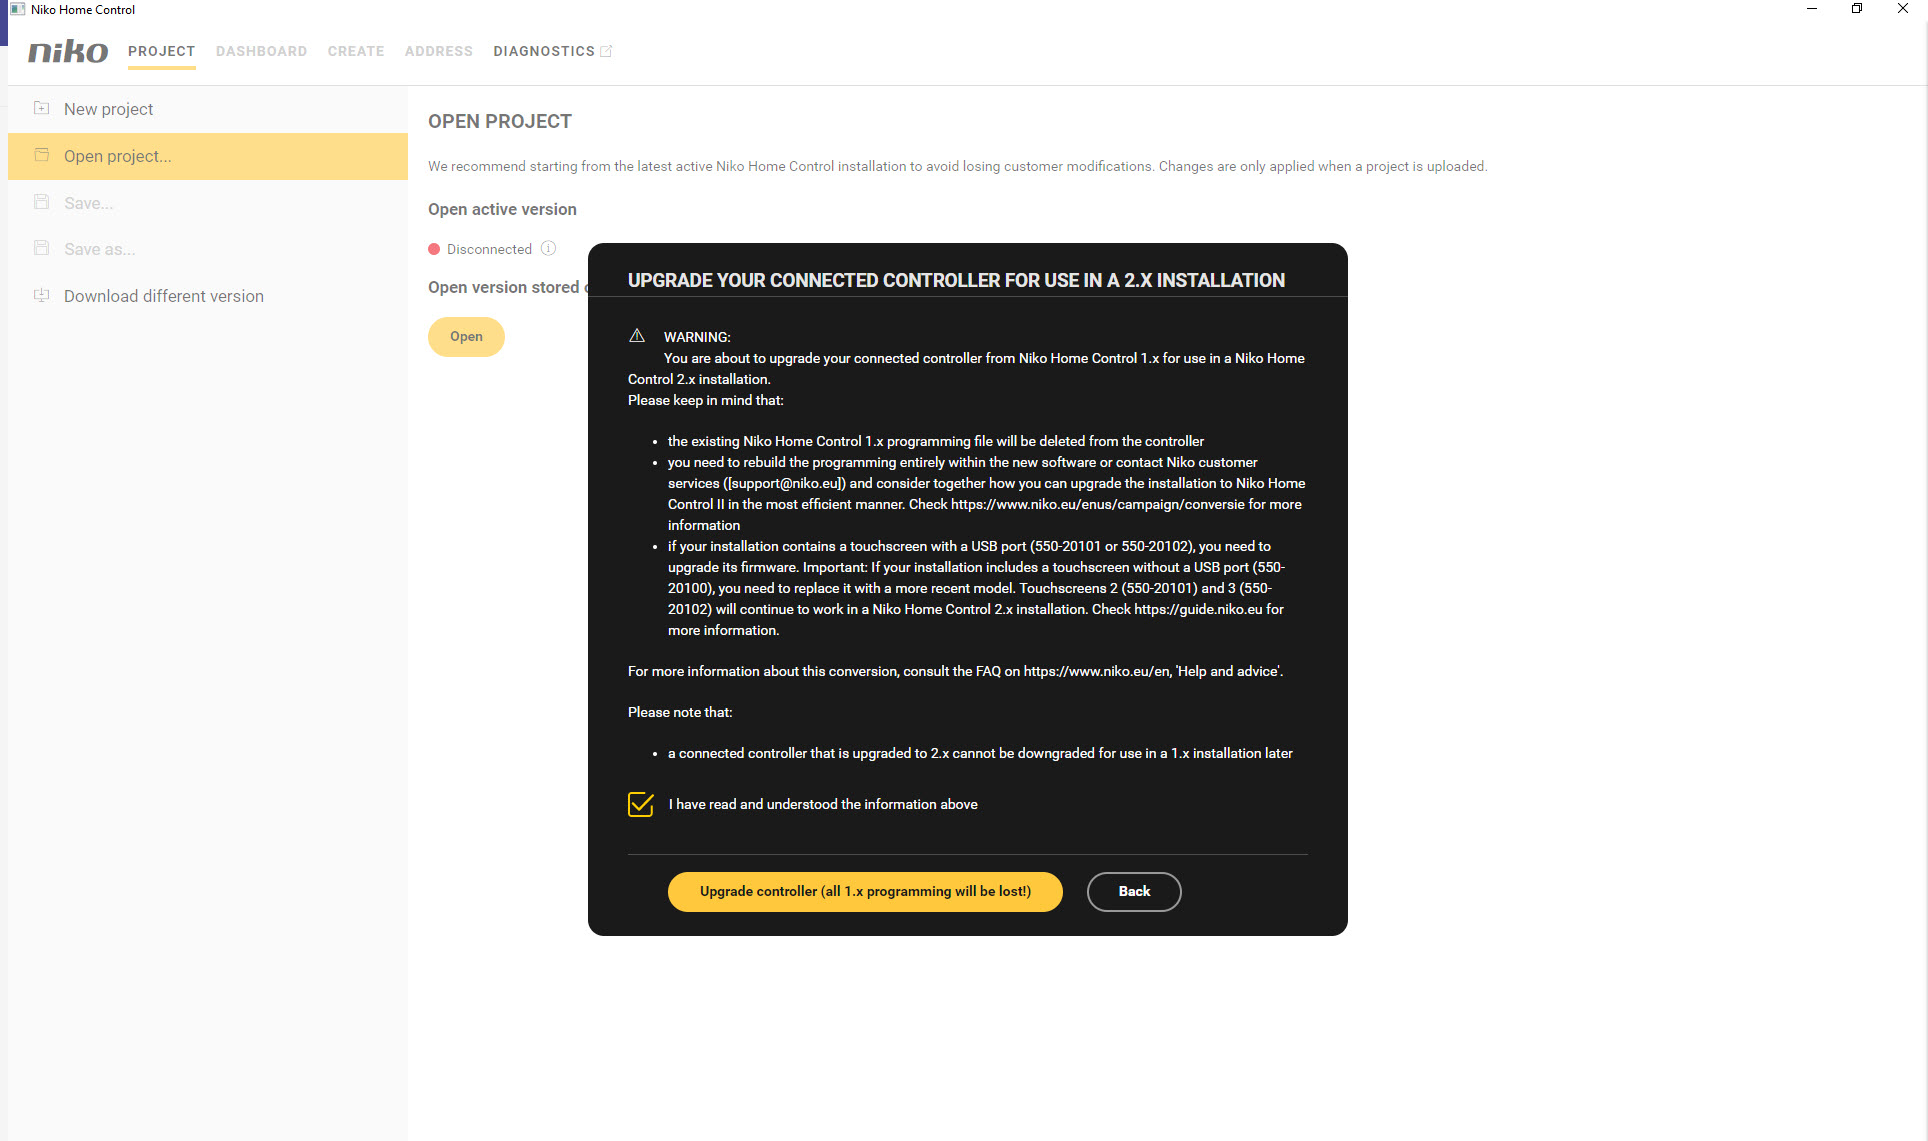
You will receive an additional warning: Select "I have read and understood the information above" and click on "Upgrade controller (all NHCI.x programming will be lost!)
You received a connected controller from Niko
The programming software will automatically check if an upgrade for the controller is necessary. Following screen will be opened:
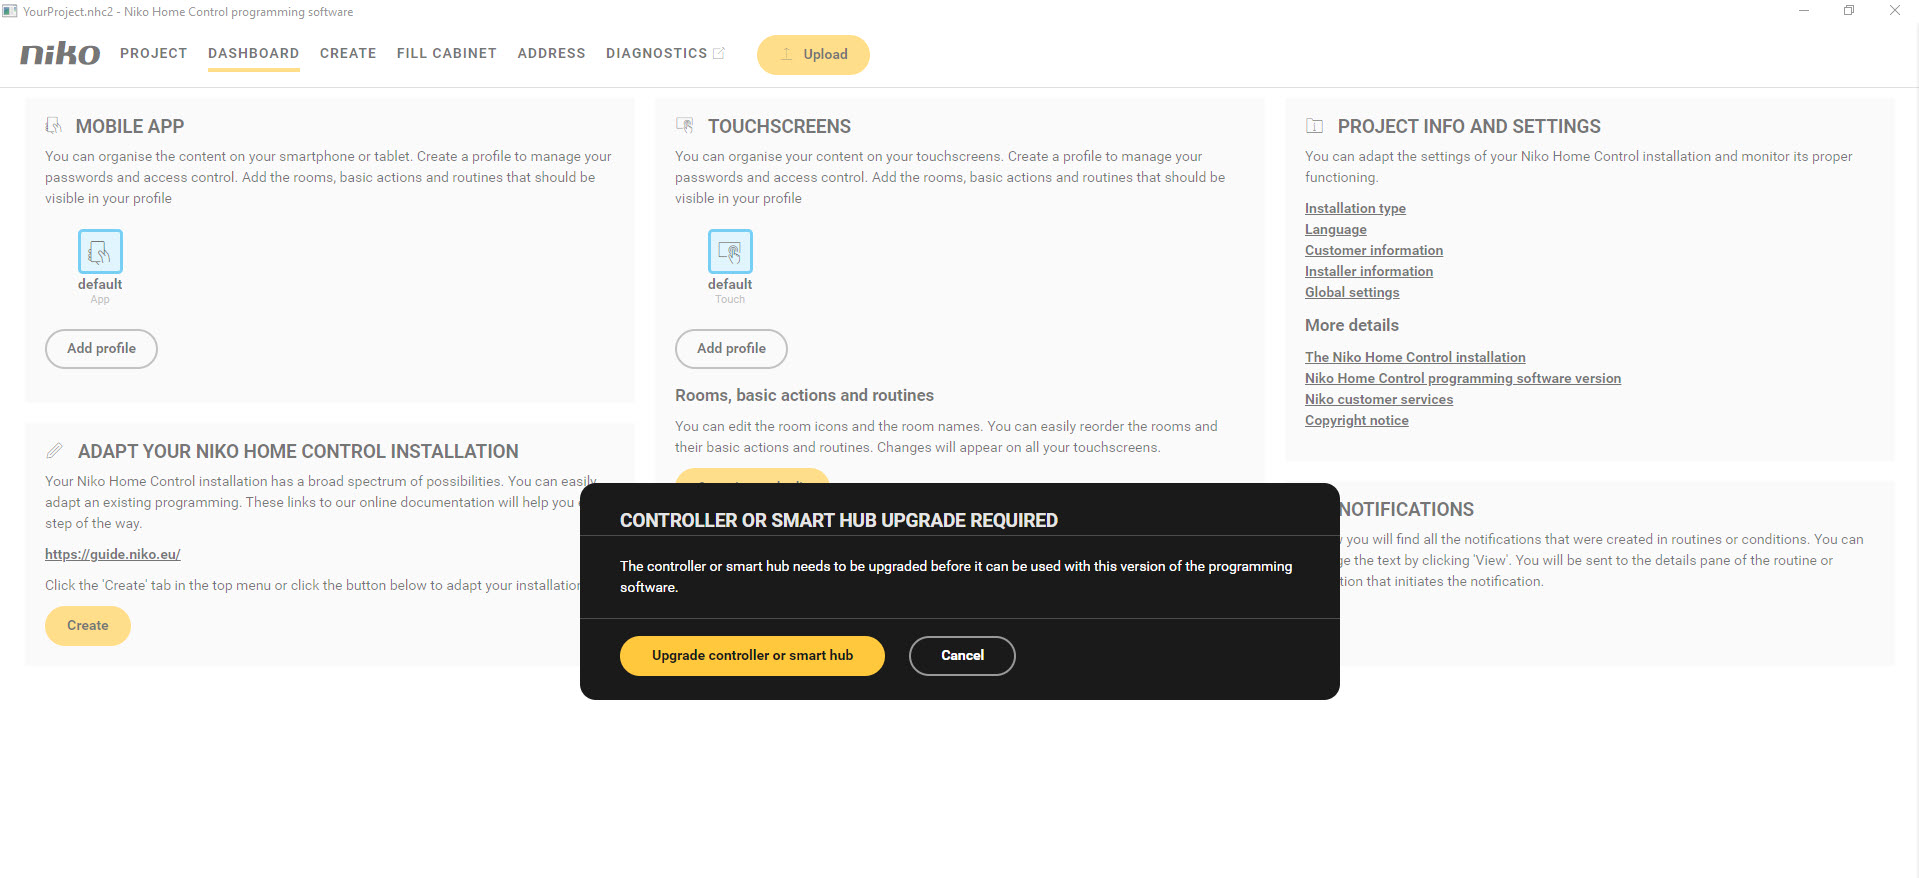
Click on "Upgrade controller or smart hub" to go to next screen:
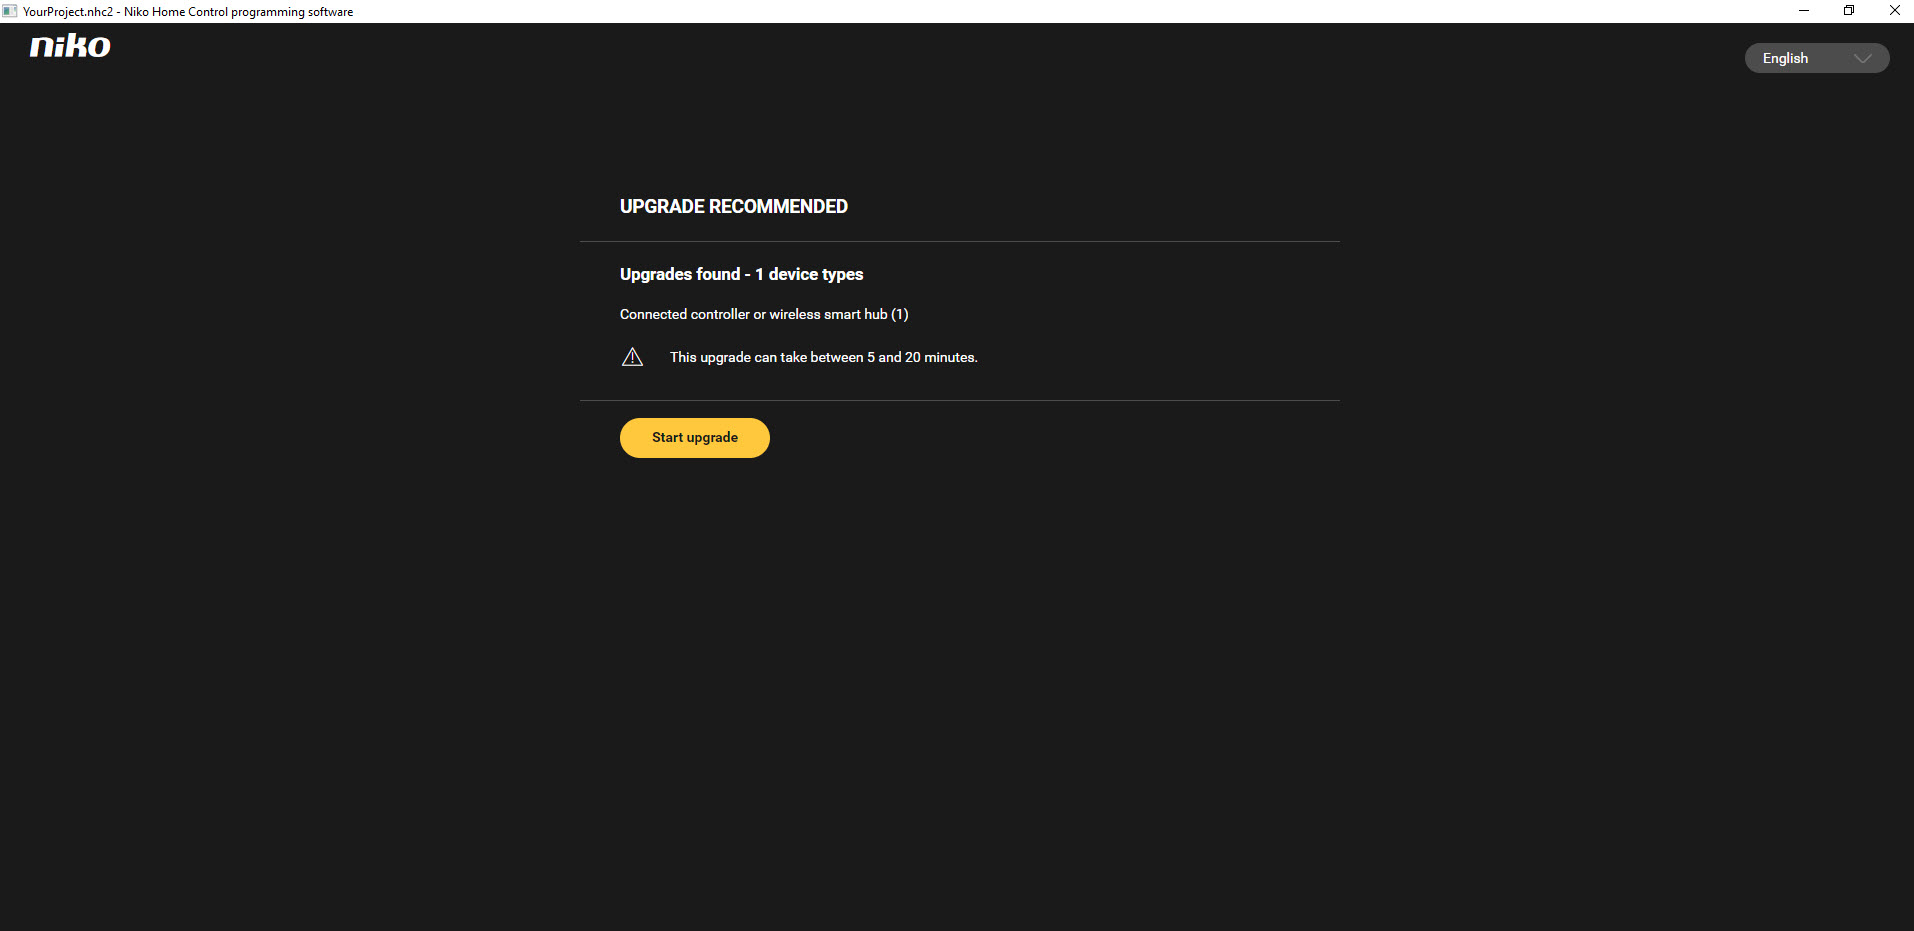
Click on "Start upgrade" to perform the upgrade of the connected controller. Progress bar will inform you about the upgrade progress.
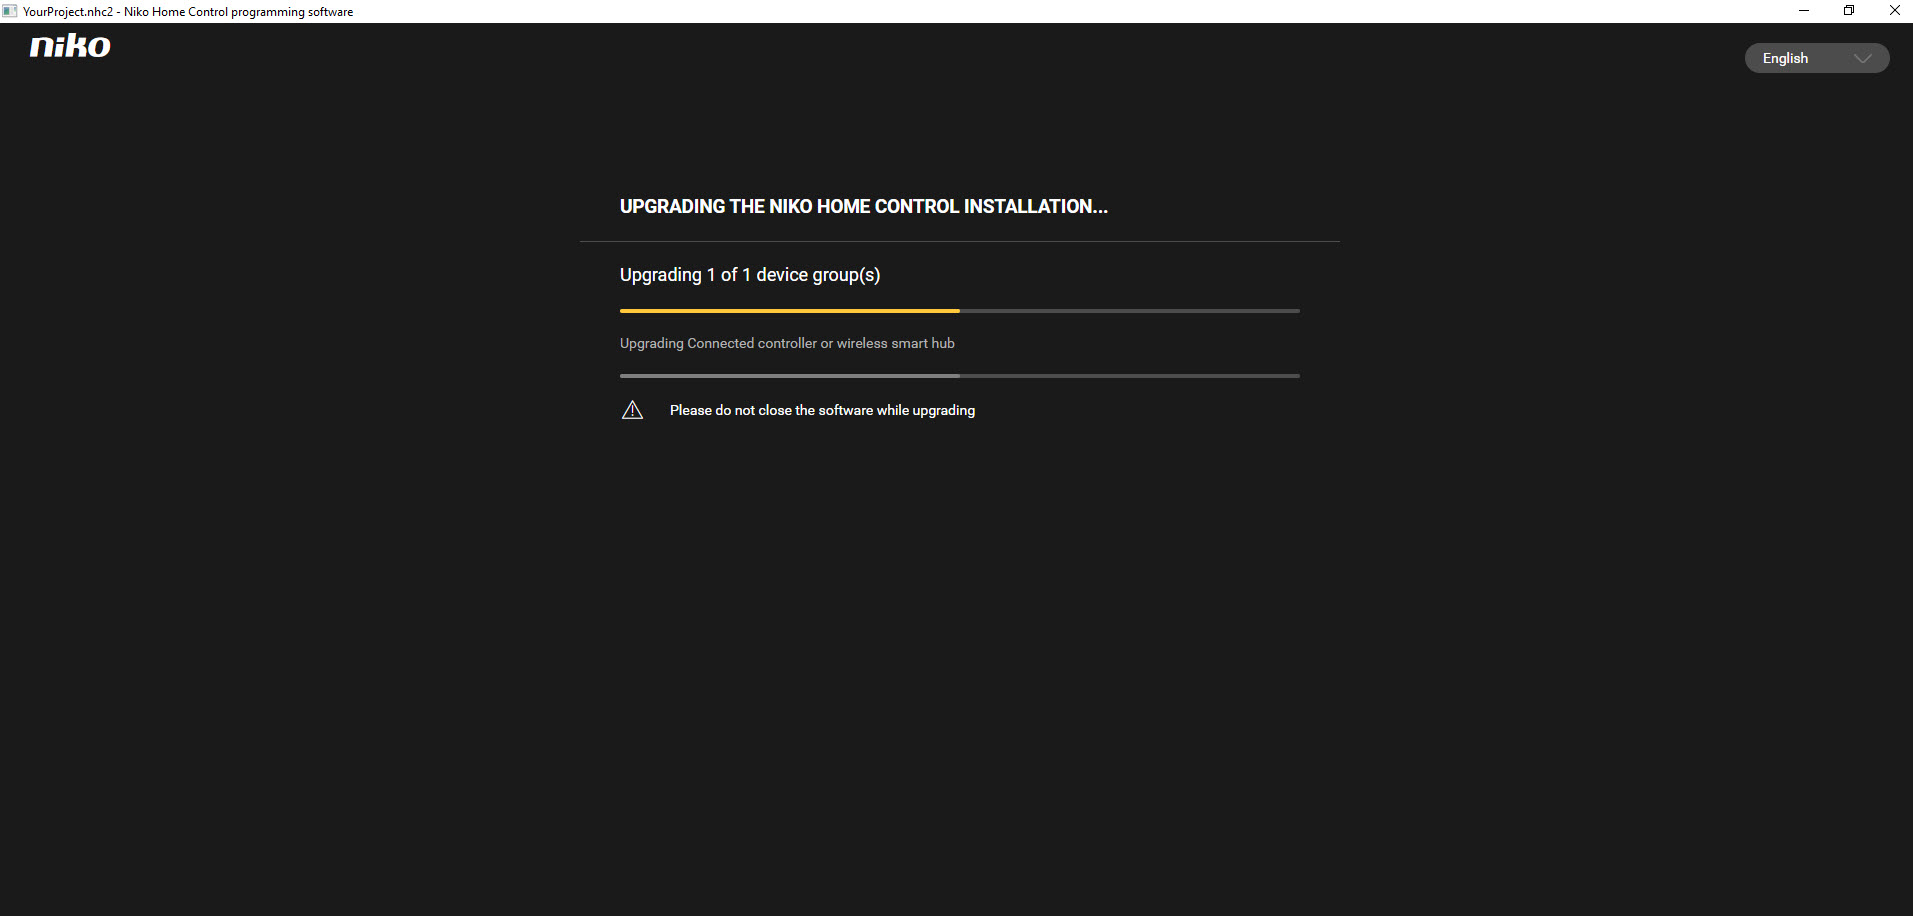
At the end of the upgrade, the upgrade will be confirmed:

STEP 6: Click on continue to open the start screen of the programming software
STEP 7: Do you have access control in your installation?
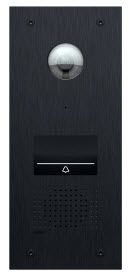 Yes I have an external video unit: | 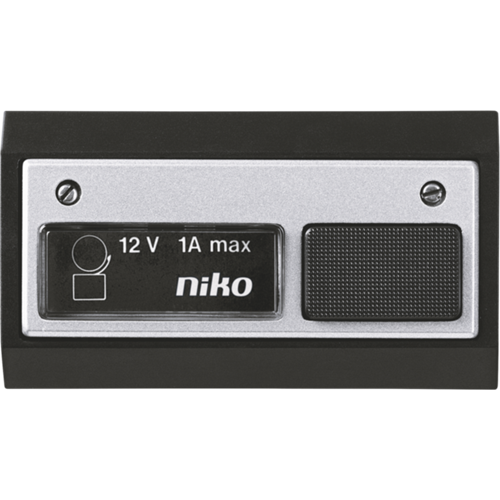 No I do not have an external video unit: |
|---|
ADDITIONAL INFORMATION
If you receive following error:
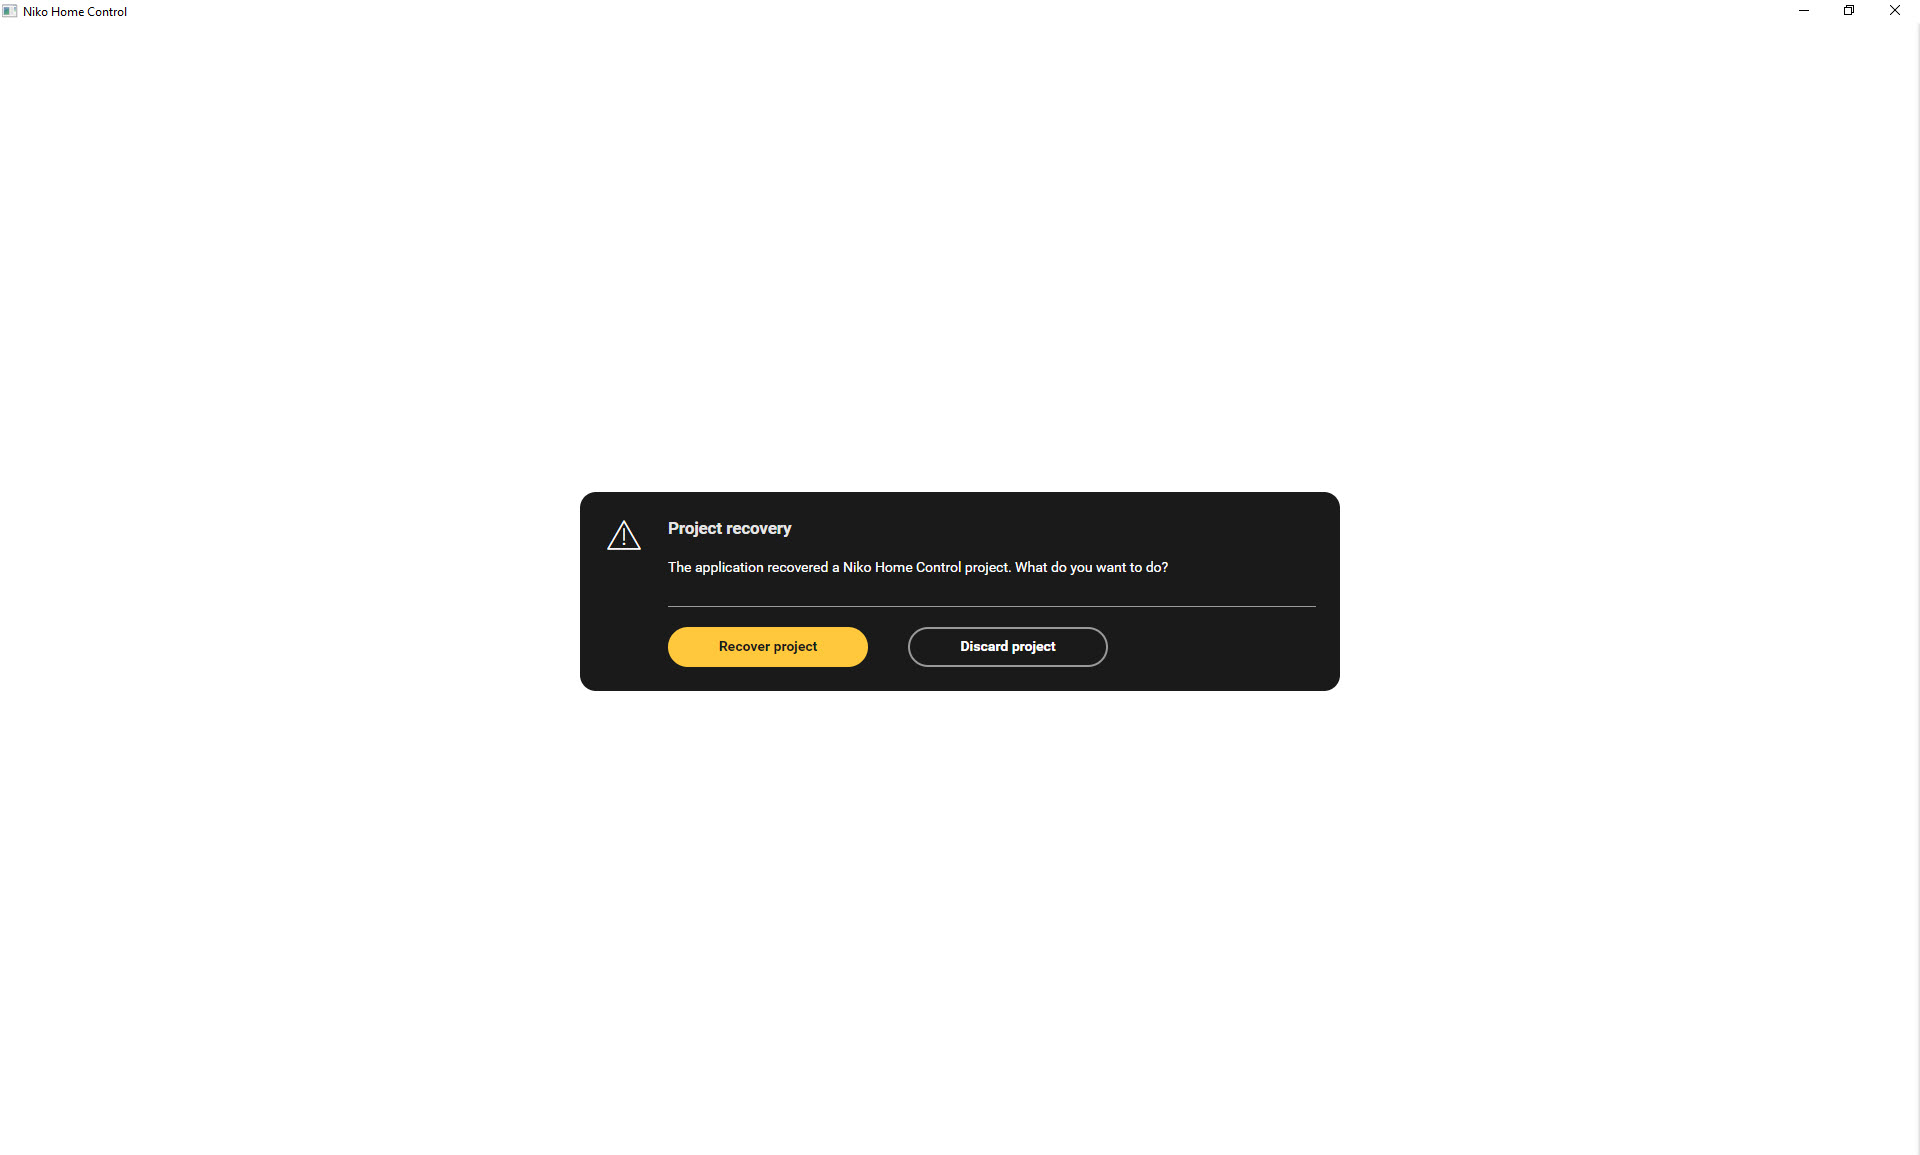
Click on "Discard project"
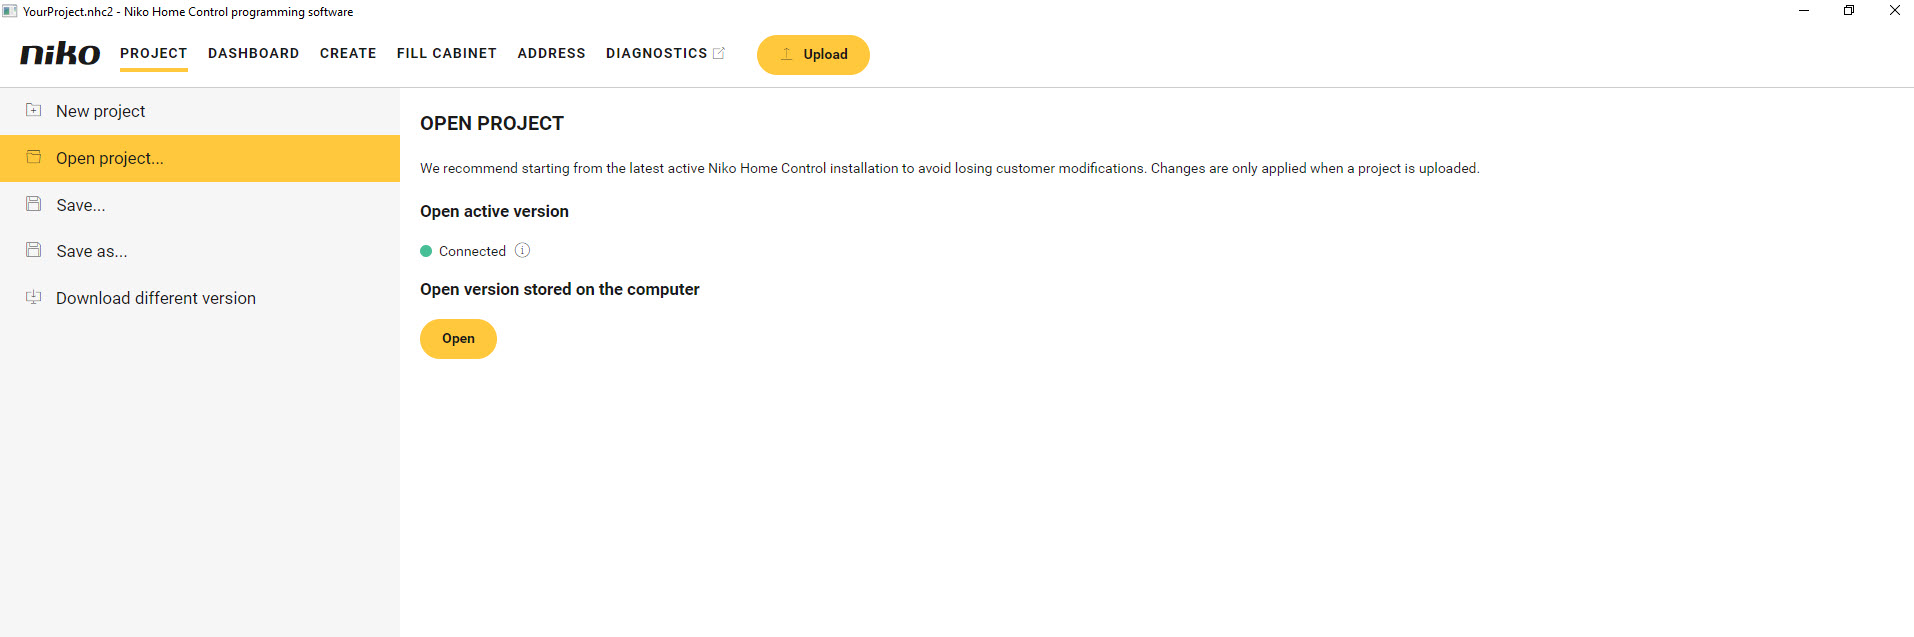
When following screen is opened, click on "Open" to open the file stored on your PC.
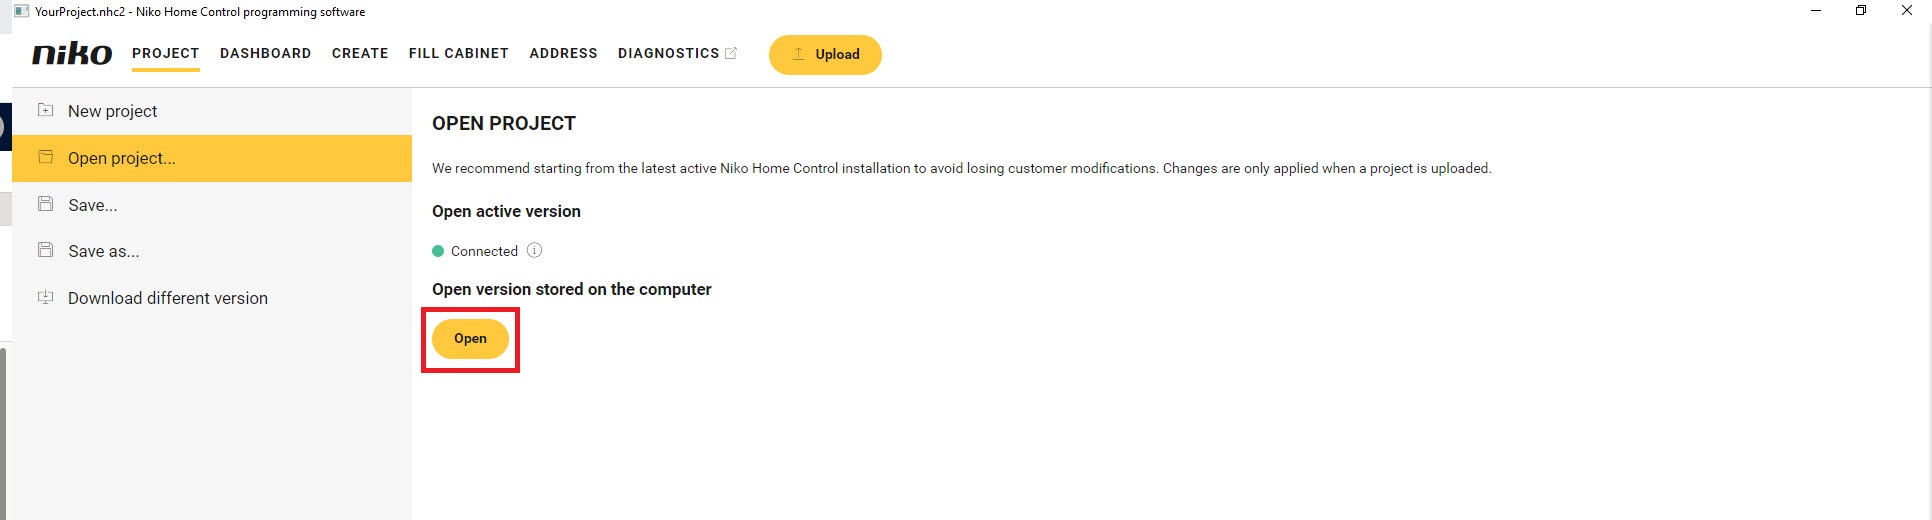
A file browser is opened and you can select the file you have received from Niko.
This error will only be shown when you have already used the Niko Home Control II programming software and did not close the software properly!