Connecting the wireless bridge to a smart/digital meter
This step is optional only for Belgium and The Netherlands.
P1 cable requirements
Depending on the distance between the wireless bridge and the smart/digital meter, you can use one of the following solutions:
Distance | Solution |
|---|---|
< 2 m | Use the included P1 cable. |
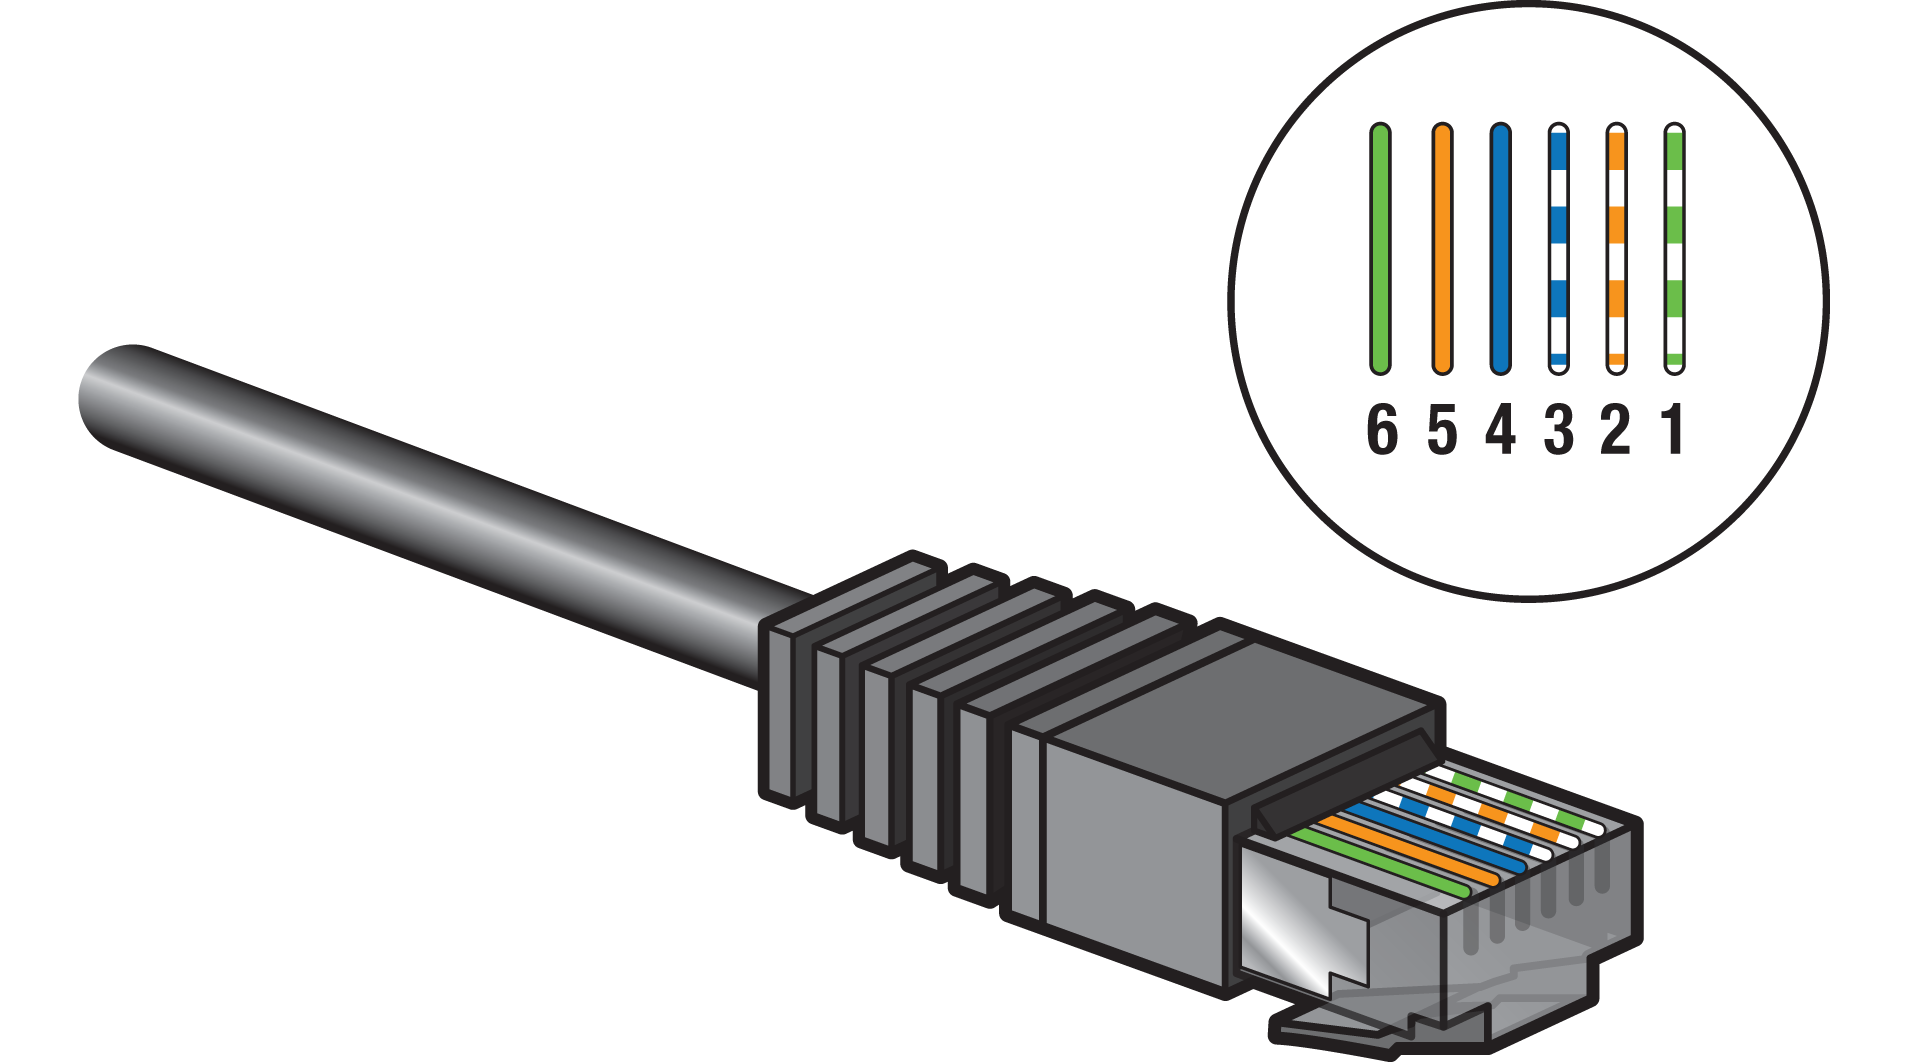
2 - 15 m | Assemble a longer cable:
 |
> 15 m | Create a P1 cable extension, see https://guide.niko.eu/en/connhc2/lv/general-solution-p1-cable-extension-digital-meter |
Avoid electrical equipment with high bursts (e.g. high-power devices, motorised devices) in the proximity of the cable.
Instructions
Step 1
Connect your digital meter’s P1 port to the wireless bridge by inserting one end of the cable into the P1 port (not the S1 port!) and the other end into the wireless bridge.

Step 2

* Coil up the excess cable
Step 3
Contact your distribution company to activate the P1 port of the smart/digital meter.
If your Niko Home Control installation includes a global energy measuring channel, it will be overridden when connecting the wireless bridge to the digital meter
Known limitations
If you have a bus wiring installation already equipped with an electricity measuring module and you have added a wireless bridge to read out your smart/digital meter’s energy data. In the Niko Home Control programming software, set the parameter ‘reading type’ of the detector electricity single-phase reading or electricity three-phase reading to ‘sub-reading’ instead of ‘global reading’. This avoids the smart/digital meter readings and measuring module readings being added up. To avoid UI issues in the energy graphics put the current clamps on different submetering circuits
You cannot extend the USB cable
