Starting point
- The wireless smart hub is powered on.
- The LED on the Danfoss IconTM Zigbee® module is off. If not, see LED behaviour.
- You have created the Danfoss thermostats as generic heating devices in the Niko Home Control programming software.
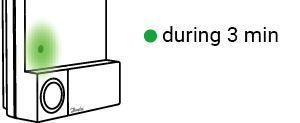
- You are in the Address overview window.

Procedure
- Pairing the Danfoss Icon Zigbee module with the wireless smart hub.
- Addressing the Danfoss thermostats in your installation.
If you experience any problems during the addressing process, see Troubleshooting.
Pairing the Danfoss Icon Zigbee module with the wireless smart hub
- During the pairing process, the addressing screen in the Niko Home Control programming software remains the same.
- If the operation of the LED deviates from what is described below, see LED behaviour during Zigbee pairing.
1. In the right-hand button bar, click on the button Control and devices.
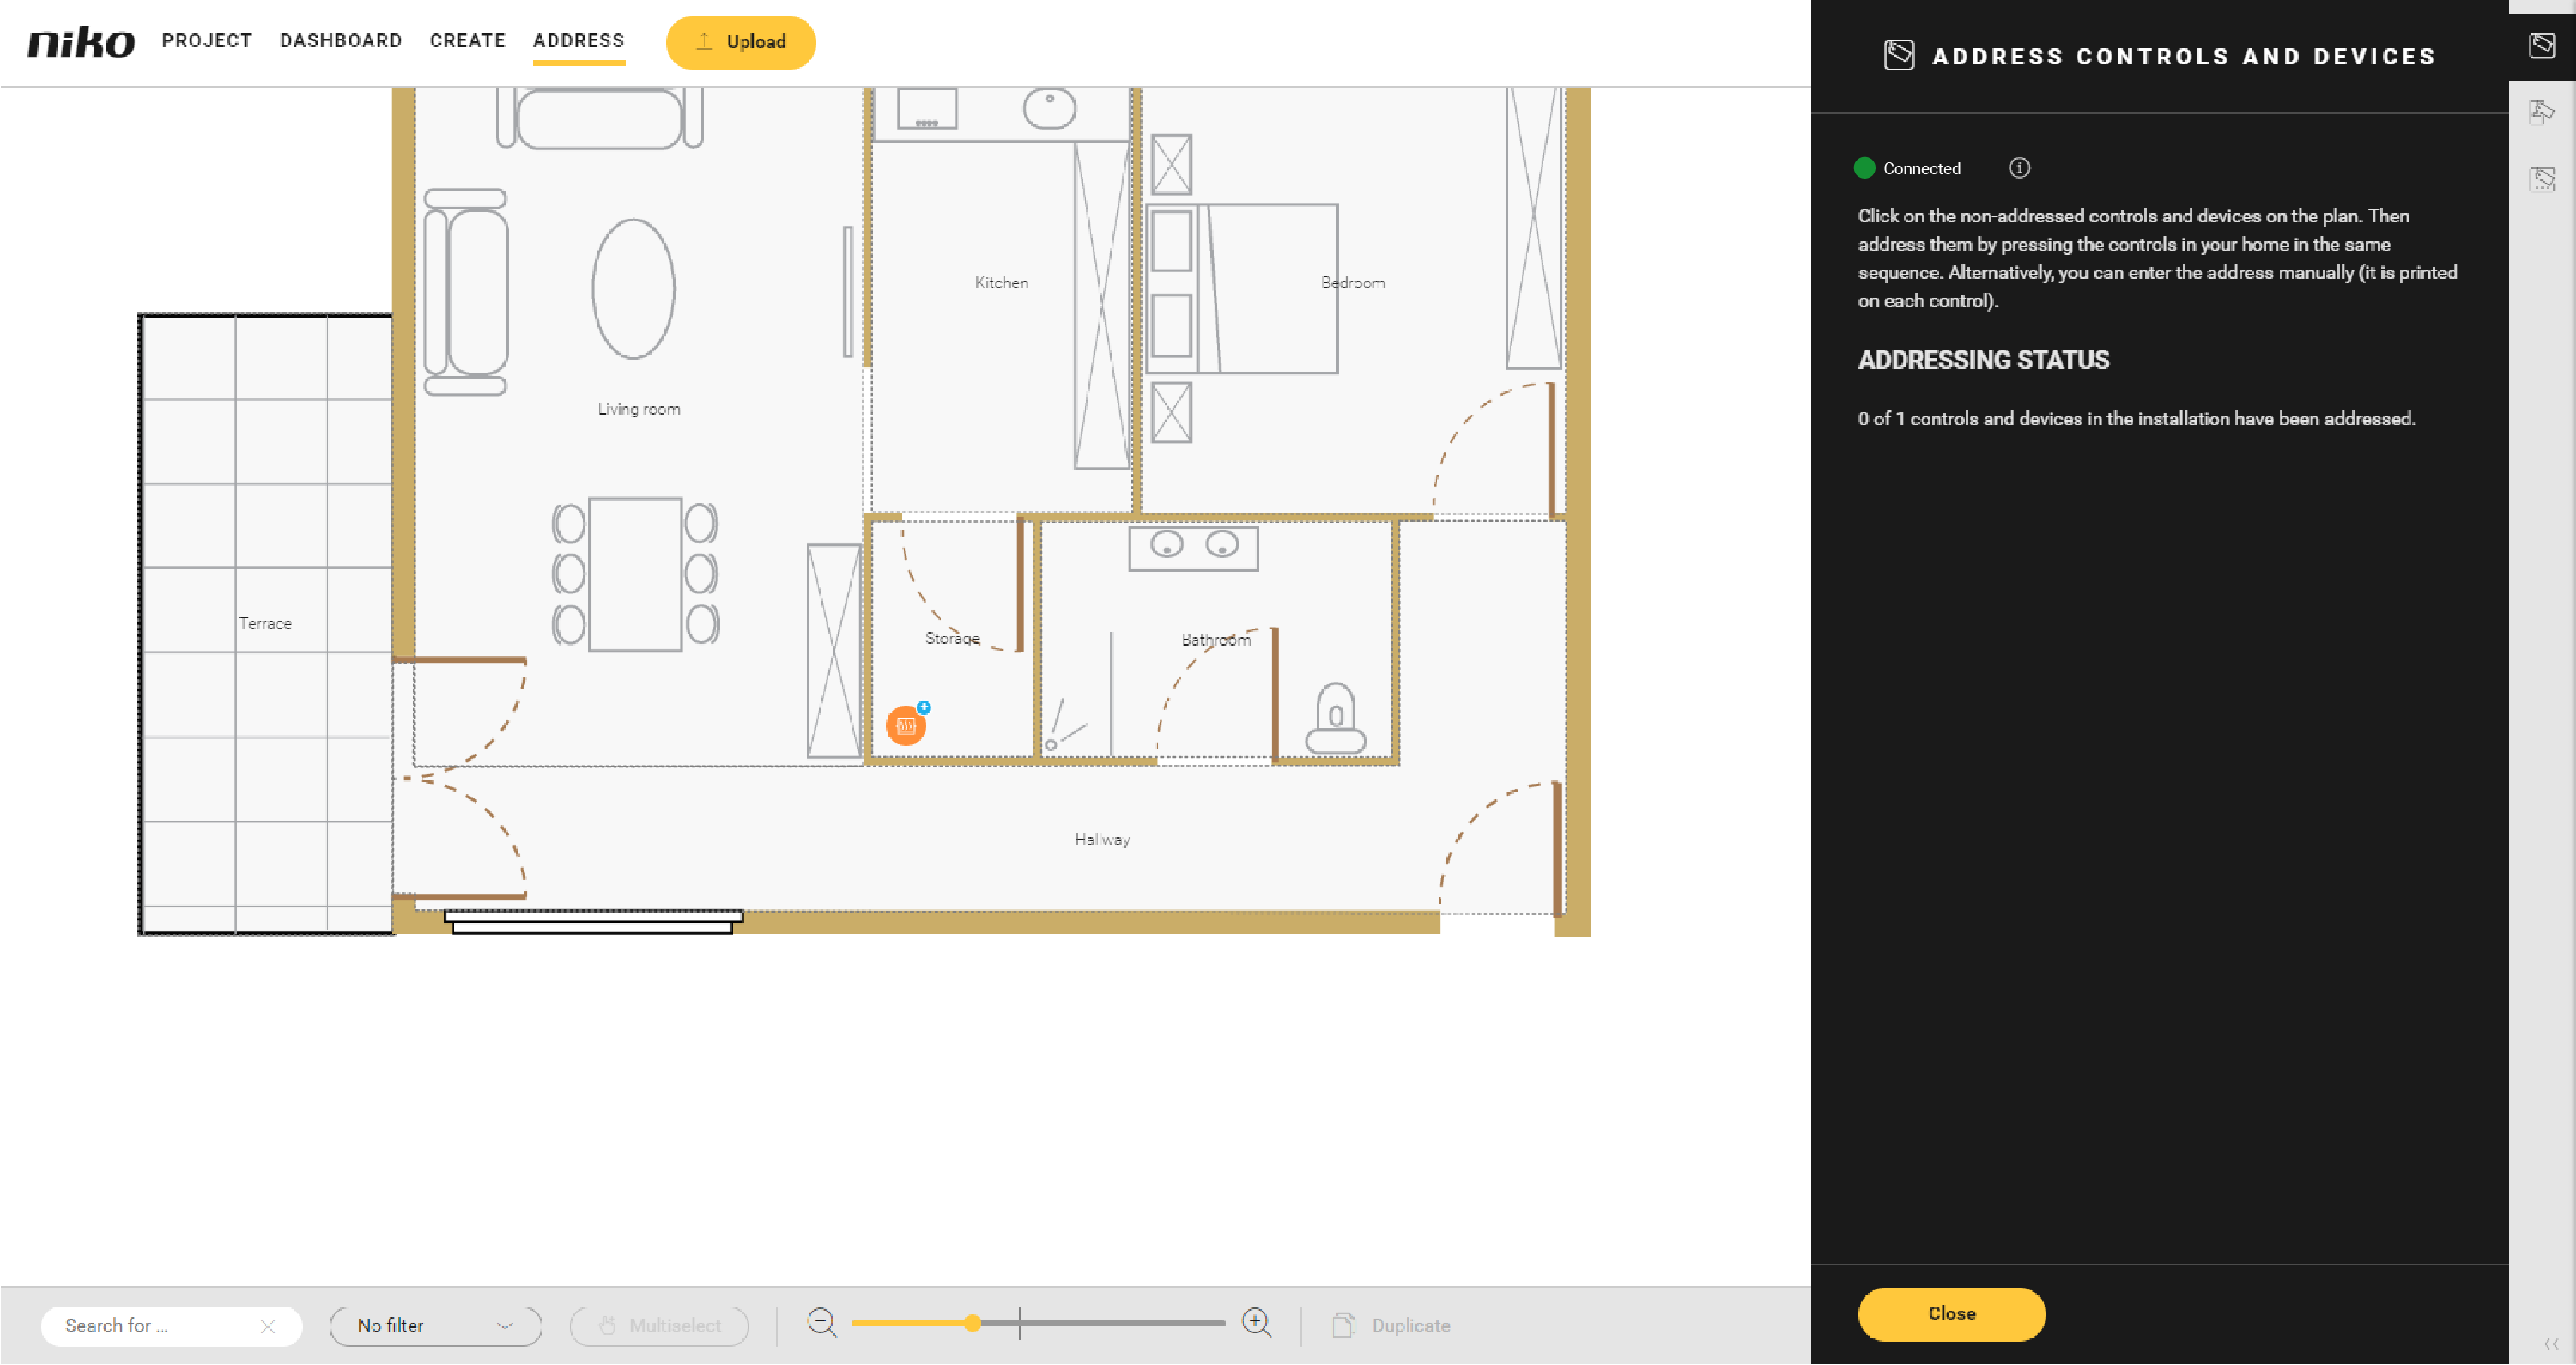
2. Briefly push the button on the Danfoss Icon Zigbee module to pair the module with your wireless smart hub.
The LED on the module briefly lights up green.

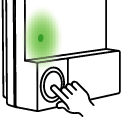
3. The pairing process starts and, during the process, the LED on the module blinks at 2 times/s. The process takes about 30 s (depending on the size of your installation).
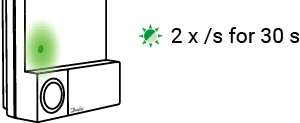
4. The pairing process is successfully completed when the green LED stops blinking and lights up continuously for 3 minutes. Then the LED switches off. The Address overview window in het Niko Home Control programming software remains the same.
Addressing the Danfoss thermostats
- If you interrupt the addressing process of the Danfoss thermostats, you can continue the process at any time by reopening the Address overview window - controls and devices in the Niko Home Control programming software. The Danfoss Icon Zigbee module and the wireless smart hub remain paired.
You address the Danfoss thermostats one by one. Addressing multiple thermostats at the same time is not supported.
For each Danfoss thermostat in your installaton:
1. Click on the plus sign of the Danfoss device you want to address.
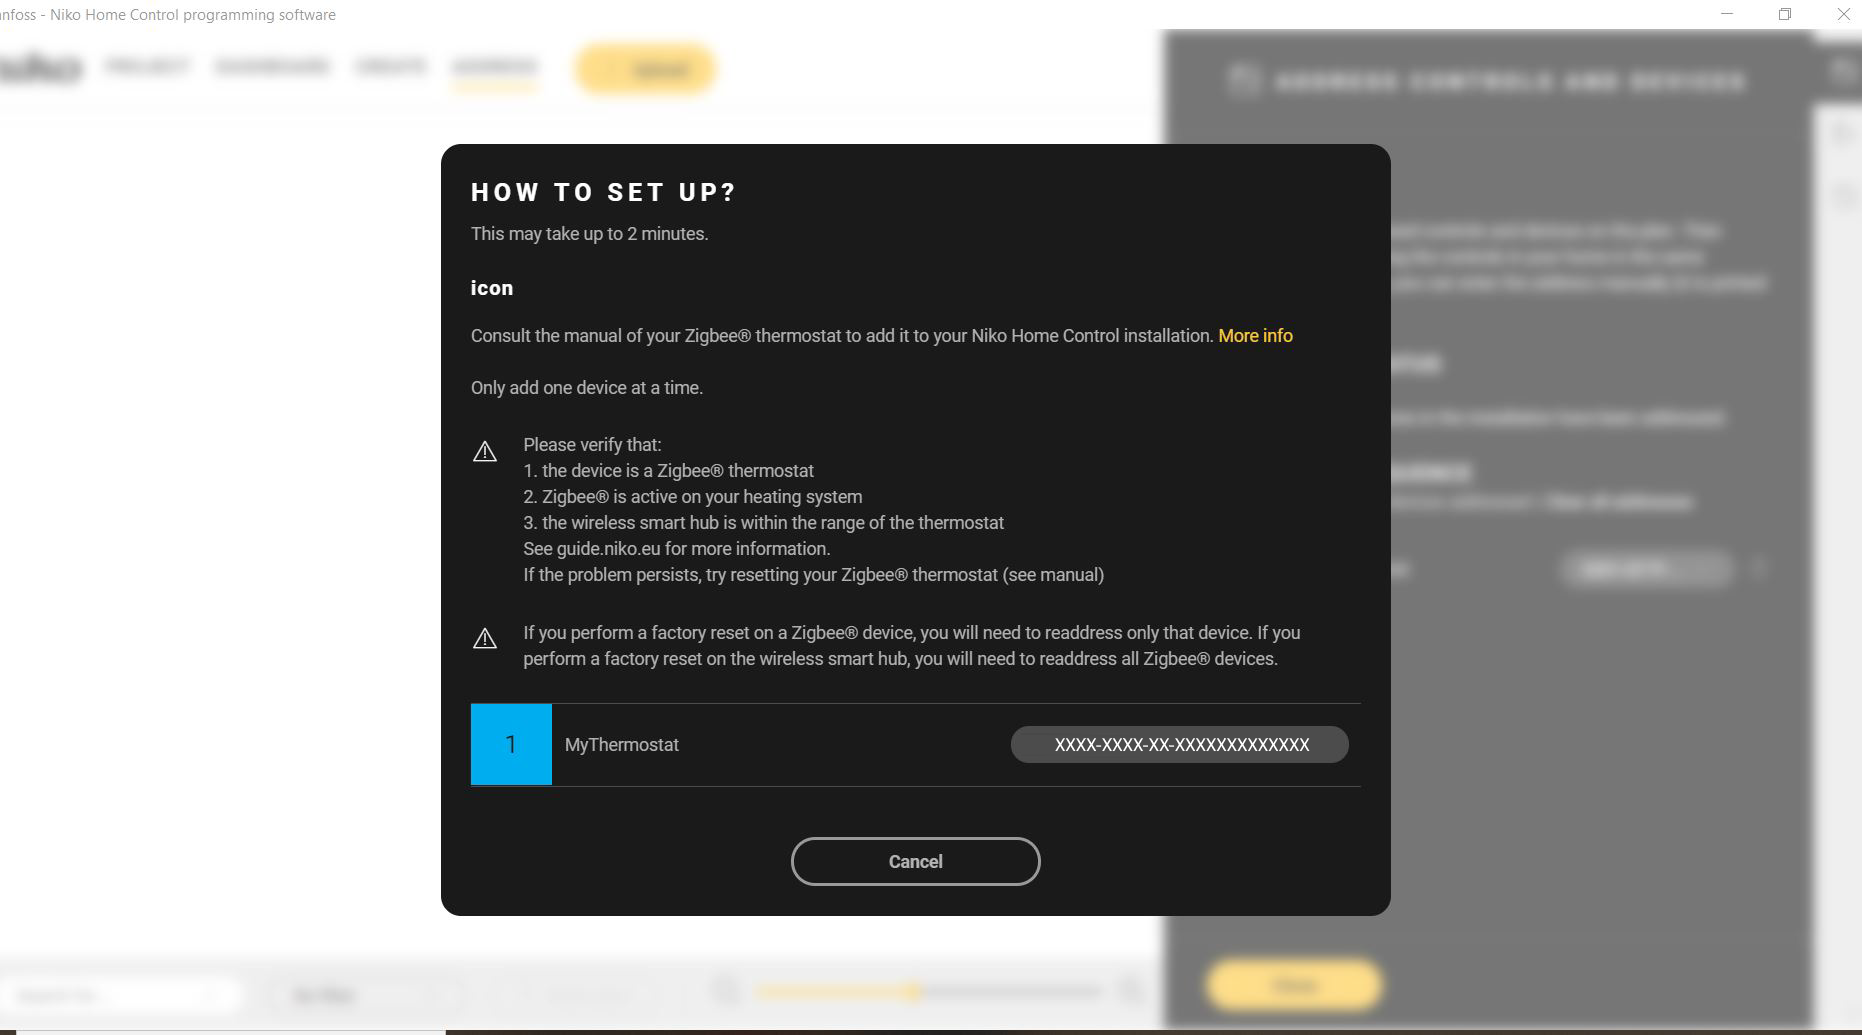
2. Change the set point temperature on the Danfoss thermostat. The device is addressed in the software.
