What is presence simulation?
With the advanced action Presence simulation you can give the impression to the outside that someone is present inside.
The action takes into account the following elements:
- the value of a digital or analogue sensor (e.g. twilight switch)
- one to five parts of the day
Starting point
- You have created the following players:
- a control (generic button or eco-display)
- all output players you wish to use in this action
- (optional) a digital or analogue sensor
Click here for an overview of the players you can use in this advanced action.
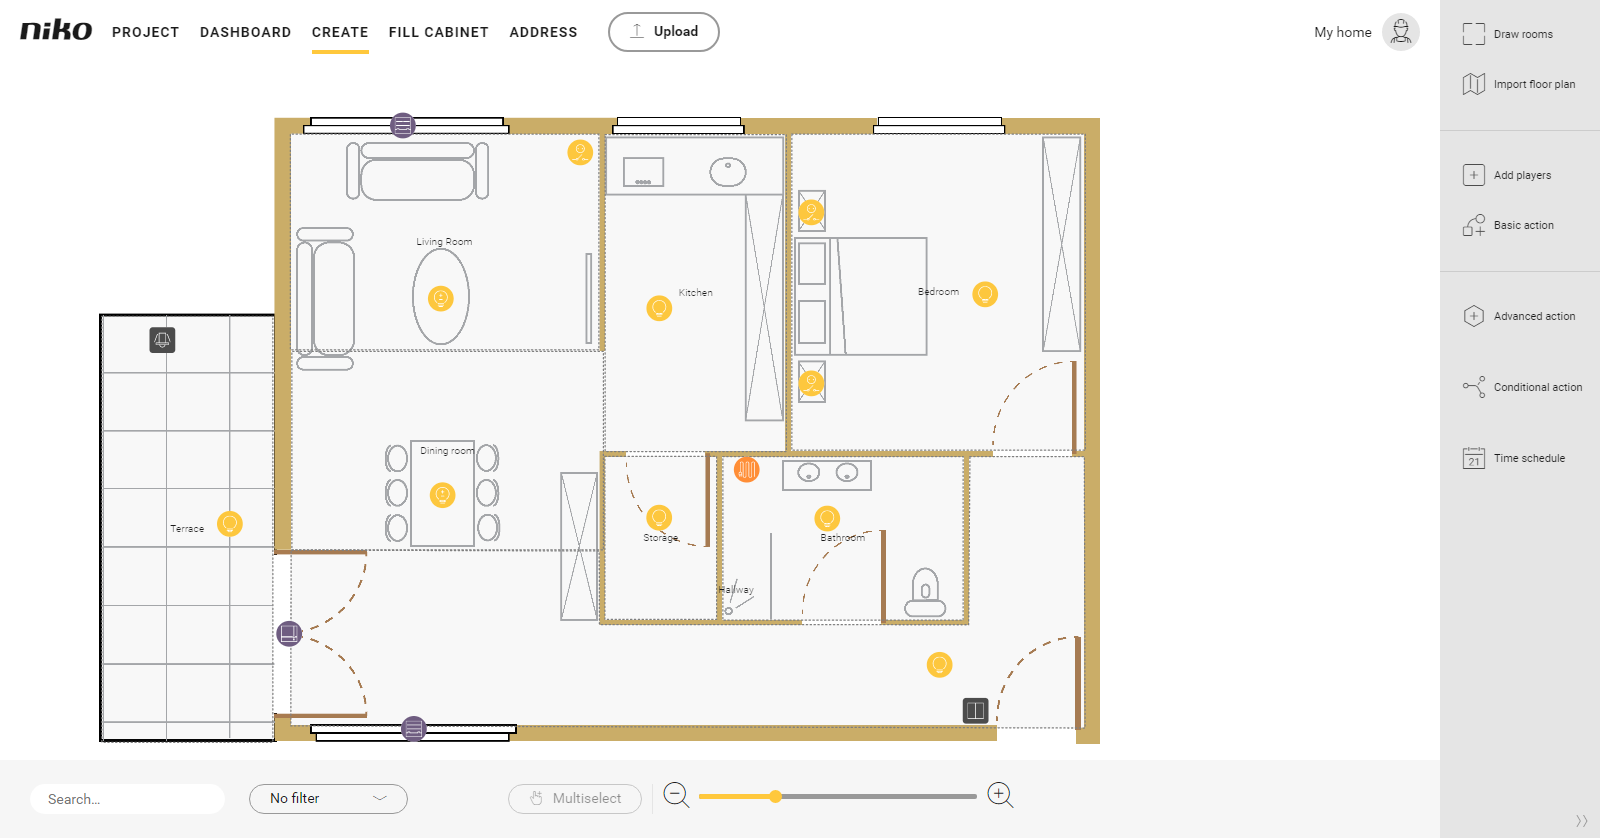
- You are in the Create overview window.
Procedure
- In the right-hand button bar, click on the button Advanced action.
Result:
The Advanced action pane appears.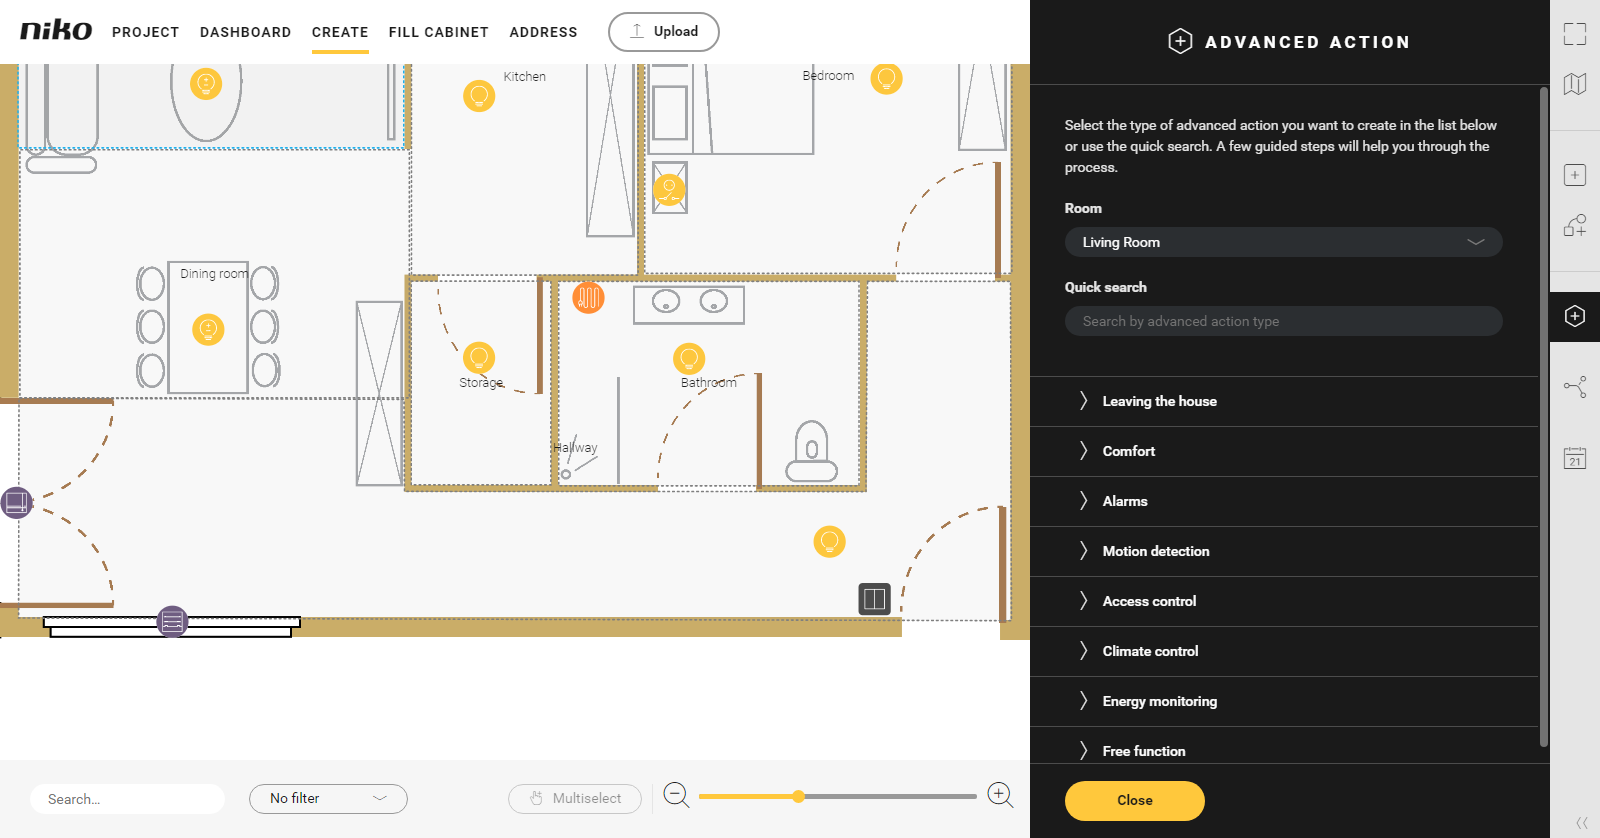
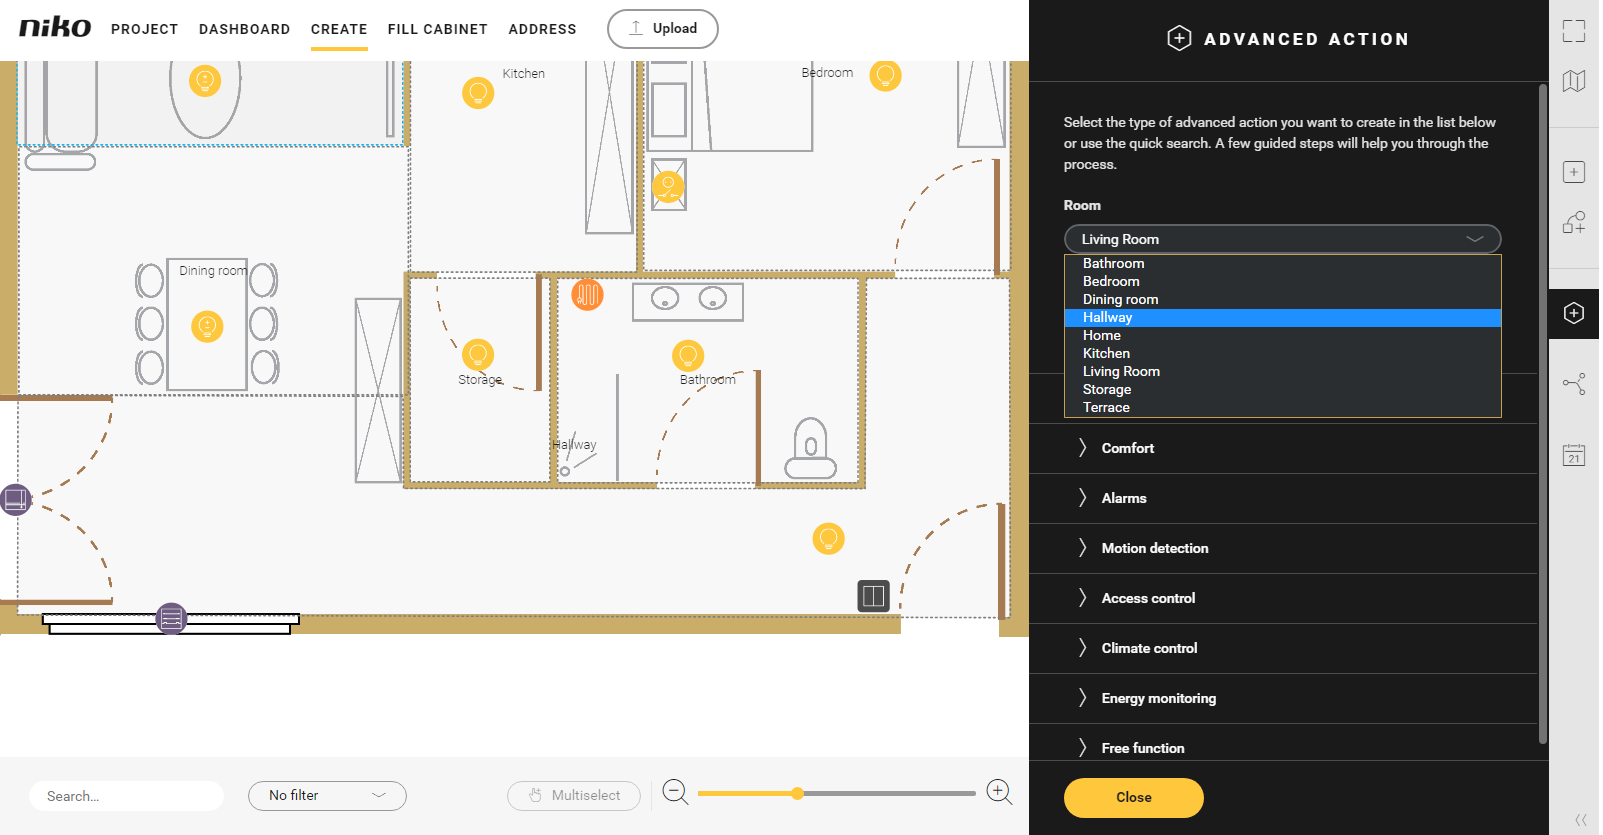
- Choose the room as follows:
- Choose Room from the drop-down list.
- Click on the room in the drawing area.
- Click on the arrow next to the category Leaving the house.
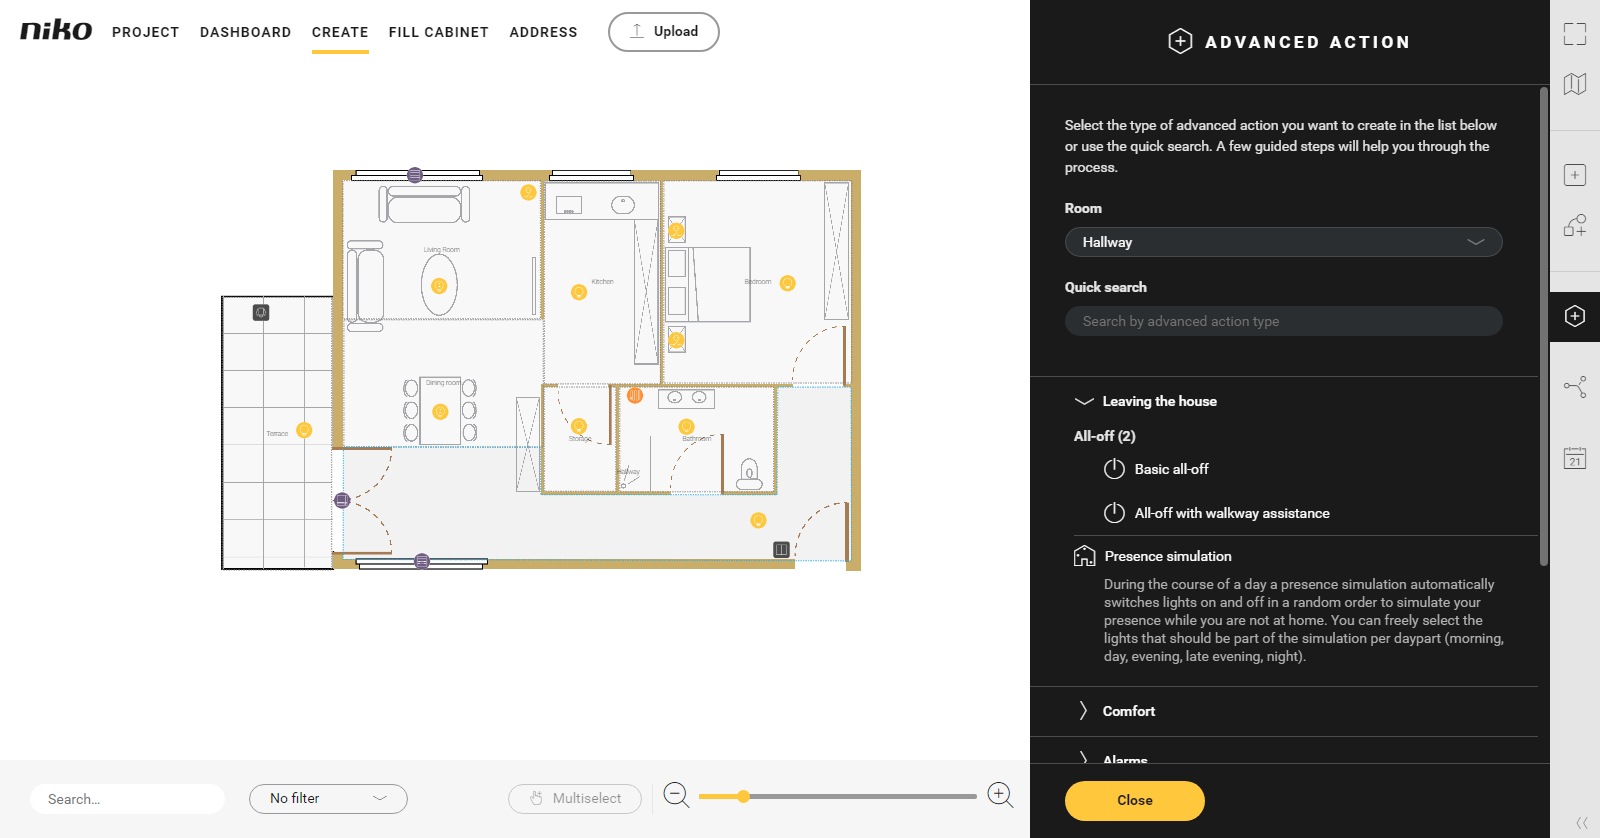
- Click on Presence simulation.
- Give the action a name.
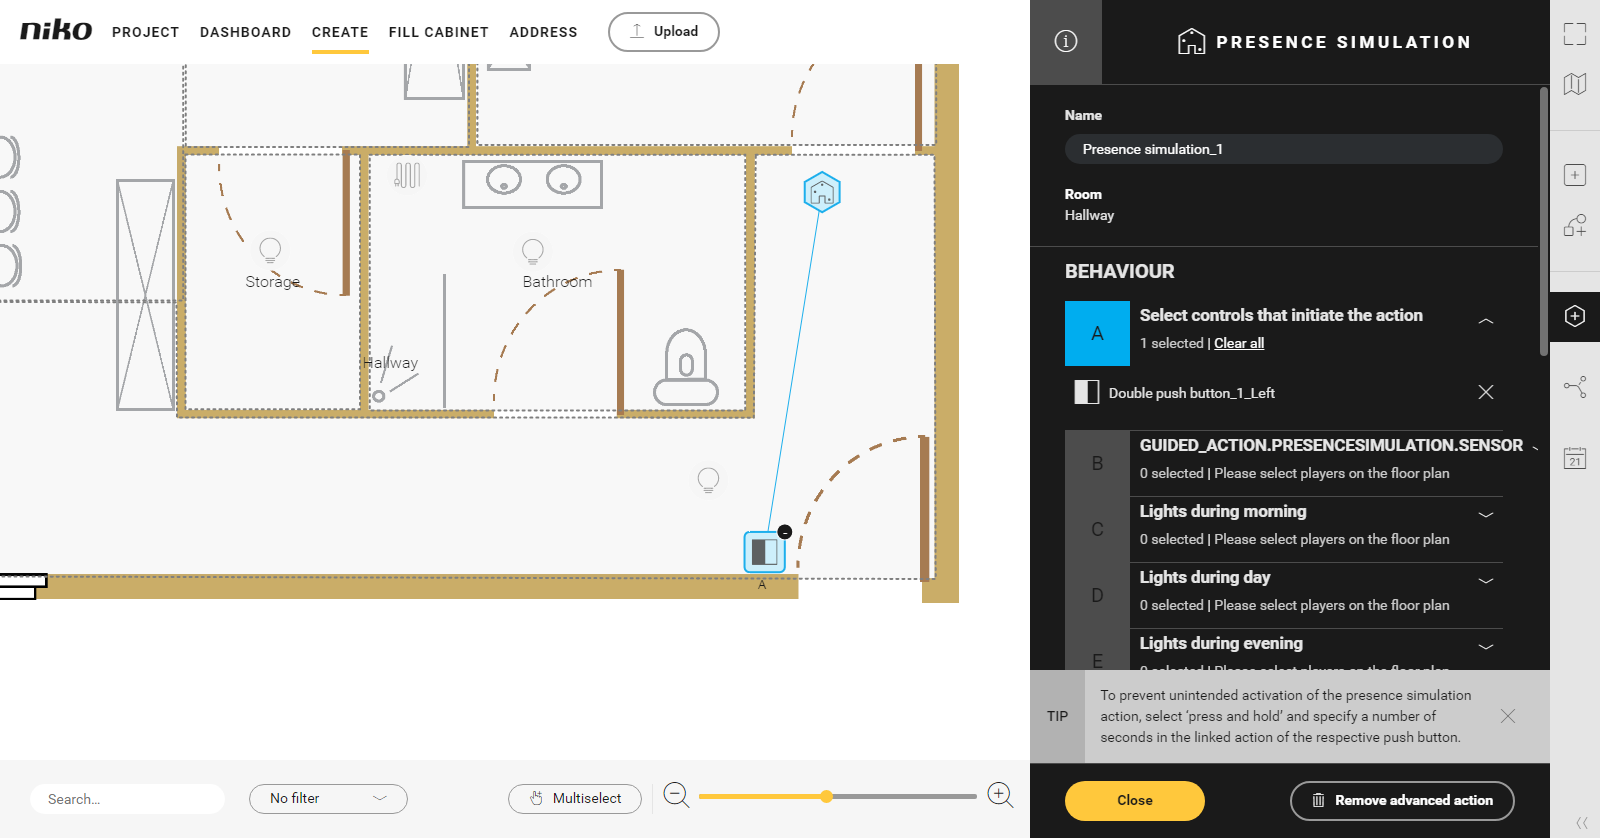
Set the behaviour as follows:
Behaviour What? How? A Choose the control(s) that will activate the action. Click on the plus signs of the control(s) you want to include in the action.
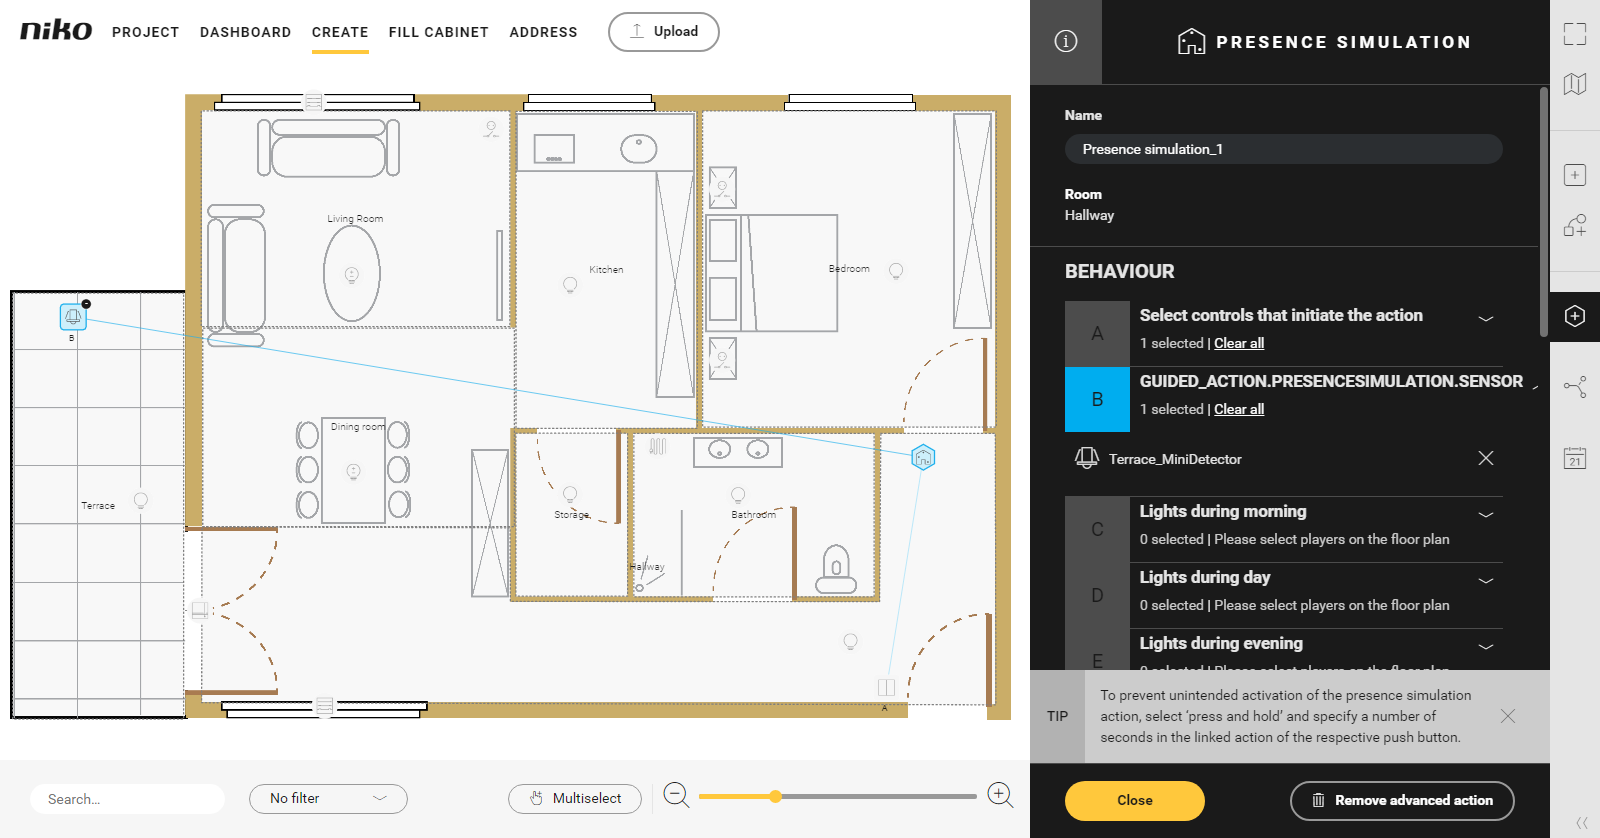
B (optional) Choose a (light) sensor.
When the pre-set light level is reached the action will start.1 Click on the plus sign of the sensor.
C
D
E
F
GChoose the output players for each part of the day:
- morning
- day
- evening
- late evening
- night
1 Click on the plus signs of the players. You can select switched and dimmable output players.
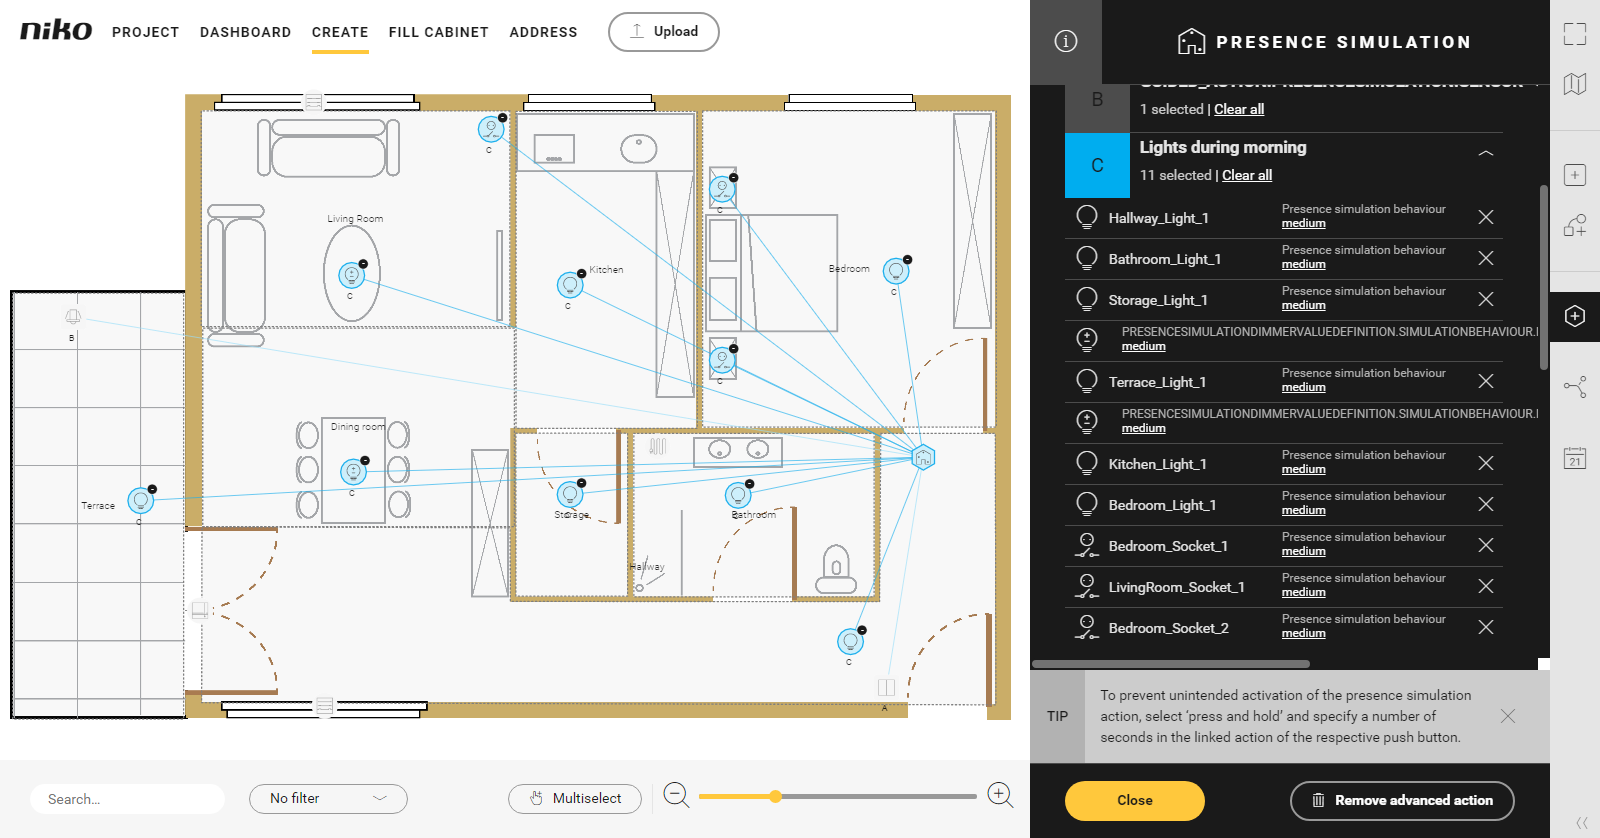
2 Set the duration for each player:
- constantly active
- active for a short time
- active for a medium period of time
- active for a long period of time
The different durations are explained in the table below:
3 Set a fixed dimming value for the dimmed outputs.
Use Multiselect to select various outputs at the same time.
If you do not place any players in a certain part of the day, nothing will happen during that part of the day.
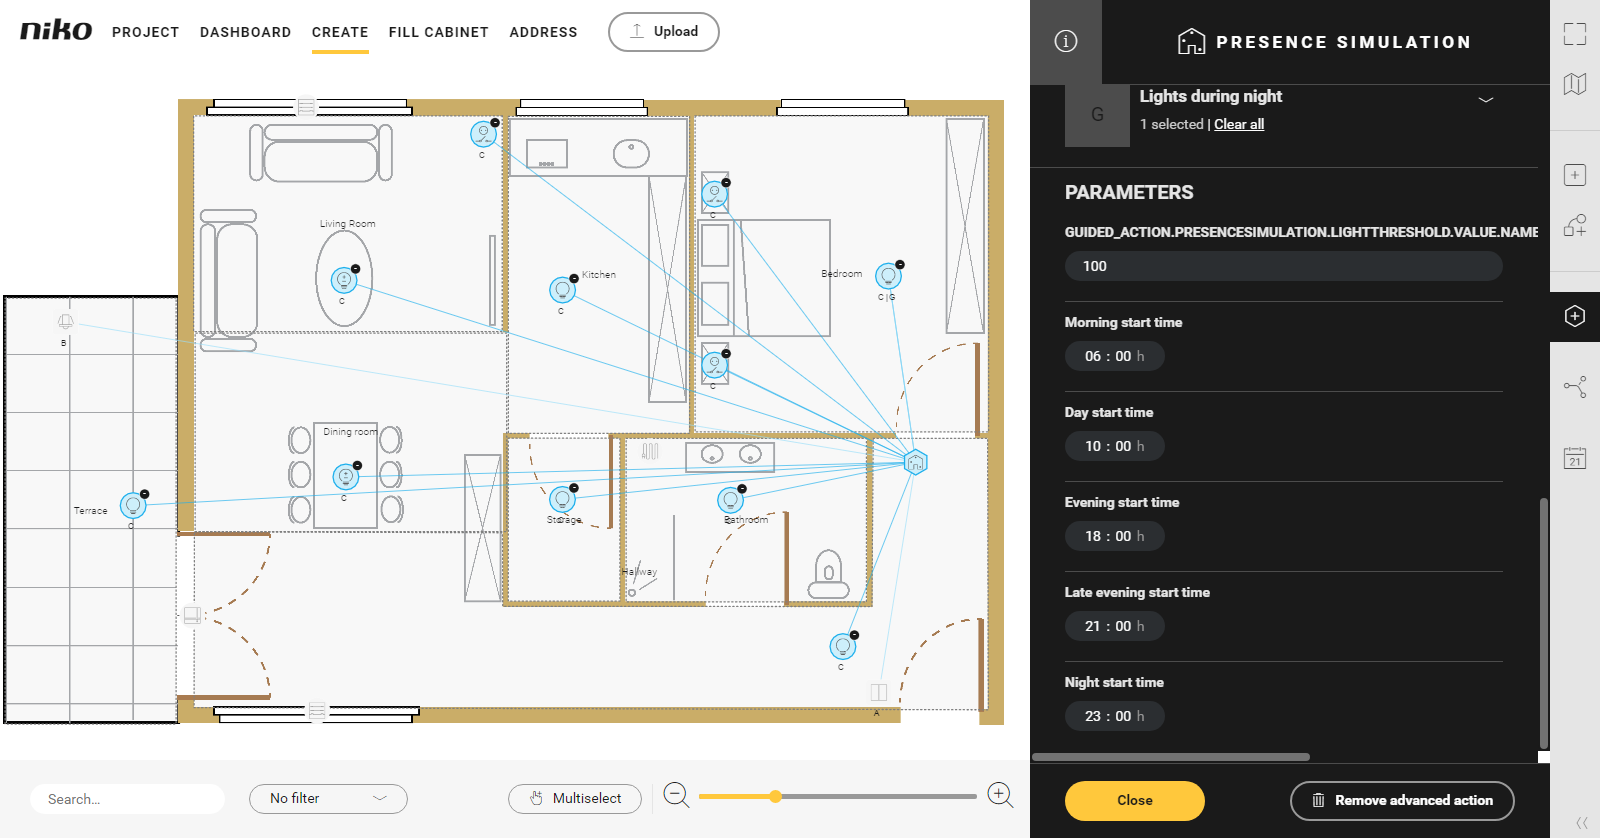
Under Parameters, set the following:
- light level (only available if you have chosen an analogue light sensor or mini PIR under B)
- starting time of the respective part of the day (the part of the day ends when the next part of the day starts).
- 7. Click on the Close button to return to the Advanced action pane.
8. Click the Close button to return to the Create overview window.
Set the operating time to 'press and hold' to avoid activating the presence simulation by mistake.
Video
See an example here. Turn on the sound to watch the video.