What is the intruder alarm?
With the advanced action Intruder alarm you can use a control to arm the alarm. After a configurable arming duration, the detection of any movement in the house will start the following actions:
- make selected lights switch on
- make selected lights flash
- control roller shutters, gates or sunblinds
- send alarm messages
Starting point
- You have created the following players:
- a control (generic button)
- all output players you wish to use in this action
Click here for an overview of the players you can use in this advanced action.
- You are in the Create overview window.
Procedure
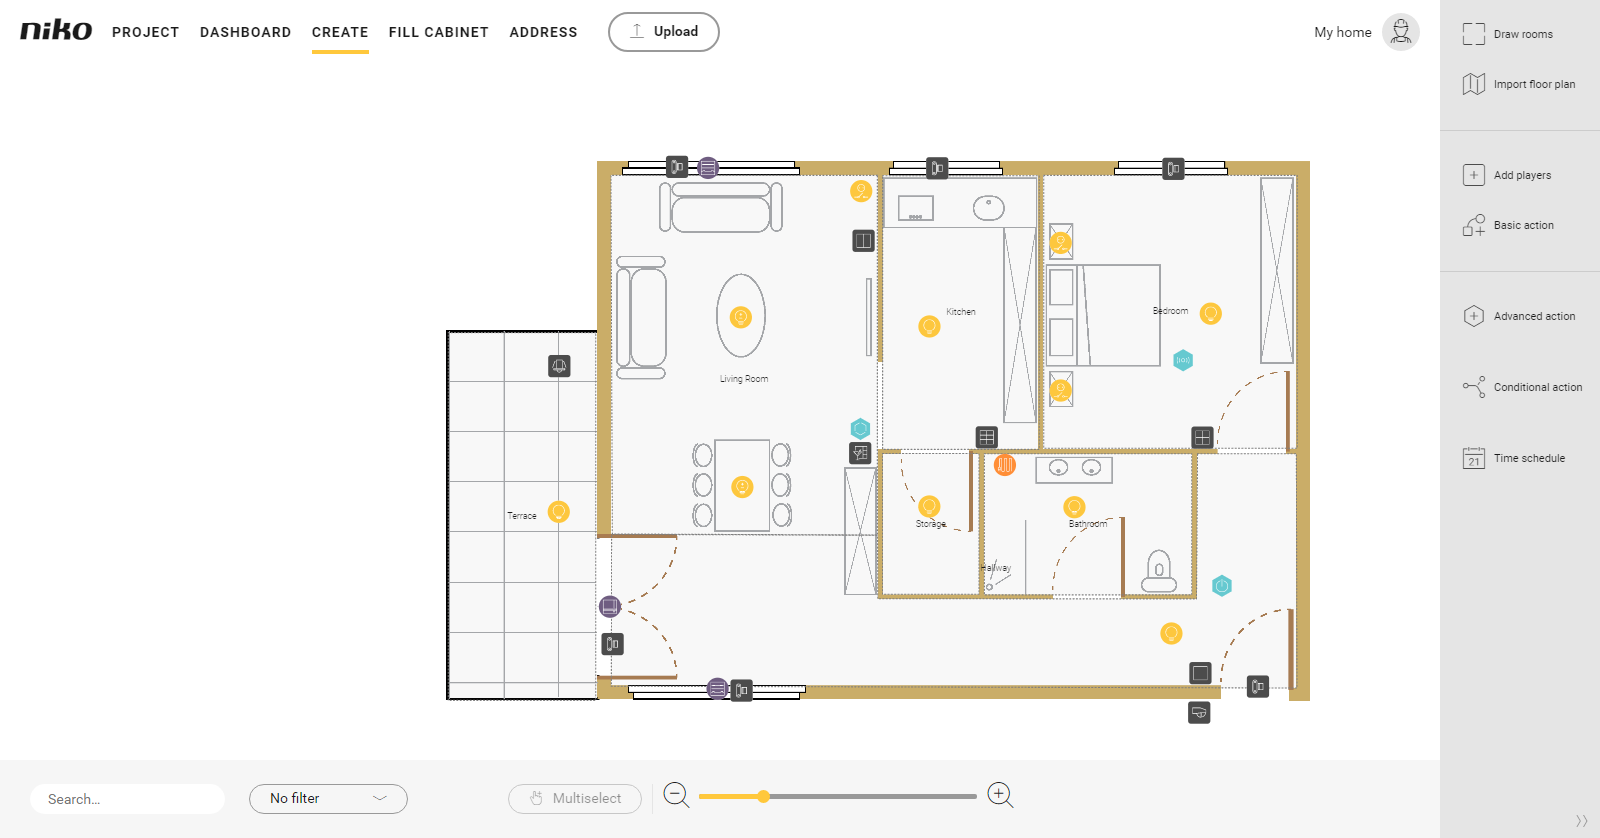
- In the right-hand button bar, click on the button Advanced action.
Result:
The Advanced action pane appears. - Choose the room as follows:
- Choose Room from the drop-down list.
- Click on the room in the drawing area.
- Click on the arrow next to the category Alarms.
- Click on Intruder alarm.
- Give the action a name.
Set the behaviour as follows:
Behaviour What? How? A Choose the control(s) that will activate the action. 1 Click on the plus signs of the players you want to include in the action.
2 Set the operating time to Press and hold to avoid activating the intruder alarm by mistake.
B Select the detectors or contacts which will set off the alarm when it is activated. Click on the plus signs of the players.
C Choose the lamps you want to be on during the pre-alarm.
The pre-alarm is the first phase after the motion detection.Click on the plus signs of the players.
D Choose the lamps you want to be on during the alarm. 1 Click on the plus signs of the players.
2 Enter any additional player properties.
E Choose the lamps you want to flash during the alarm. 1 Click on the plus signs of the players.
2 Under Parameters, set the flashing frequency (standard 2 sec. - maximum 59 sec.).
F Select other output players you want to bring to a certain status. 1 Click on the plus signs of the players.
2 Enter any additional player properties.
Some examples are: opening roller shutters, opening gates, etc.
- Under Parameters, set the following:
- duration of arming: standard 30 sec. - maximum 59 min. 59 sec.
- duration of pre-alarm: standard 20 sec. - maximum 59 min. 59 sec.
- duration of alarm state: standard 5 min. - maximum 59 min. 59 sec.
- notification message when the alarm could not be armed: This text is sent when the alarm cannot be activated. The alarm will be activated automatically once the problem is solved.
- notification message when the problem with the detector/contact has been solved: This text is sent when the problem with the activation has been solved.
- notification message when the alarm is initiated: This text is sent when the alarm goes off.
- Click the Close button to return to the Advanced action pane.
- Click the Close button to return to the Create overview window.
Video
See an example here. Turn on the sound to watch the video.


